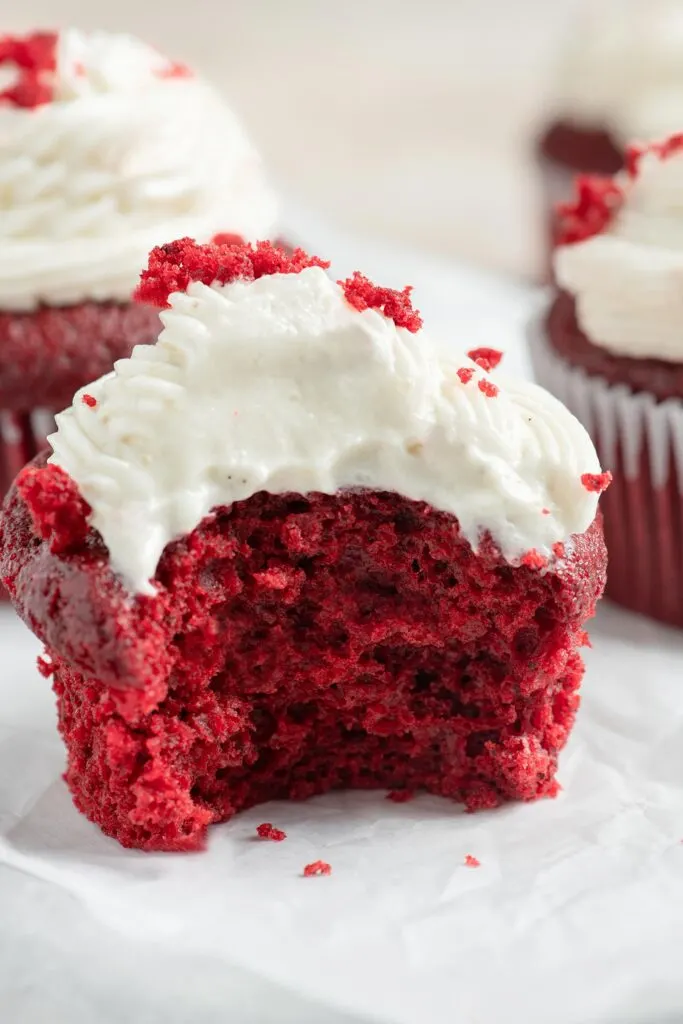
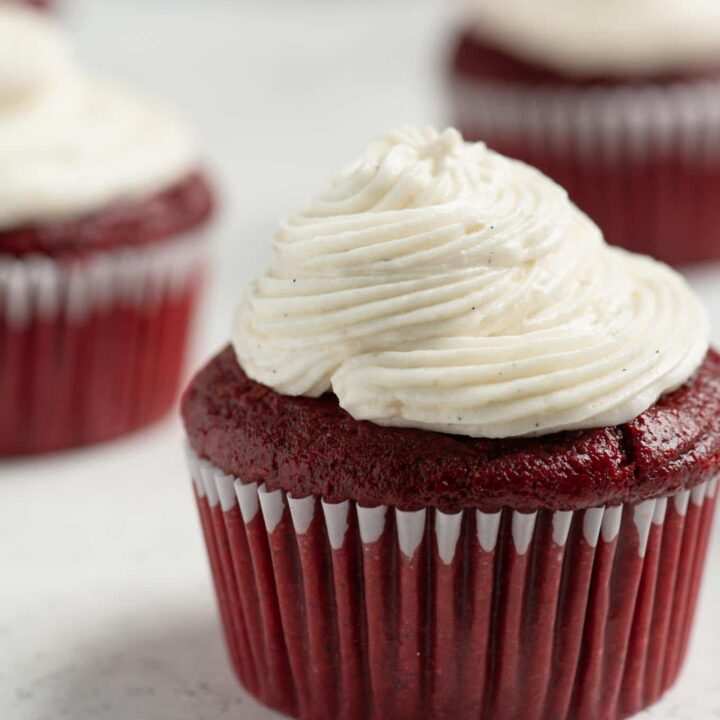
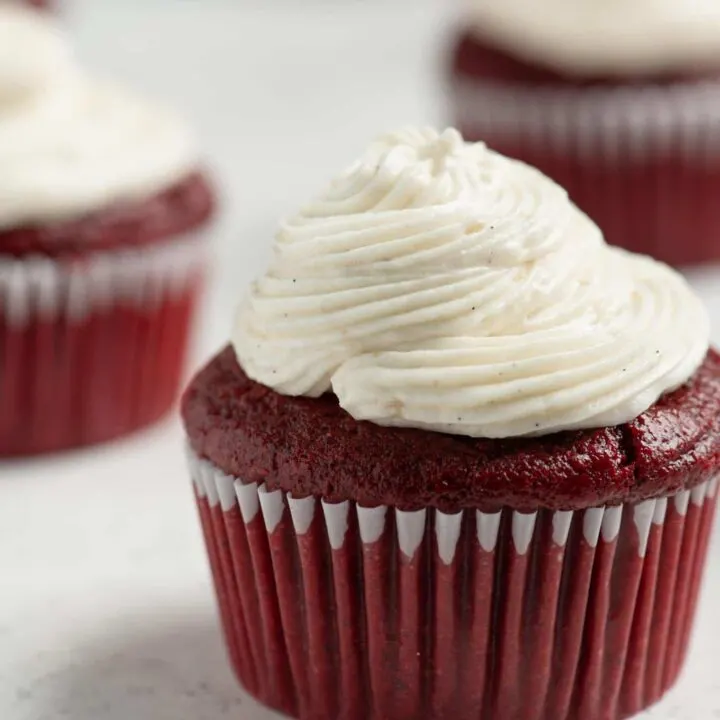
Let’s talk red velvet. It’s red, and it’s made of velvet! Just kidding, sorry I’m not funny. Red velvet cake is essentially a vanilla cake made with a small amount of cocoa powder. It’s a soft and fluffy cake, hence the designation “velvet.” The cocoa powder gives the cake a finer texture and reacts with vinegar in the batter (turning a faint red color). Red velvet is somewhere between a vanilla cake and a chocolate cake, and you might wonder–what’s the point?? But trust me, that subtle cocoa flavor really elevates the cake and the soft, moist texture cannot be beat! These red velvet cupcakes are festive and super cute. But you don’t need an occasion to whip up a batch of vegan red velvet cupcakes! Unless we define occasion as anytime you crave cake, as that is always worthy! Red velvet might just be the ideal cake to make for any holiday. Valentine’s Day? Duh. Halloween? I mean, spooky right! Christmas, I mean red & green… 4th of July? You’ve got red and white covered! And don’t forget your birthday parties and, the occasion I developed these cupcakes for, baby showers!
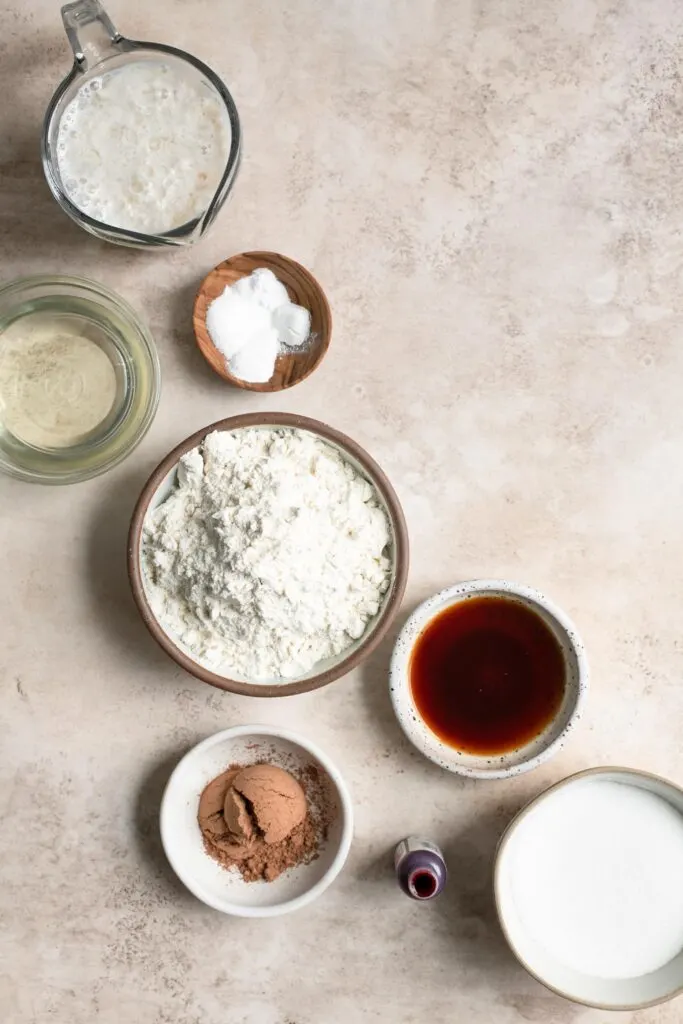
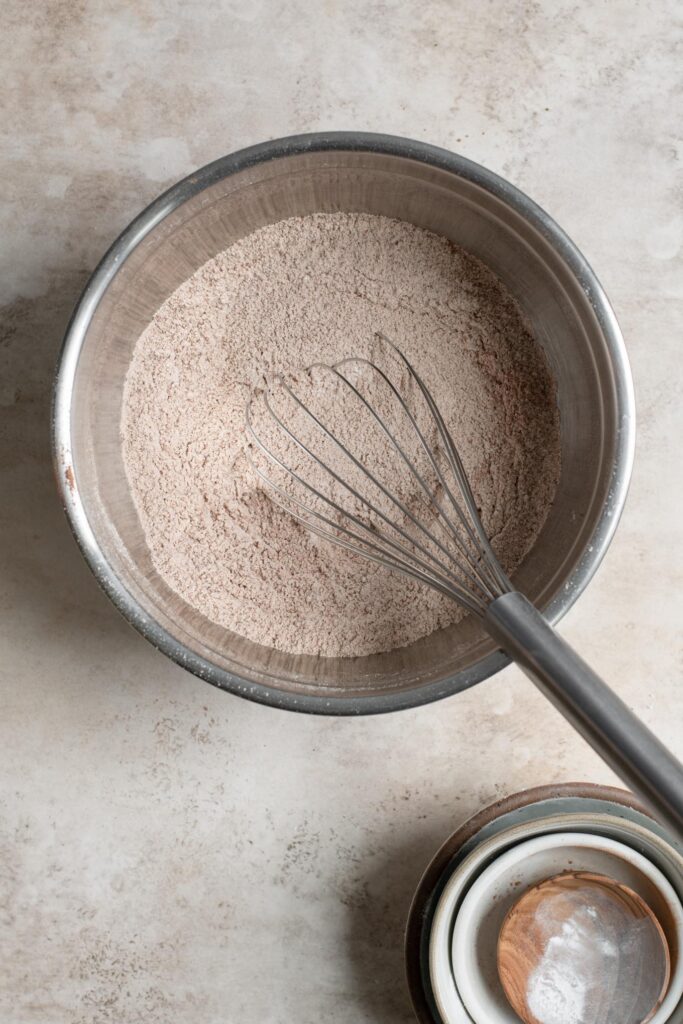
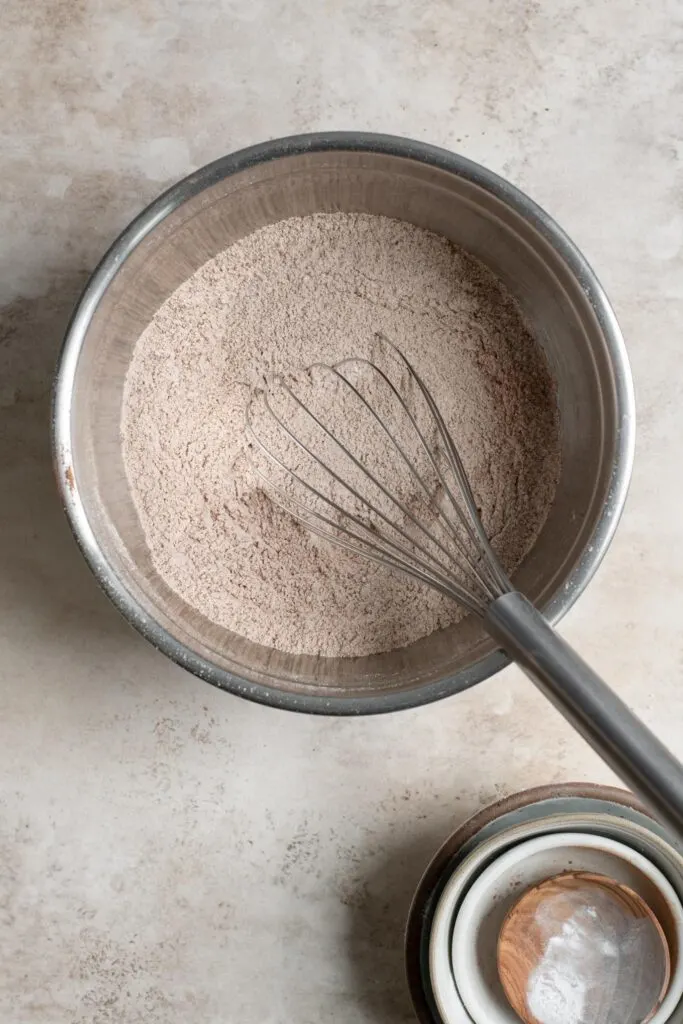
The vegan red velvet cupcake batter:
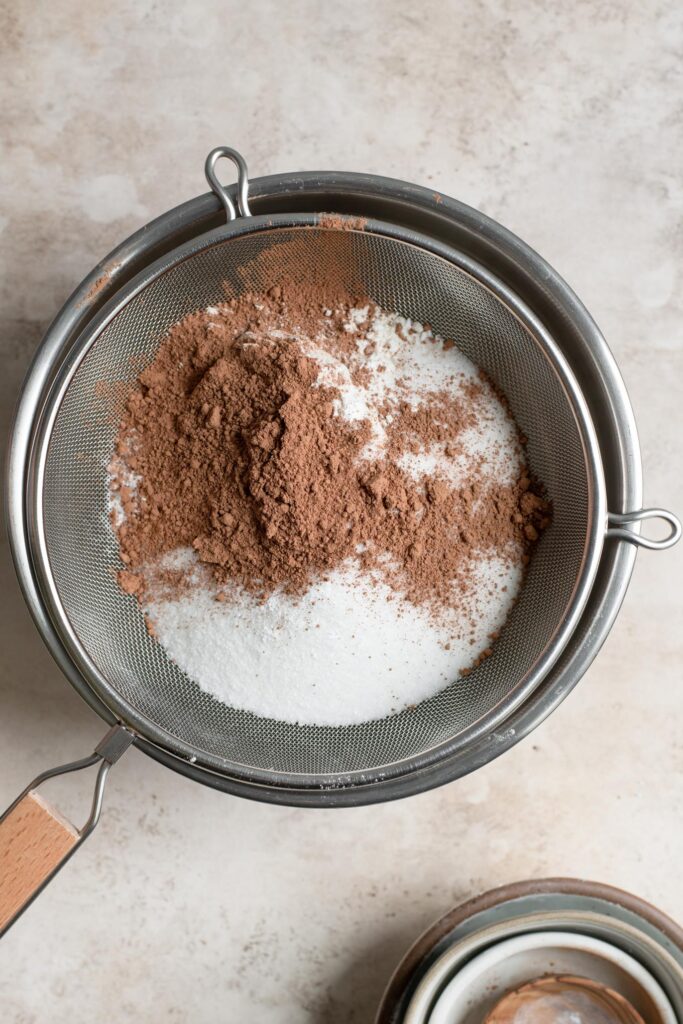
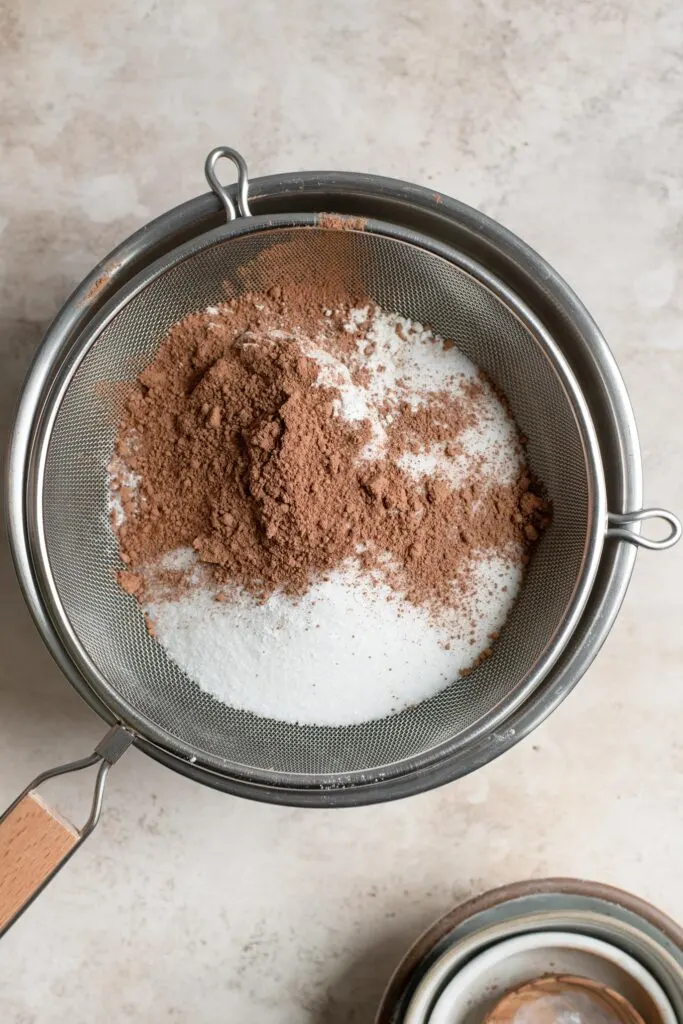
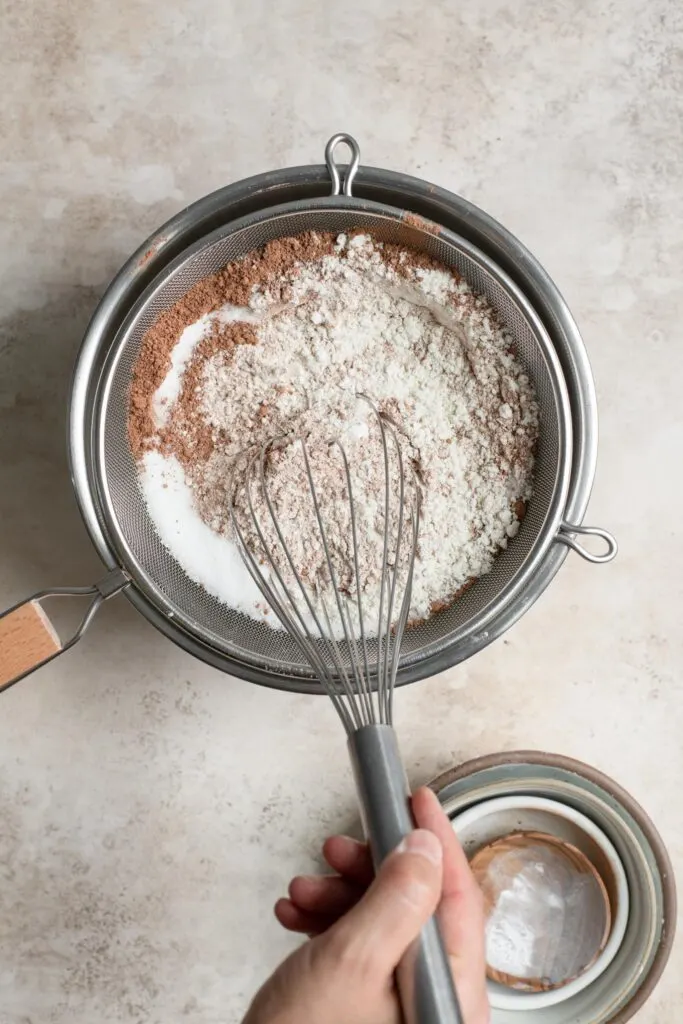
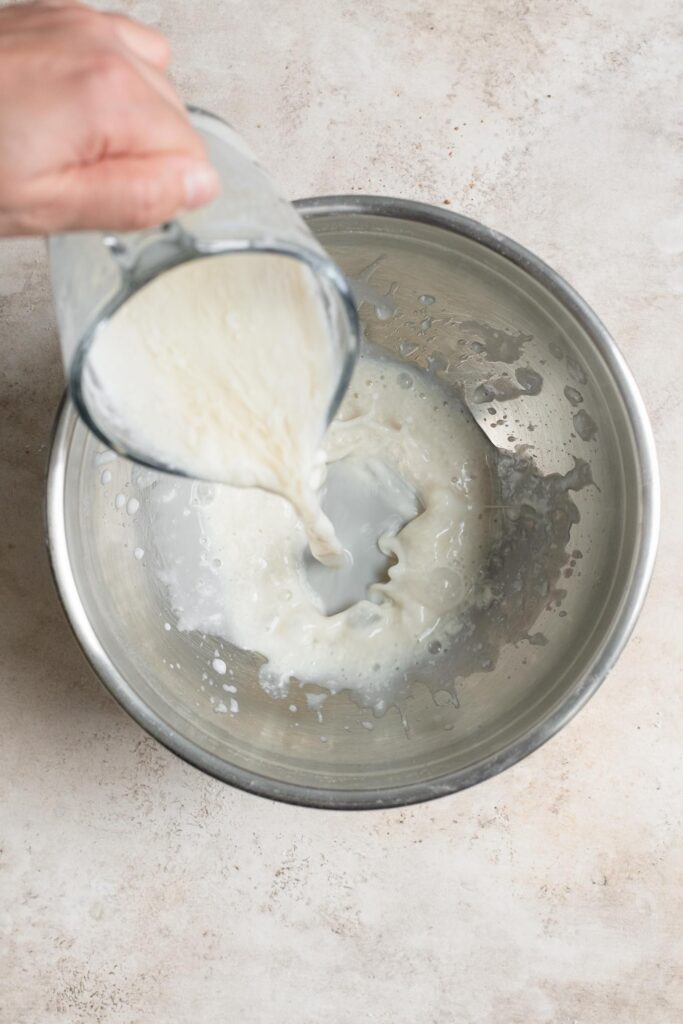
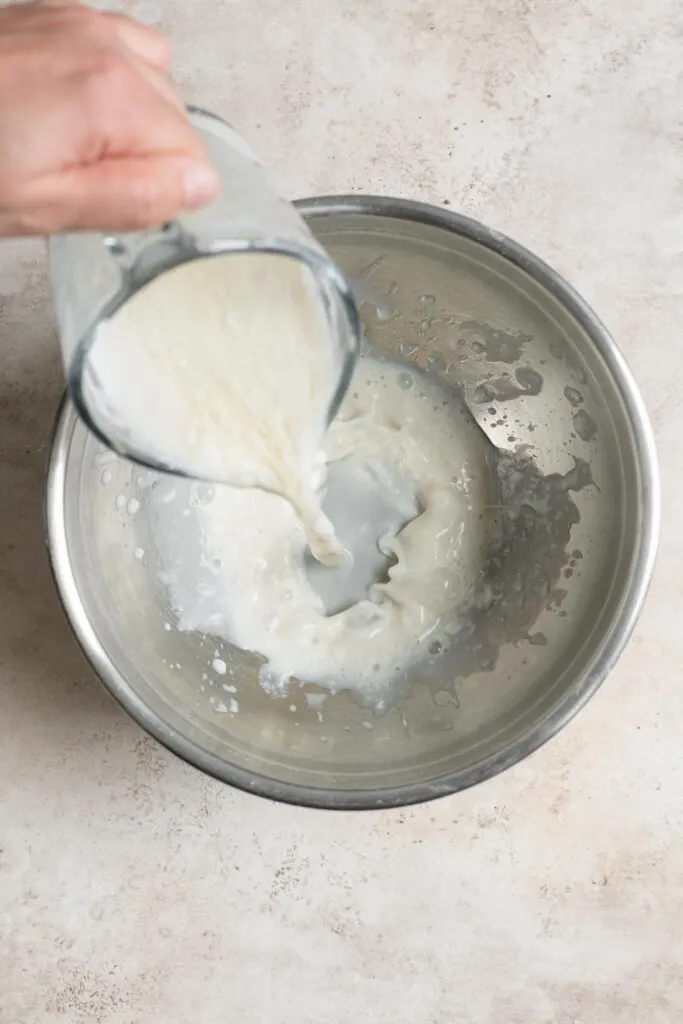
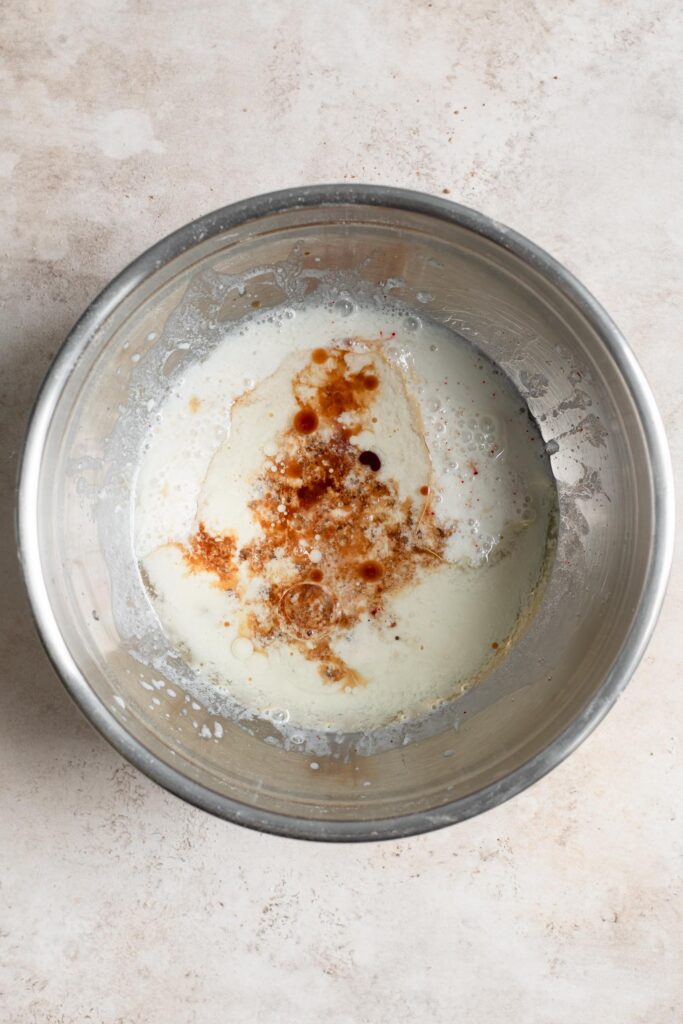
As red velvet is a variation on vanilla cake, I adapted this recipe from my really popular easy vegan vanilla cake recipe. That cake is so soft and moist and somehow tastes buttery despite there being no butter in sight! I mean besides the vegan butter in the frosting. We’re not savages. Oil makes for moister cakes (and despite how you feel about that word, you know that’s exactly what you want your cakes to be!), staying soft even when cold! Though you should eat your cake at room temperature for the optimal experience. Red velvet cake has a slight tang from homemade “buttermilk,” where white vinegar is added to a non-dairy milk and set aside to clabber. The milk thickens and curdles and turns into a buttermilk substitute. The best plant milks to use for this are richer milks like soy milk, oat milk, almond milk, or cashew milk. Soy milk is my personal fave. You can make this recipe with either natural cocoa powder or dutch-processed/alkalized cocoa powder. However, as much as I generally prefer the flavor of dutch processed cocoa powder, it is darker in color and your cupcakes will end up looking more burgundy than pure red. I suggest you use a natural cocoa powder for this recipe. They are lighter in color and the taste is less richly chocolatey, and it works really well for red velvet. A final note: you’ll notice that my recipe calls for a lot of vanilla extract. This is not a typo! I really do add a full tablespoon and a half to the cake. It makes it so good!
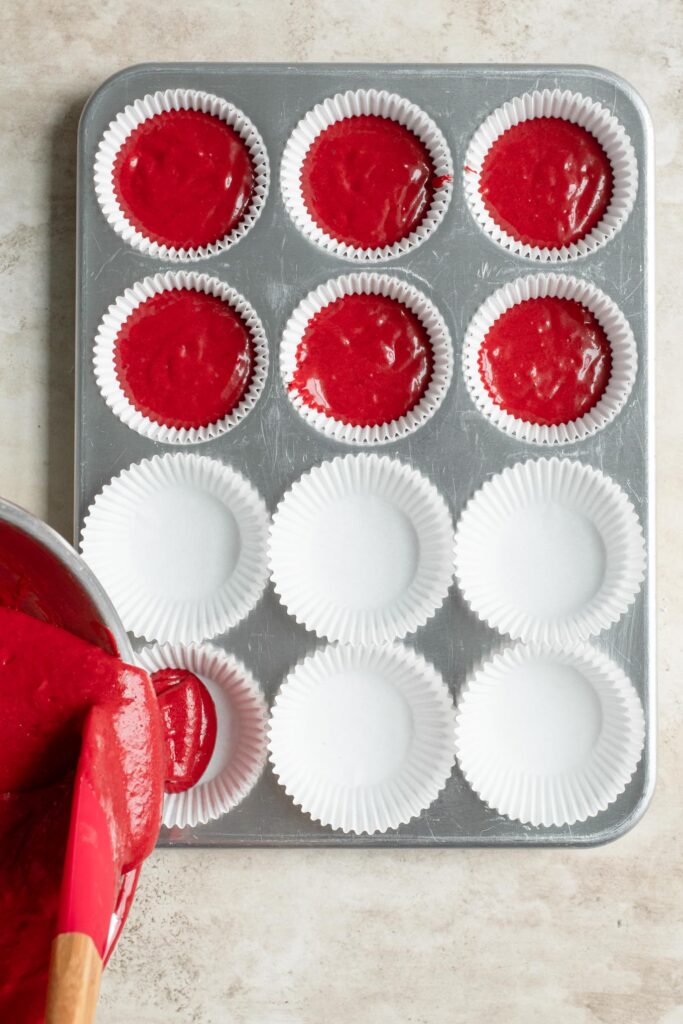
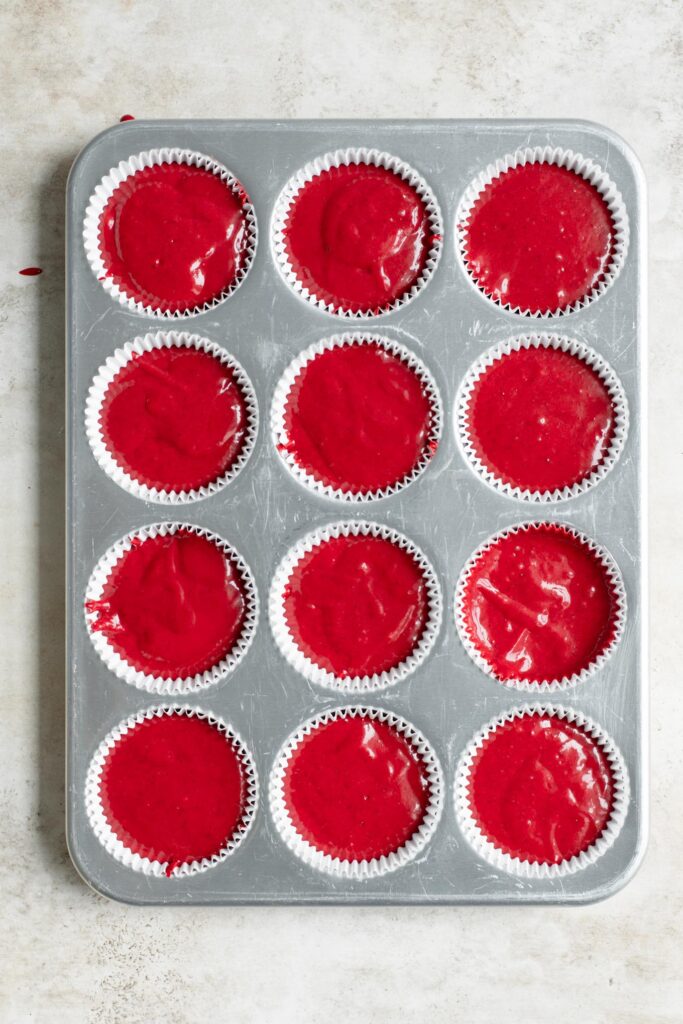
The red food coloring:
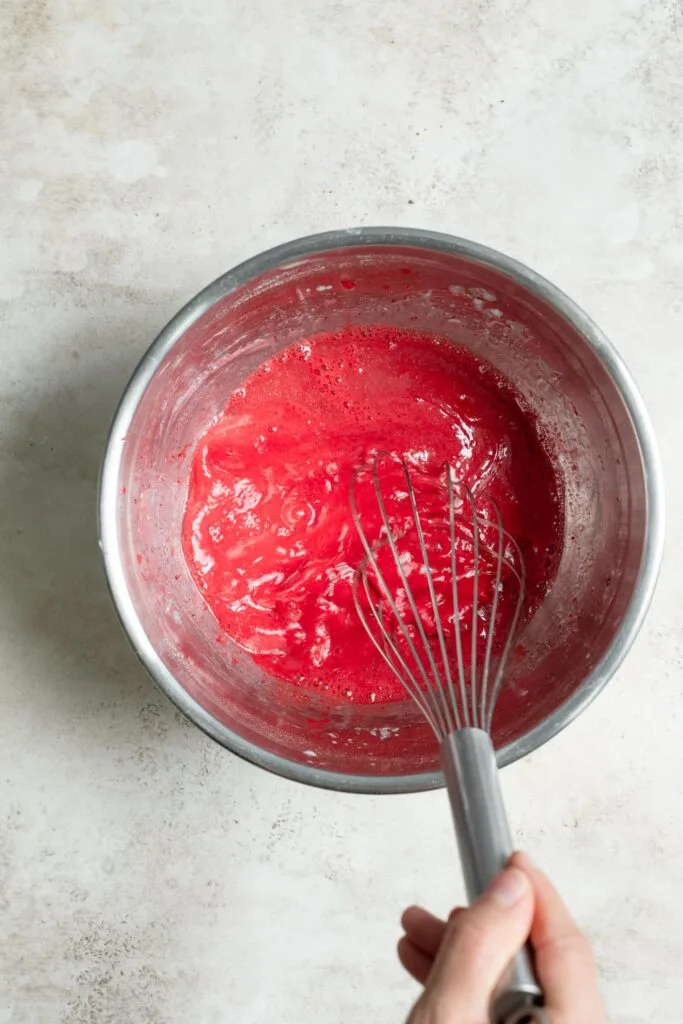
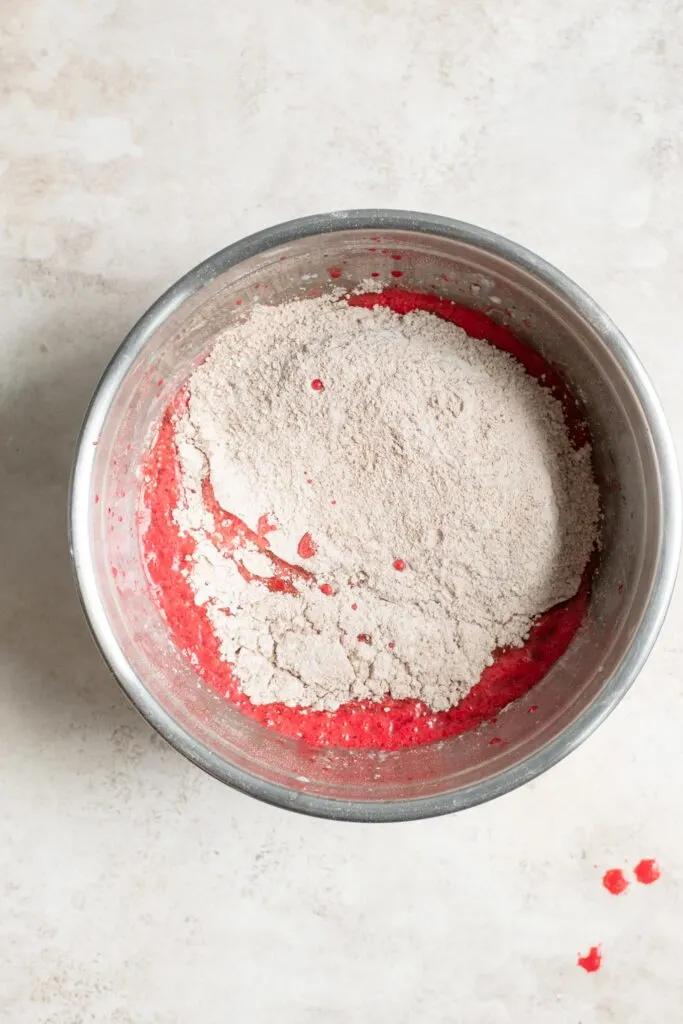
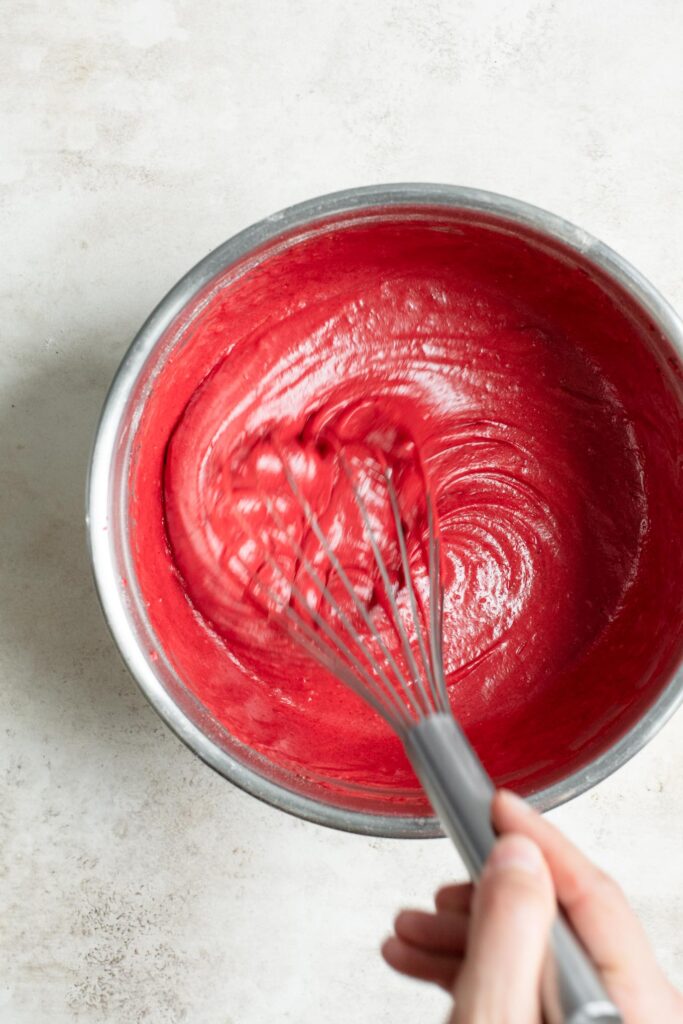
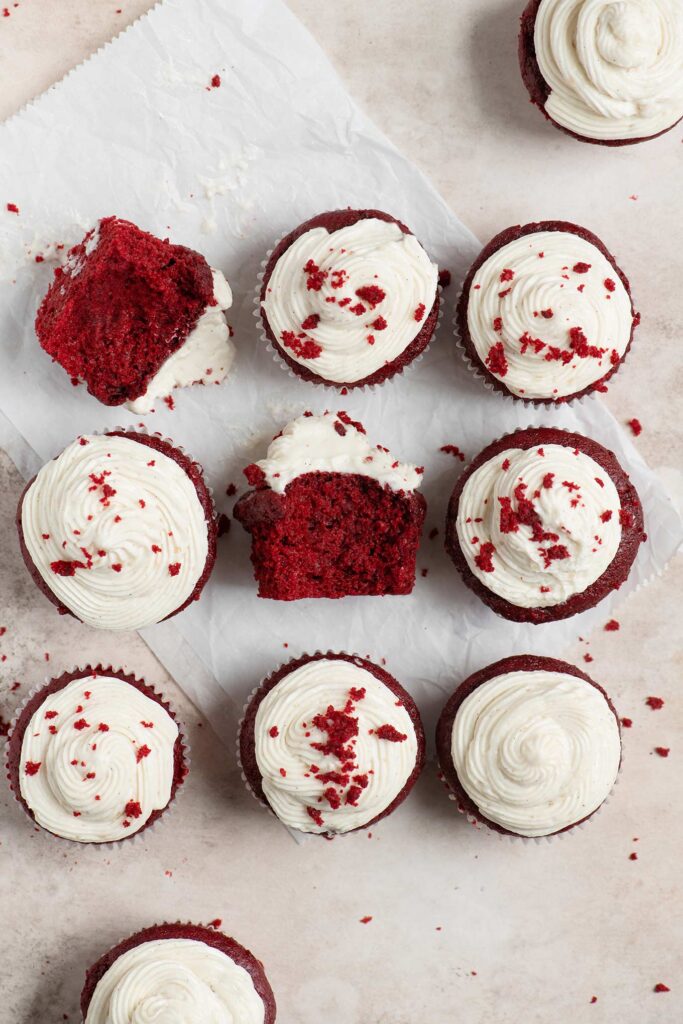
Modern day red velvet cakes are expected to be a vibrant color, and for this you need to use food coloring. If you care less about color you can skip it, or try a natural food color. I’m of the opinion that a little food dye here and there is fine, so personally used artificial food color. How much food coloring you add depends on the dye you use, and the shade you are looking for. I recommend using gel food coloring as you can make a more concentrated color without adding too much liquid and changing the texture of your batter. The two most popular brands of gel food coloring in the United States are Americolor and Wilton, and both of them have vegan-friendly food dyes. Not all red food coloring is vegan however, so do your research! Add the food coloring to the liquid ingredients and mix in until you have a super vibrant red. The color will decrease when mixed into the dry ingredients and after baking. This is particularly true if you use a natural food coloring. I find that both Wilton and Americolor red gel coloring stays really vibrant and saturated after baking, especially if you use a lighter colored natural cocoa powder. I mean, I think the photos speak for themselves!
The vegan frosting:
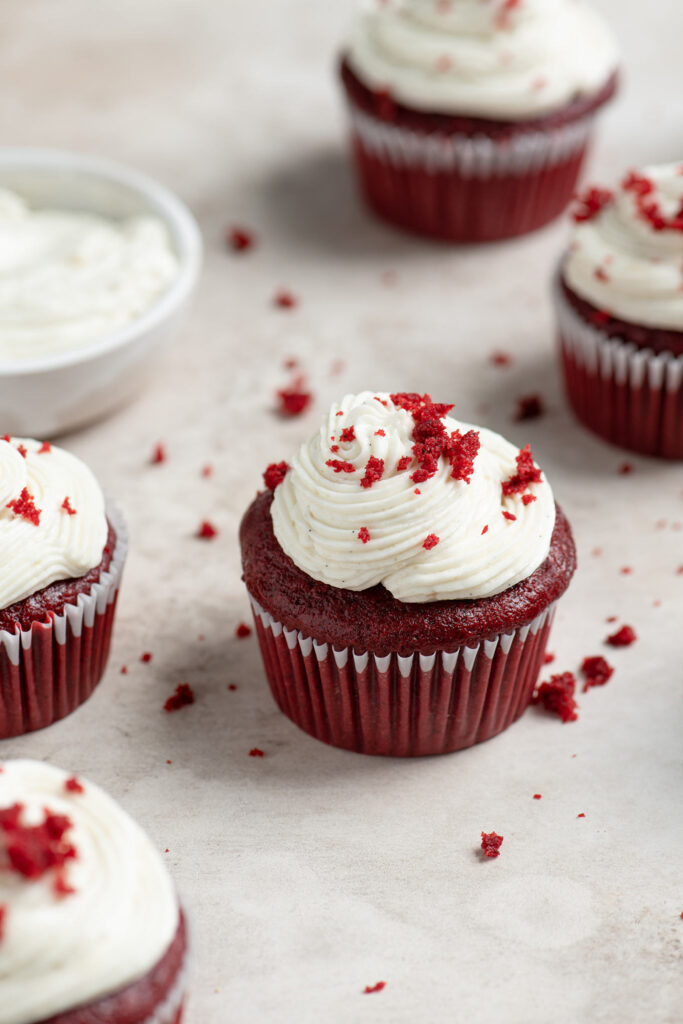
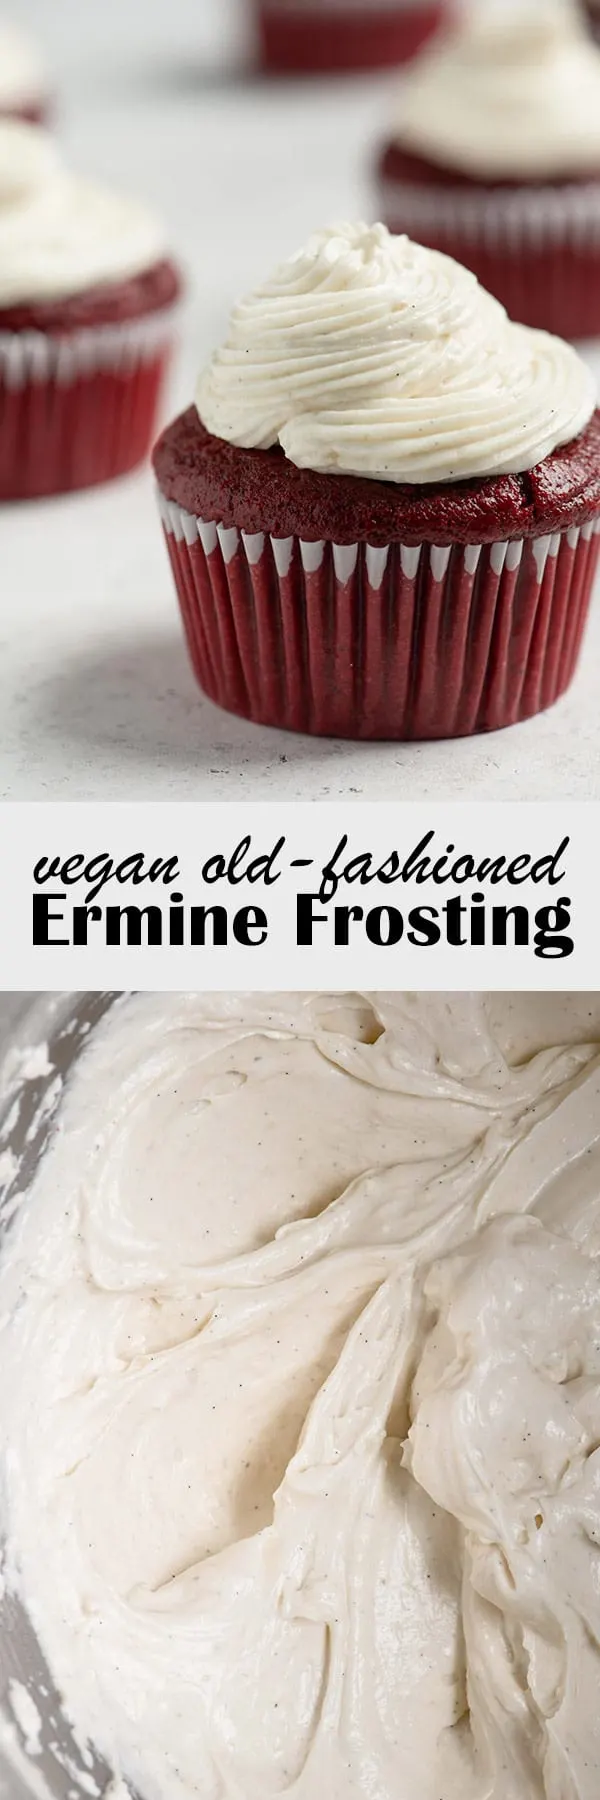
I frost these cupcakes with the traditional choice: ermine frosting, also known as flour frosting or old-fashioned frosting. This frosting is so soft and light tasting and does not taste too sweet. Does this mean you will likely want to eat two cupcakes? Yes. Plan on it! If you prefer your red velvet to be paired with a cream cheese frosting… Well then I say, you haven’t tried it with the ermine frosting for one. But if you must I have you covered for that as well with my vegan cream cheese frosting!
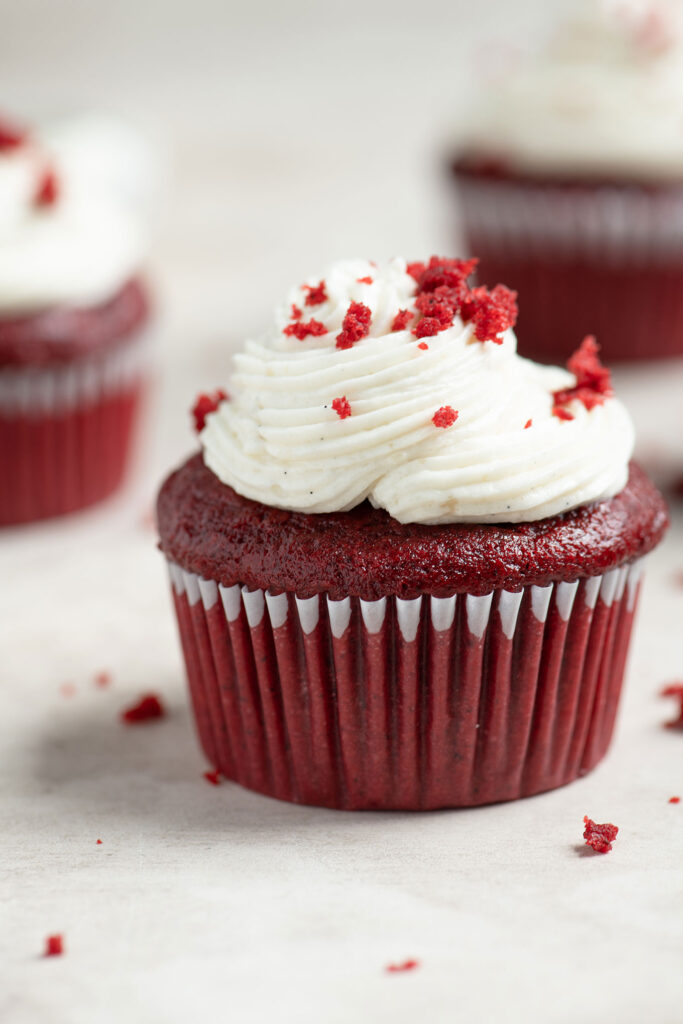
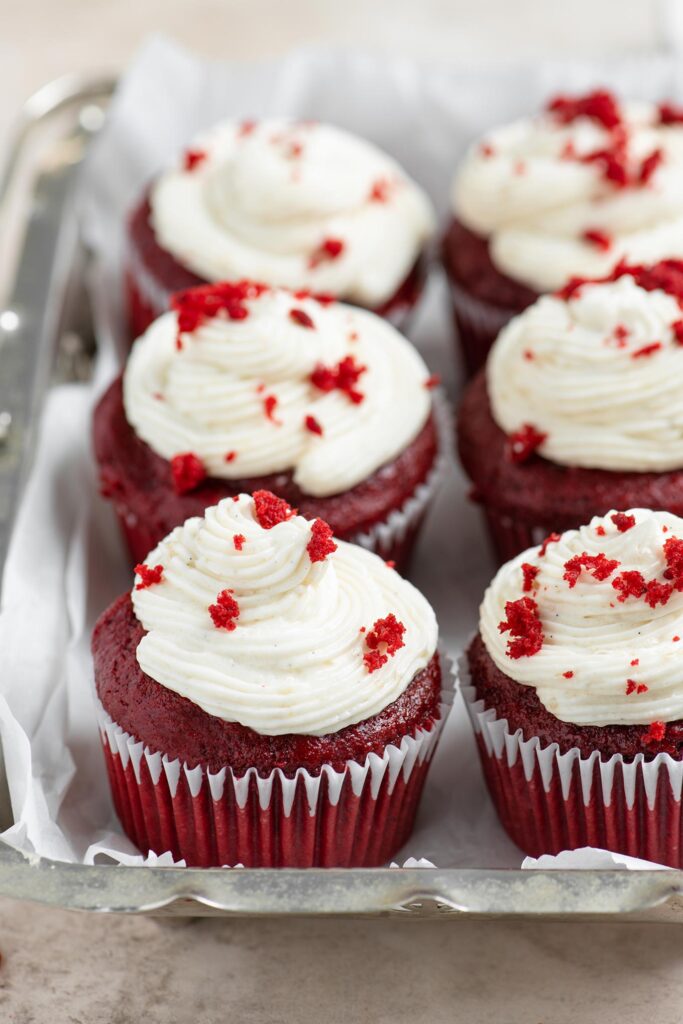
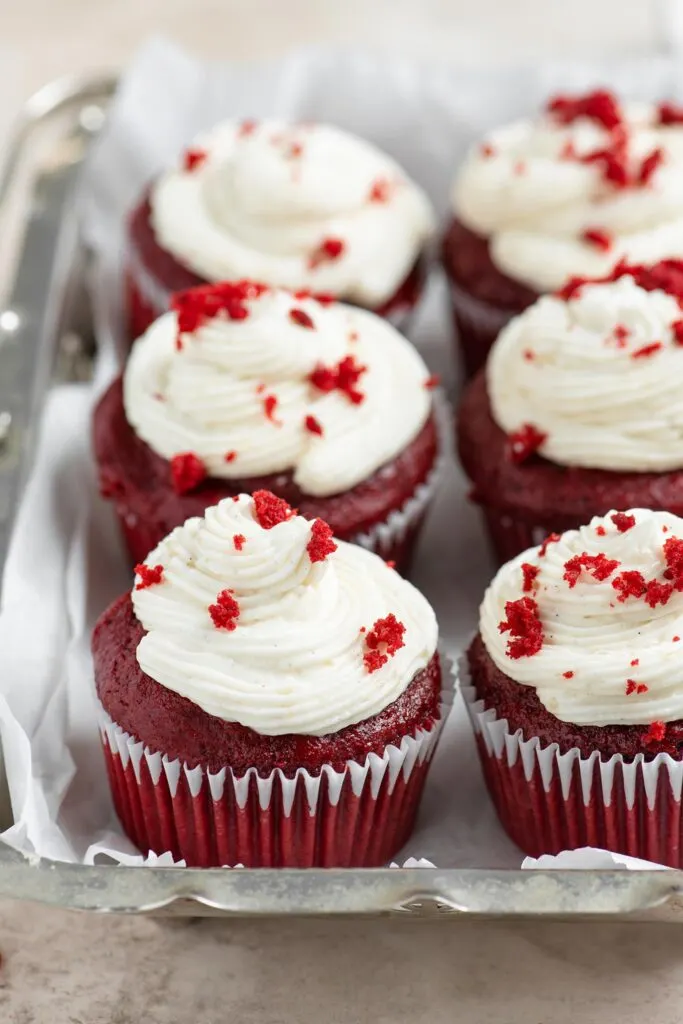
To decorate your red velvet cupcakes:
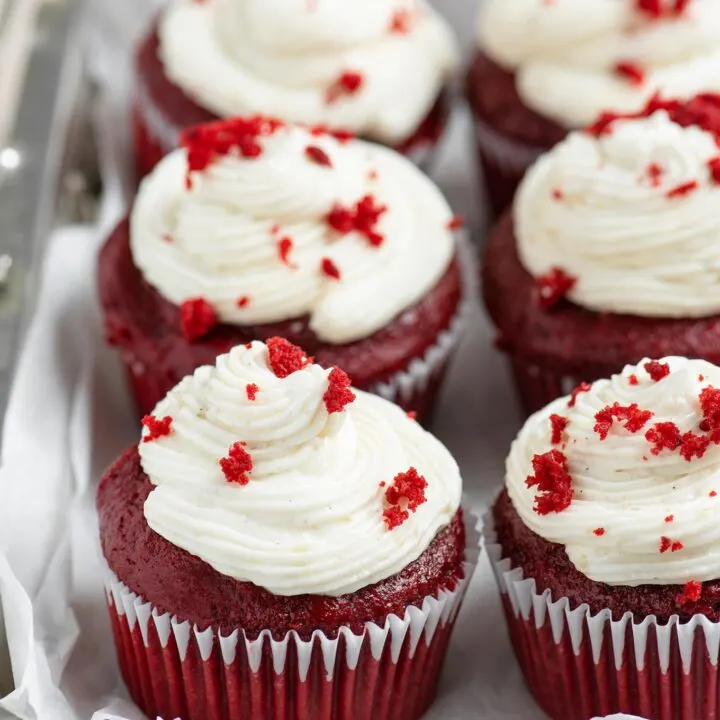
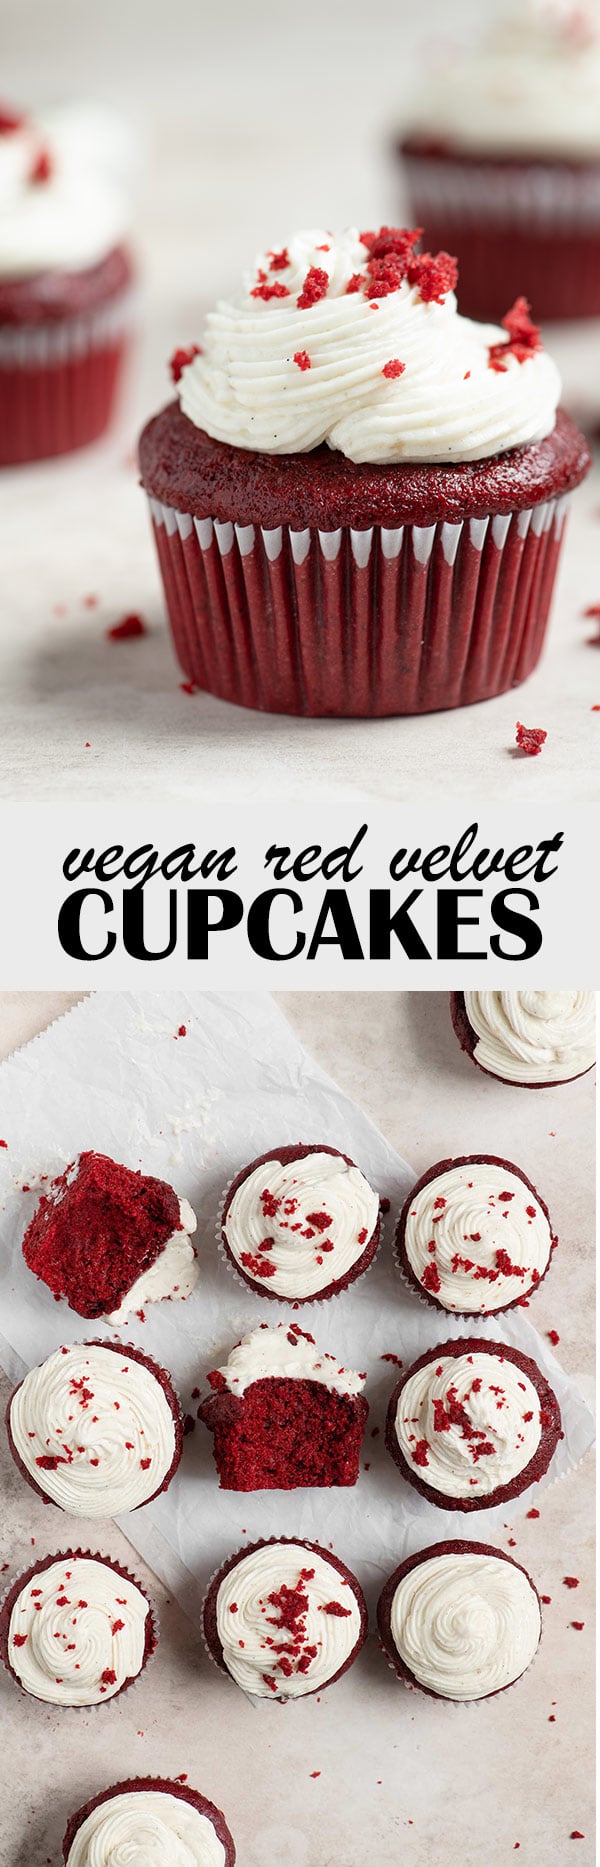
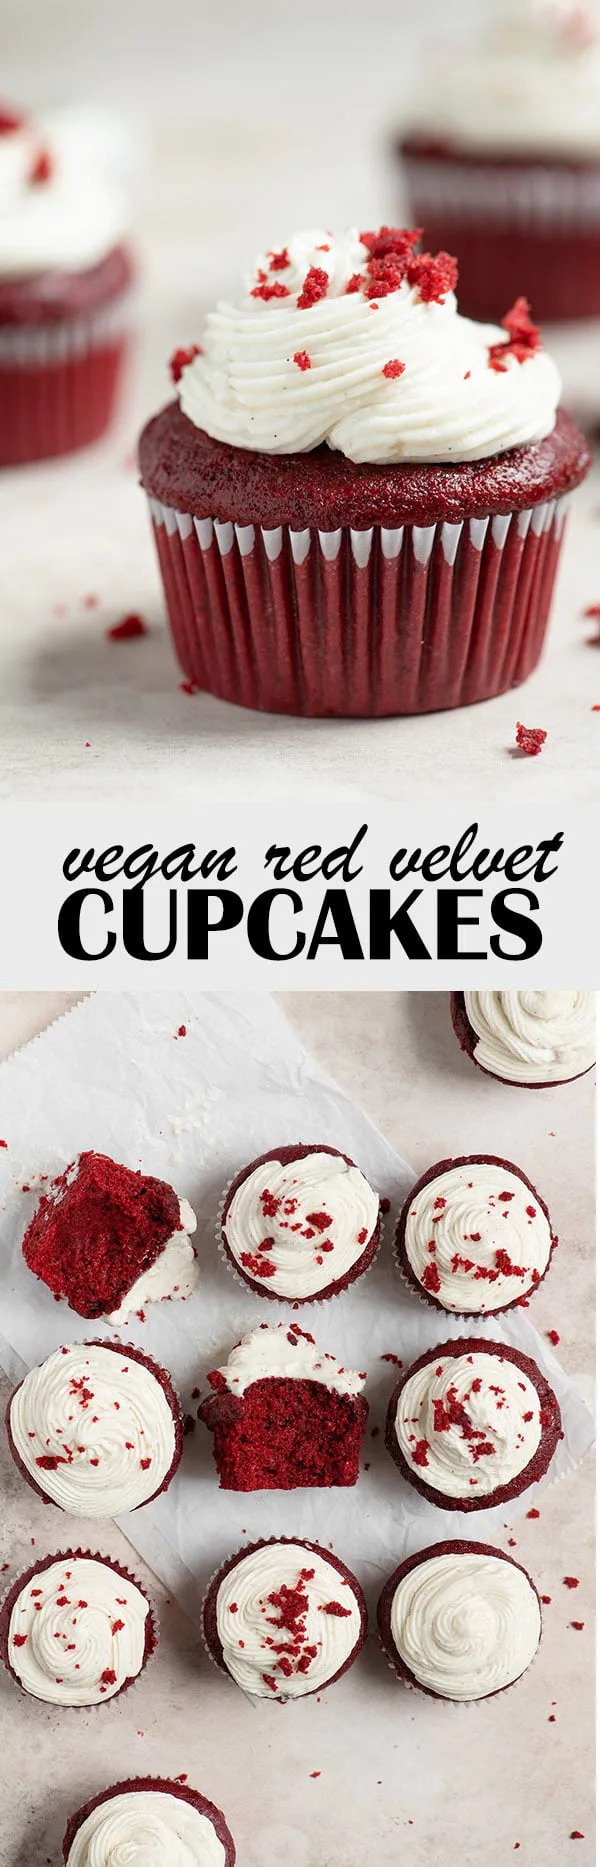
You have some options. You can sacrifice one cupcake for “quality control” and turn it into crumbs for the cake. This is what I did this time around! The cake is very soft and moist though, so it is hard to make small crumbs out of a freshly baked cupcake. Consider this your fair warning! Silver lining is you do get to eat that cupcake then say “what cupcake?” when it’s finished. Otherwise, I love topping the cupcakes with sprinkles! It’s too cute! And easy. And did I mention cute? Note: not all sprinkles are vegan, so read your labels! You can also just pipe on a swirl of frosting and call it a day! The cupcakes will still be super cute!
Tips for preparing cupcakes in advance:
You can bake the cupcakes 1-2 day in advance and refrigerate before or after frosting. For longer storage you can freeze unfrosted cupcakes in a freezer storage bag. To freeze frosted cupcakes first let cupcakes freeze on a baking tray or plate for about 1 hour in the freezer or until the frosting turns hard. Once frozen transfer to a ziplock bag or other freezer storage container. Let the cupcakes defrost at room temperature. Cupcakes can be left out at room temperature when frosted for a couple of days too. For longer storage I prefer to refrigerate them and then just pull them out of the fridge 20 minutes or more before enjoying. Pro-Tip: cupcake liners remove more cleanly from the cake if you refrigerate the cake for several hours before serving! Just make sure to let them come back to room temperature first!
No matter what, these vegan red velvet cupcakes (as with any cake) are best enjoyed at room temperature!
To be completely honest with you, I was not a red velvet advocate (lol) until I made these cupcakes. I thought that red velvet couldn’t make up its mind between the great flavors of chocolate and vanilla! I was wrong. I had tried one too many sub-par (and dry!) red velvet cakes. But when red velvet is done right, it’s worth its weight in gold! That’s said for dramatic effect, luckily you can make a dozen cupcakes and not be out a cupcakes worth of gold! If you make these vegan red velvet cupcakes, leave a comment below and rate the recipe on the recipe card. And please share your photos with me on Instagram, tag @thecuriouschickpea and #thecuriouschickpea. I love seeing your recreations! To measure your flour by volume, whisk the flour in its container to undo any settling, then scoop the flour and level with the backside of a butterknife. You can use either natural cocoa powder or dutch processed (alkalized) cocoa powder in this recipe, but I recommend natural cocoa powder for it’s lighter color. Use a neutral flavored oil like canola oil, safflower oil, or sunflower oil. I recommend using a gel food coloring like Wilton or Americolor. I used 1/4 tsp red gel food coloring to achieve this color (both brands were tested). Frost the cupcakes with vegan ermine frosting or vegan cream cheese frosting.
Food Coloring AmeriColor Soft - Gel Paste Junior Kit, 8 Colors.75 Ounce Bottles Nordic Ware Natural Aluminum Commercial Muffin Pan, 12 Cup
If using store bought caster (aka superfine) sugar, measure by weight as caster sugar is less dense than granulated sugar. For the vegan butter, use the kind that comes in sticks or blocks, not the kind that comes in a tub and is formulated to be better for spreading. The latter is soft for using in frosting. You can refrigerate or freeze frosting to use at a later date, but it must come to room temperature before you try to rewhip it. If you whip cold frosting it will break and look curdled. If the vegan butter and shortening start to melt or look curdled after you add the pudding, it’s likely that your pudding wasn’t cool enough. You can try to refrigerate the frosting to cool it down and whip once cool to bring it back together.