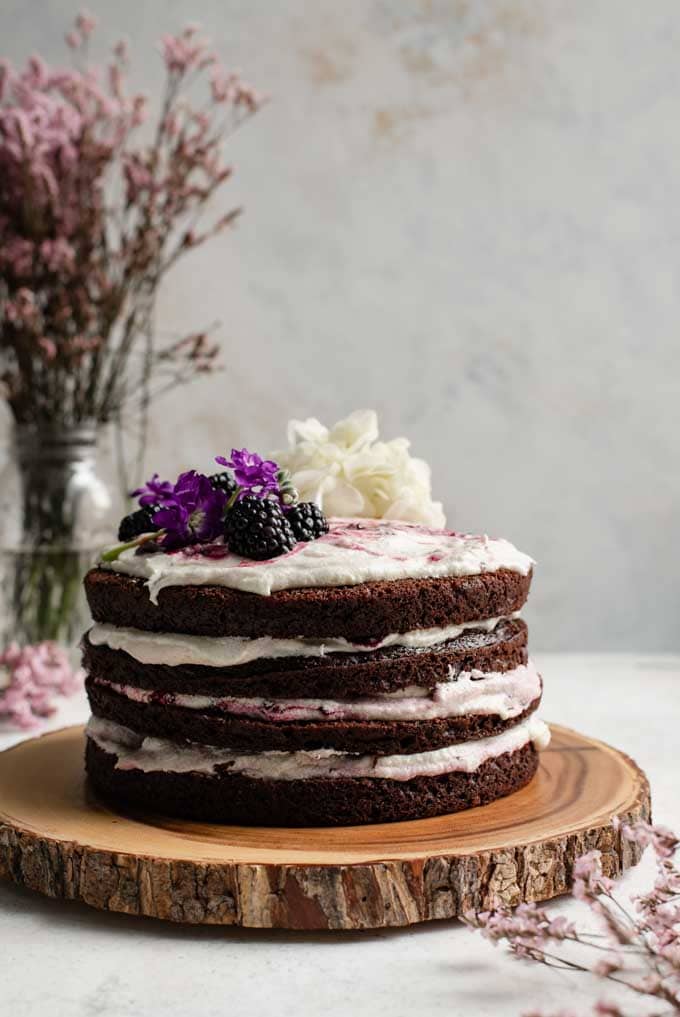
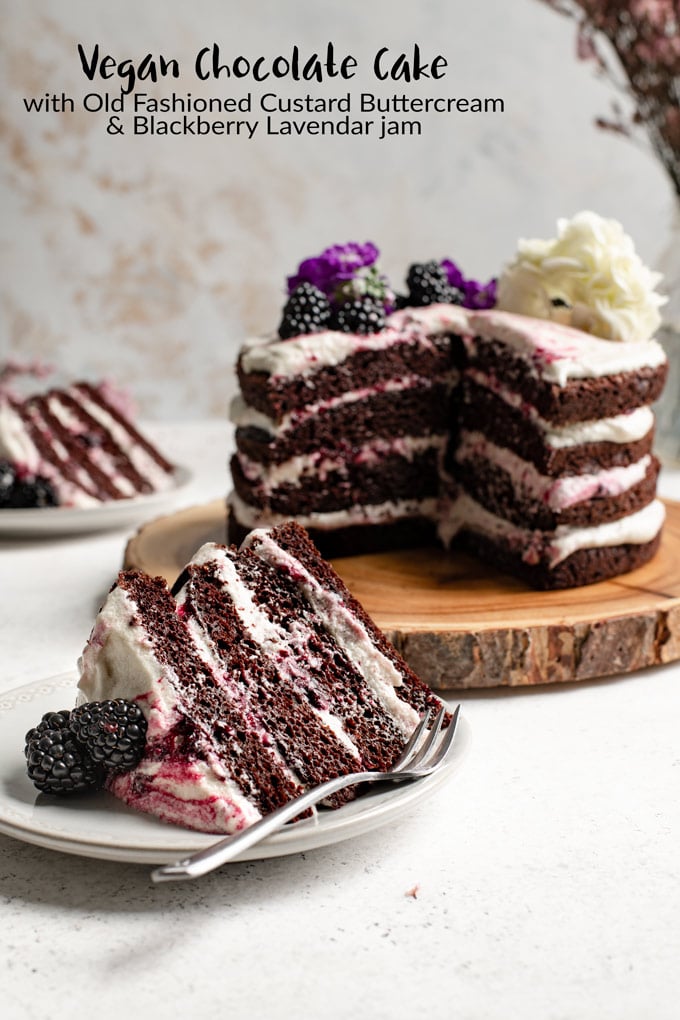
I haven’t been able to resist the allure of plump blackberries lately. Not that I try very hard as you know, fruit is good for you and all that. And each little carton of early season blackberries has paid off with the sweetest, most juicy berries! So don’t mind me while I devour all the blackberries I can get my hands on while the season lasts. And no judgment if I enjoy some of those berries via the most delicious chocolate cake! If I could put this cake on repeat, I would. Anyone have a birthday coming up they want to invite me to? I’ll bring the cake! ? The truth is, you don’t need great fresh blackberries to make this cake. Most of the blackberry flavor comes via an easy homemade lavender blackberry jam which is as tasty (and often more economical) when made out of frozen berries as fresh. A few fresh blackberries to top and if you want some extra berries nestled between the layers for decor and extra bursts of flavor are all you need. To frost this cake I chose my vegan ermine frosting, an old fashioned flour-based buttercream. It’s fluffy and light, not overly sweet, and super creamy. You’ll def want to give this frosting a try! So, let’s build this cake!
Start with the chocolate cakes!
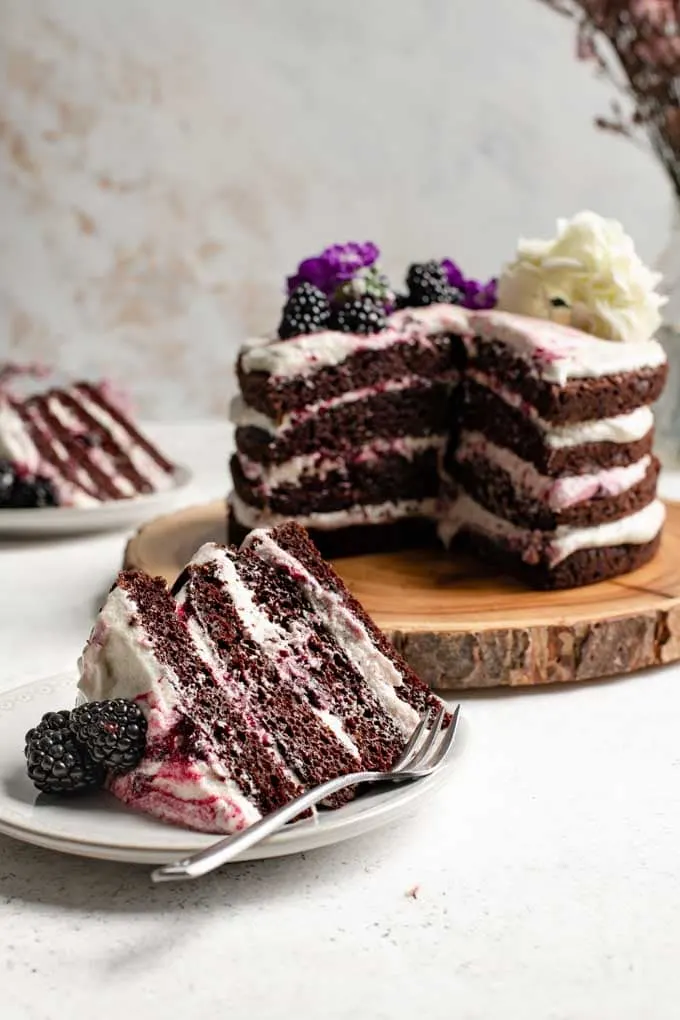
I baked up 2 of my ultimate vegan chocolate cakes. Each cake bakes up nice and tall, and I chose to cut them in half (called torting) to make a total of 4 layers to my cake. I prefer to bake my cakes at least the night before I want to assemble, as this gives them ample time to chill in the fridge. This is essential for getting clean cuts through the cake to make nice layers as well as minimizes crumbs when frosting the cake. Once baked, let the cakes cool on a rack until they reach room temperature, then transfer them to a cardboard cake board and wrap in plastic and place in the fridge to chill. The cake boards help protect your cake and keep them nice and level as well as make for easy storage.
Next, prepare the blackberry lavender jam.
Homemade blackberry jam is super simple. Combine the blackberries, sugar, lavender, and some lemon juice and simmer until the juices start to thicken. There’s a lot of cool chemistry when it comes to making jam. Essentially it thickens thanks to pectin, which is naturally occurring compound in blackberries (and other fruits). Cooking the berries with sugar draws out the pectin, and this process is aided by adding an acid–in this case lemon juice. There’s no need to get overly fussy with this blackberry lavender jam, as we aren’t trying to make the most perfect jam ever, but just trying to make a delicious preserve for swirling between our cake layers. Be careful not to cook the blackberries for too long as this can cause the mixture to get too thick, the sugars start to caramelize, and before you know it your jam will cool to be solid (definitely don’t know that because of experience ?). Because we’re just adding this to cake, if anything it’s better to cook less than it is too long. As the berries simmer they’ll cook off excess water and the juices will start to thicken. How long this takes depends on how much you’re making and the size and shape of your pot, as well as you particular stove. When you’re able to draw a spoon or silicon spatula through the jam and it takes a second to fill in behind the spoon, your jam is ready. If it holds the gap for too long, you’re starting to overcook the sugar in the jam. The jam will thicken as it cools. Make it in advance and store in the fridge, or just make sure it’s completely cooled before decorating the cake. If interested, you can read more about jam making in this article!
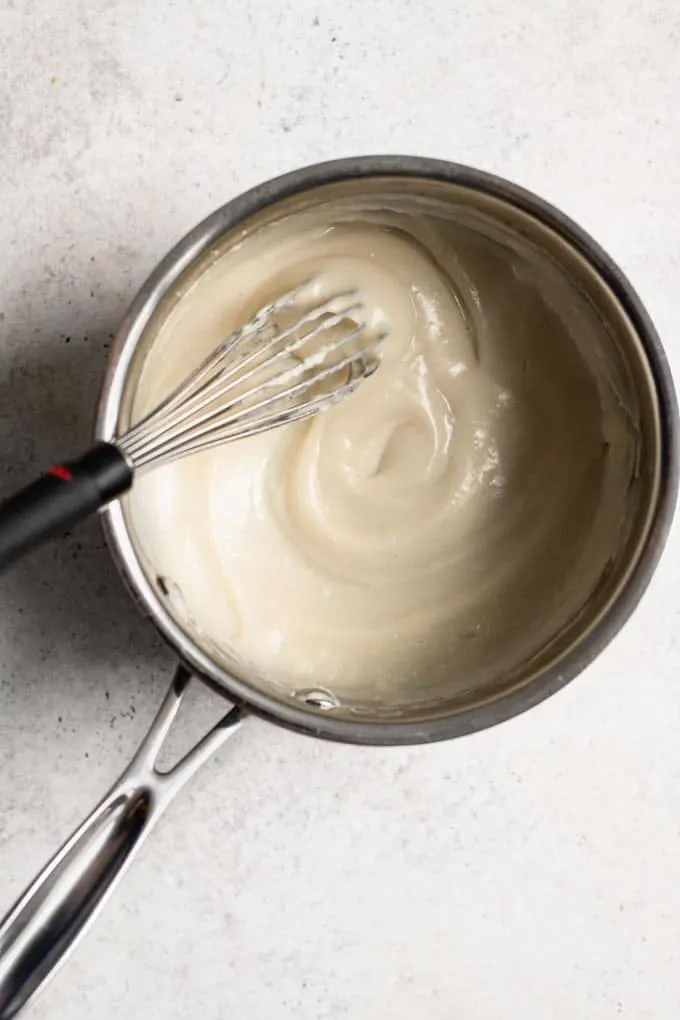
Now it’s time to make the flour frosting!
The idea of flour frosting might not make your mouth start to water, but, you guys. This frosting is so delicious! It’s ultra creamy and smooth. Soft, light, and fluffy. It’s made with just 5 simple ingredients. Flour, plant milk, granulated sugar (that’s right! no powdered sugar here!), vegan butter, and vanilla extract. If you’re one of those people who doesn’t love the way that powdered sugar frosting taste (super sweet typically), doesn’t care to fuss with meringue buttercream, or just likes to experiment with new recipes, then this is the frosting for you! First we make a simple pudding with the flour and milk (any vegan milk should work just fine in this recipe–I tested it with oat milk and soy milk). Whisk them together and heat on the stove, whisking while it warms to keep any large clumps from forming. Once it thickens, turn off the heat and let it cool to room temperature. Whisk occasionally as it cools to keep it from turning lumpy or developing a skin on top. Next, blitz your sugar in a blender to make a homemade caster or superfine sugar. You can skip this step, but it helps ensure that all the sugar dissolves into the vegan butter easily and you won’t end up with a stray grain of sugar here and there. Whip the sugar with the vegan butter (take it out of the fridge 15-30 minutes before you want to whip it) until fluffy and lighter in color. Then add the pudding in batches and whip it in to incorporate and turn the frosting even fluffier and creamier. Buttercream lightens when air is incorporated into the frosting, so you can watch for the color turning to a pale cream as a visual cue that it’s ready. Add the vanilla extract at the end. Taste it, but try not to eat it by the spoonful! If you make the frosting in advance, keep it in the fridge or freezer, but make sure to let it come back up to room temperature before rewhipping. I’ve learned the hard way that if you skip this step the buttercream will break/split/curdle. If you look really closely at these photos, you’ll notice that I was not as patient with this as I should have been. Don’t make my mistake, do it correctly and your cake will be even better than the one in these photos!
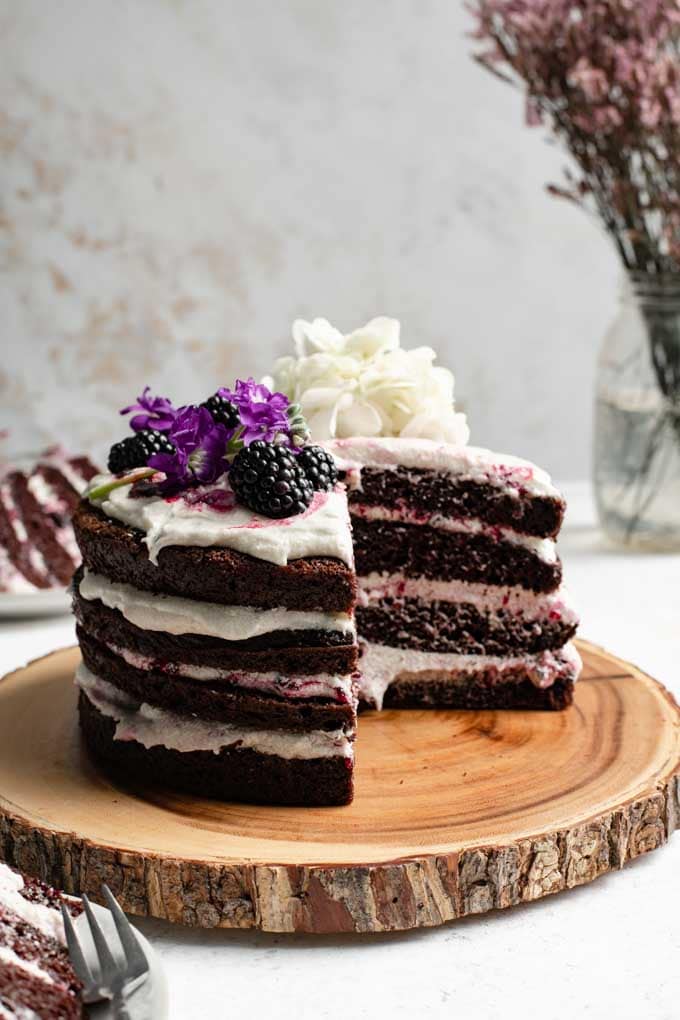
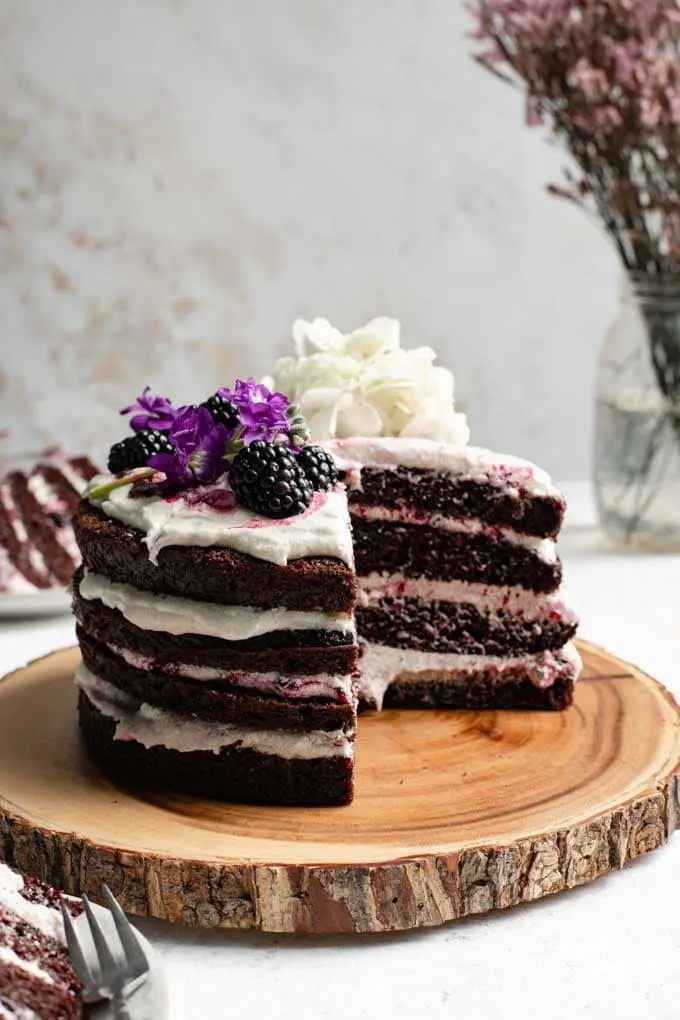
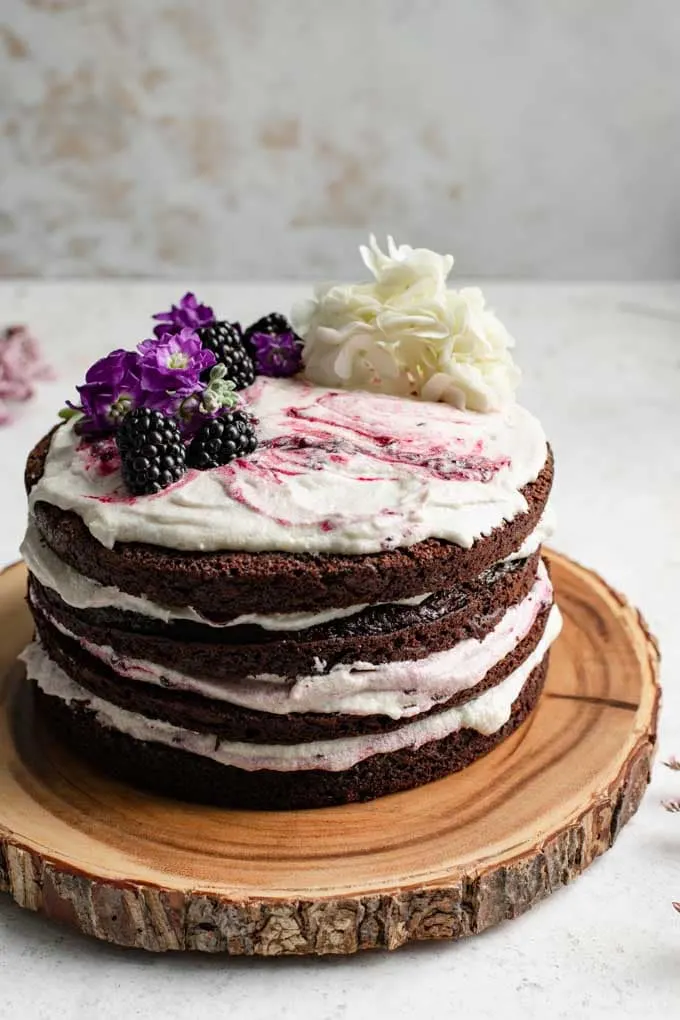
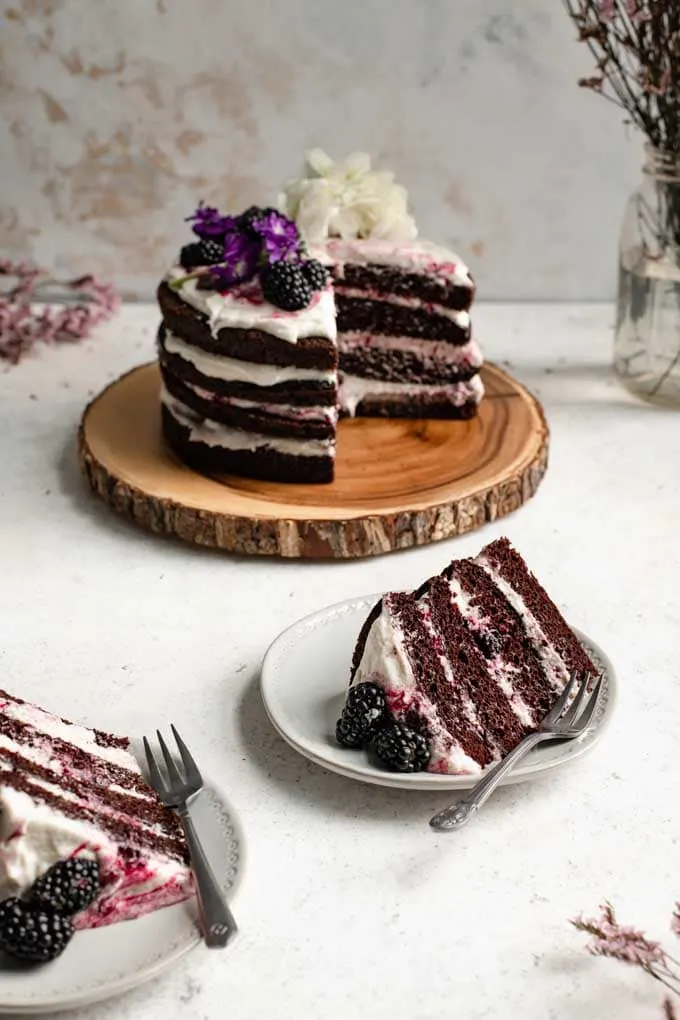
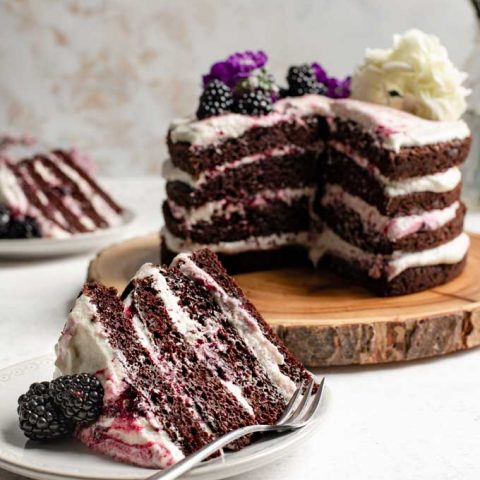
Finally, let’s build and decorate the cake!
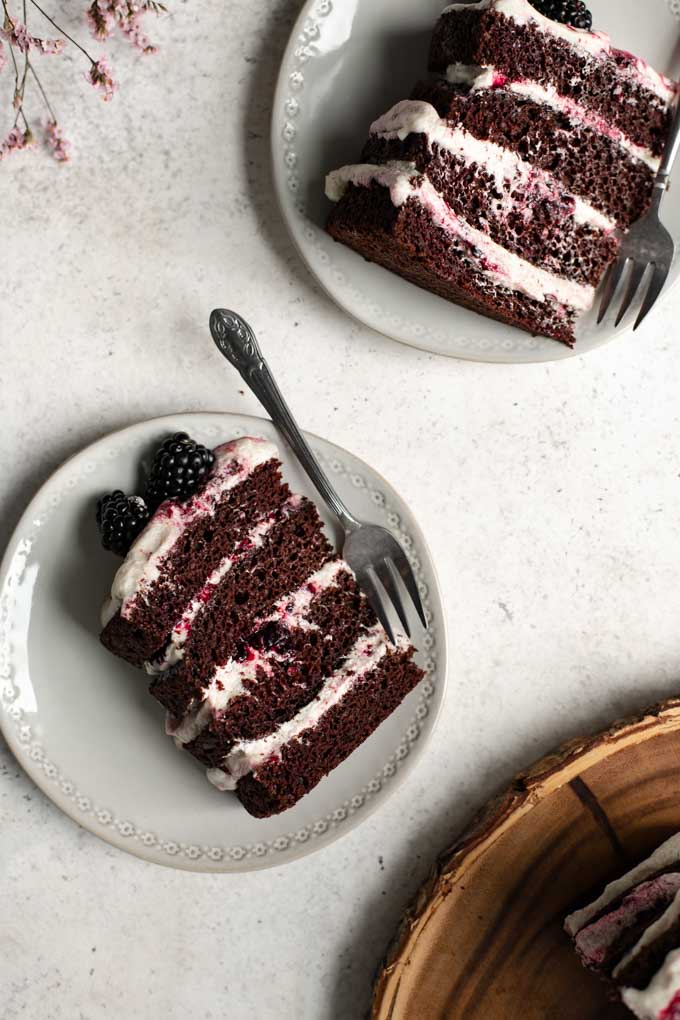
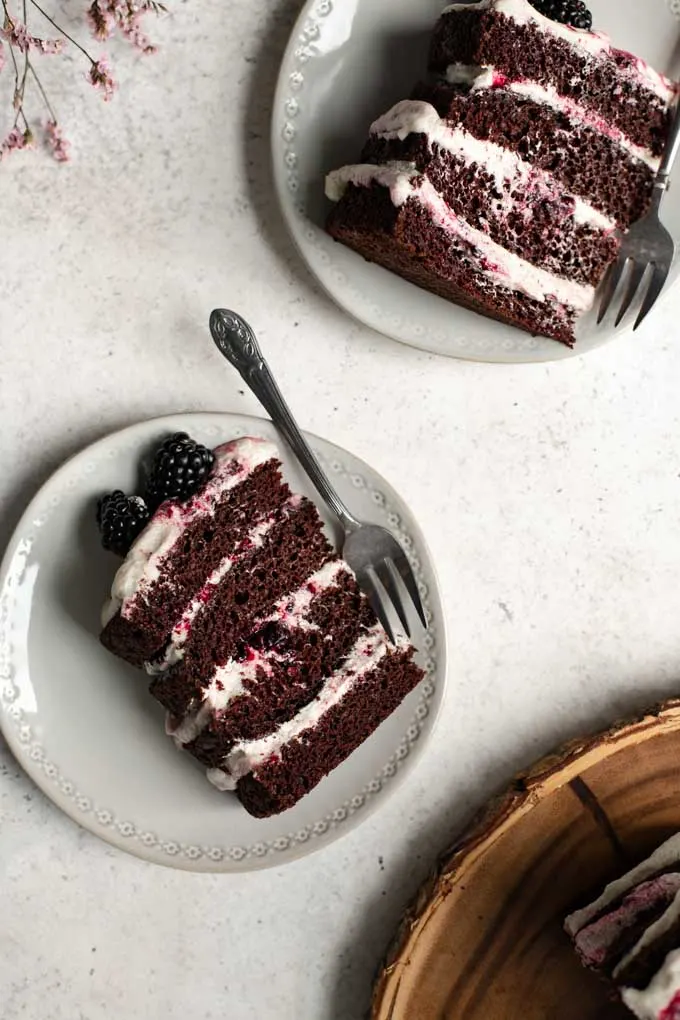
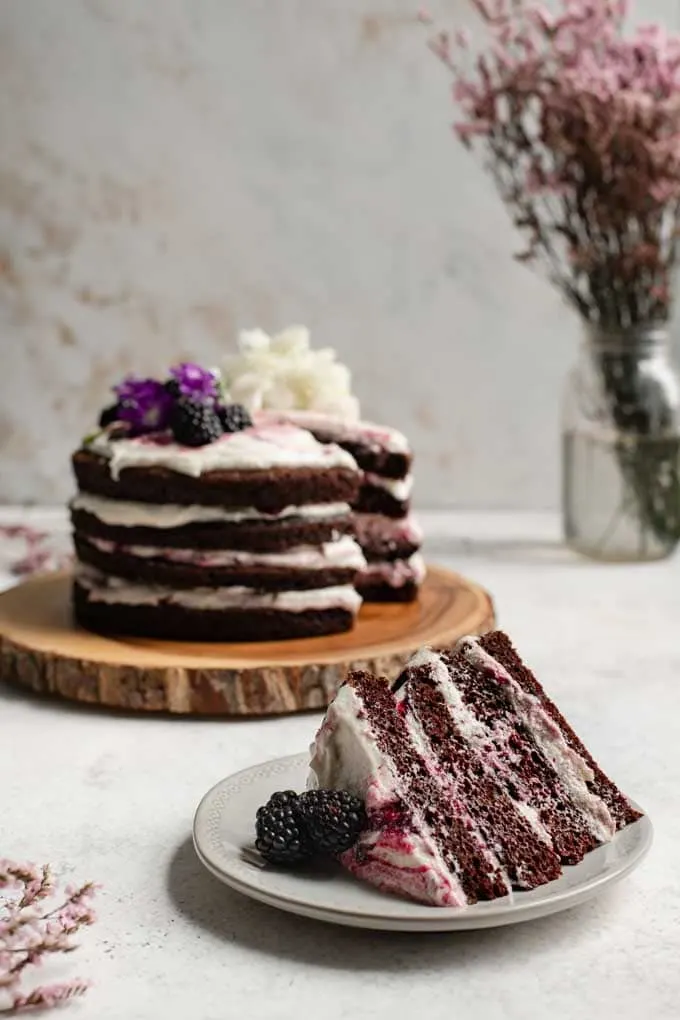
First, turn the two cakes into 4 cake layers by cutting each cake in half. This process, called torting, is easily done using a cake leveler, but you can also cut cakes in half using a bread knife (a very long serrated knife). Check out this tutorial by Wilton for tips on how to do this, but make sure your cake is thoroughly chilled before slicing to minimize crumbs! You can also skip this if you prefer and just have a simple 2 layer cake! use the same instructions to level the cakes as you would to torte it for a flat topped cake. Now we build the cakes: And that’s it! Now you have a beautiful, rustic cake that’s a showstopper in both looks and flavor! I hope you guys enjoy it! If you make this gorgeous vegan blackberry lavender chocolate cake, leave a comment below and rate the recipe on the recipe card. And please share your photos with me on Instagram, tag @thecuriouschickpea and #thecuriouschickpea. I love seeing your recreations! Depending on how much jam you use between layers you may or may not have some leftover. I personally don’t like a lot of jam in my cakes so only used about half of it.
Nielsen-Massey Pure Chocolate Extract, with gift box, 4 ounces OXO Good Grips Stainless Steel Food Scale with Pull-Out Display, 11-Pound Wilton 8-Inch Cake Circle, 12-Pack Wilton Cake Leveler, Small, 10-Inch Regency Wraps Parchment Paper Circles - 8"