Growing up, I was a frosting girl. Like, dig-your-finger into the tub of leftover Betty Crocker frosting. Eat the end slice (remember the days of sheet cakes?? I guess they’re back in fashion now) or go home. Ok I thought I would have more examples of my frosting loving craziness but it’s early and I’m tapped out. Point is, I loved frosting. Sure cake is tasty too. But frosting was where it’s at. Then something changed. I found myself removing 75% of the frosting off of cupcakes (but also, why do they always use SO much??). And I haven’t eaten sheet cake in a long time, but I would probably request a center slice if I did! Something in me had flipped and I started finding frosting too saccharine. A little was good and necessary, but too much frosting with my cake and I quickly became sugared out. Was I broken? Do tastes really change that much? (No and yes, in case you’re wondering) Apparently I had just fallen out of love with American buttercream. You know the one–one part [vegan] butter, one part shortening (0r some combination of the two), and then a metric f***-ton of powdered sugar.
American buttercream frosting still has it’s place. It’s a crusting buttercream, which means that after being frosted the outside will harden enough that it’s harder to muss the finished cake. This can be a good thing. It can be more stable if the cake is going to be served in a very hot environment (choosing the correct shortening can be important too, more on that later). Which also can be a good thing. American buttercream crusts thanks to the large amounts of powdered sugar, which in the US at least, is cut with a good amount of corn starch (which helps prevent clumping). But when it comes to enjoying frosting for frostings sake, Italian meringue buttercream is where it’s at. I had never made any meringue buttercream until a little over a year ago. Well apparently, I didn’t know what I was missing!
Italian meringue buttercream (aka IMBC) is like fluffy clouds. When served at room temperature it’s light and airy. It remains soft and yet is still super stable (I think it’s practically magic, especially when made without eggs!). You can spread it or and it pipes beautifully. It’s not overly sweet. IMBC is made with granulated sugar that has been melted and turned into a sugar syrup so you don’t get that same burst of sweetness at the tip of your tongue that happens when the powdered sugar reaches your tongue with American buttercream. Italian meringue buttercream is not as easy or quick to make as American buttercream. But it’s so worth the effort. And once you’ve done it once or twice, you’ll get the hang of it and start whipping it up in no time!
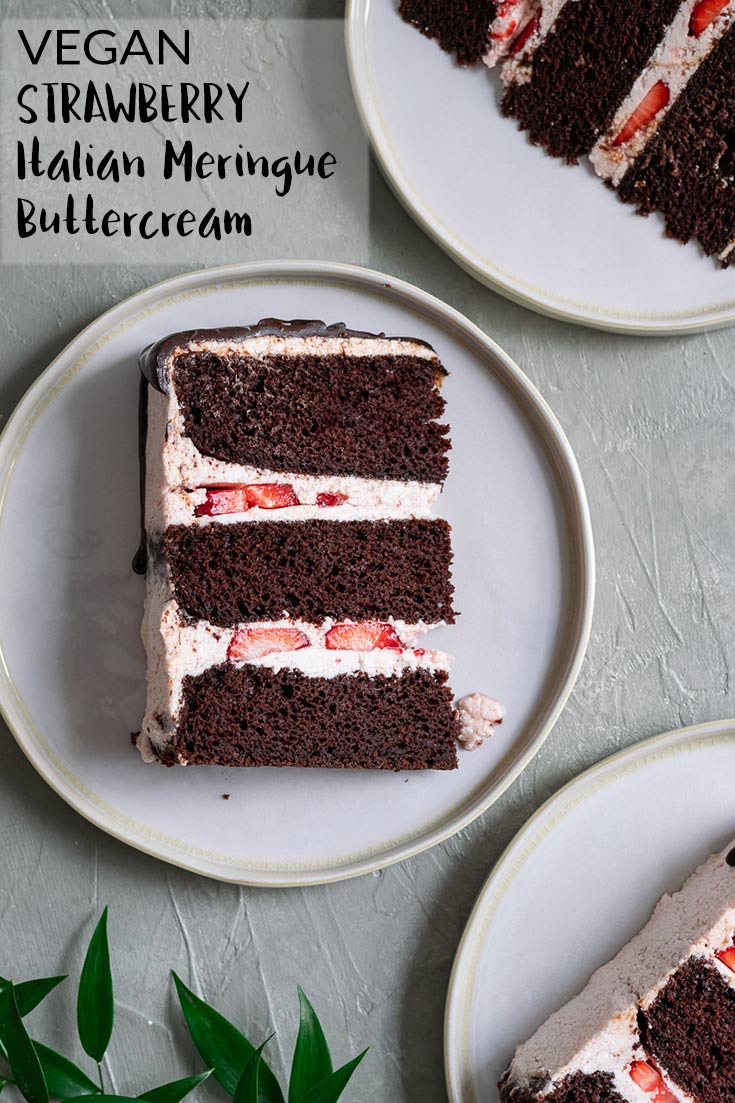
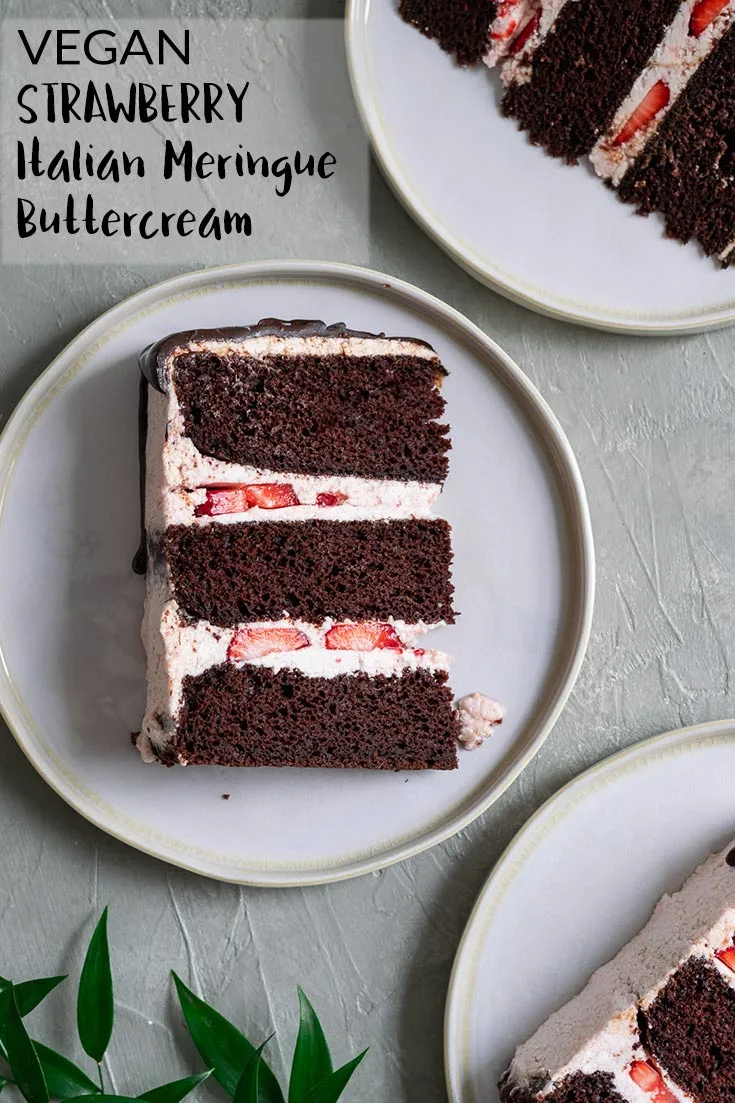
How to make vegan aquafaba strawberry Italian meringue buttercream.
So at this point, some of you might be wondering how on earth one can make a meringue vegan? Isn’t the whole thing about meringue that it’s made with egg whites? Well, thanks to the magic of chickpeas (and other legumes but I’m a chickpea gal), meringue is once again in your vegan (or egg-free) grasp! That thick, gloopy liquid you dump down the drain every time you open a can of beans? That stuff, dubbed aquafaba, is vegan gold. New to aquafaba? Check out this great guide to aquafaba put together by Minimalist Baker. It whips up nice and fluffy, forming any sort of peaks you desire (soft, stiff, or anywhere in between) and then when sugar is added it becomes meringue. Add some shortening and vegan butter and you have a vegan meringue buttercream!
That’s the basic outline, but let’s get into specifics. First, the aquafaba. Chickpeas and white beans make some of the strongest and mildest tasting aquafaba (meaning more stable fluff), but not all cans and brands are equal. You want the aquafaba to be thick and gloopy in the can. Eden Foods Chickpeas is a great brand to buy if you’re in the US, but others work too. I like to shake my can of beans before opening to loosen all the liquid, then dump the beans out over a strainer and reserve the aquafaba. Next, I strengthen the aquafaba further by reducing it. This boils out some of the water and you’re left with a more concentrated liquid. Simmer over the stove until just half of the volume remains. As we want to end with 1 cup of aquafaba, start with at least 2 cups of liquid from the can. Before using the aquafaba we want to chill it. Technically you could go straight from hot pot to whipping, but chilled aquafaba whips more easily and forms a more stable foam. Once chilled, you want to whip your aquafaba into stiff peaks using your stand mixer. Not sure what that means? Check out this video tutorial by Zsu’s Vegan Pantry.
Now there’s a lot of methods of making meringue buttercream, but my favorite is the Italian method. To make Italian meringue buttercream, you form a sugar syrup. To do this you must have a cooking thermometer. The exact temperature of your sugar syrup tells you what stage it has reached. For IMBC we’re looking for the firm ball stage, just below the hard ball stage, or a temperature of 248 ºF (120 ºC). Ok technically there are ways to determine the stage without a thermometer, but that is out of the scope of this recipe. The temperature of the sugar syrup does not increase linearly. You’ll notice that once it reaches certain temperatures it slows down. I like to do this whole process on a medium-low heat so that it doesn’t catch me by surprise when the temperature does jump up and the sugar reaches its next stage. You’ll want to achieve stiff peaks with your aquafaba by the time you reach the 248 ºF with your sugar syrup. Then, with the mixer running on high, very slowly and in a thin stream pour your sugar syrup into the fluff (pour between the whisk and the side of the bowl so it doesn’t fling hot syrup everywhere). The meringue will turn super glossy as you add the sugar syrup and thicken considerably. Now comes the waiting (or more waiting)! You need to beat the meringue until it has cooled completely to room temperature. We do this after switching from the whisk to the paddle attachment, because at this point forward we’re not trying to incorporate a lot more air into the mixture.
This process can take awhile, though can be sped up by placing some ice underneath the bowl if your stand mixer allows for that. This is a good point to take your shortening and vegan butter out of the fridge if you haven’t already to allow it to come to room temperature. Once the meringue has cooled completely you can add the fat. If you add it before the meringue has completely cooled it will melt the fat and you won’t make any buttercream. Add the room temperature fat slowly and in small pieces, or you run the risk of the mixture breaking. You’ll know if this happens and don’t worry it should be able to come back together and form beautiful buttercream! Just keep mixing! And if that fails, chill for several minutes and try again! If necessary do that on repeat until it does come together. Have faith! Add each piece of fat into the mixer while it’s running on high, and wait for it to get incorporated before adding the next piece. Patience is a repeating theme with this recipe! But again, as you gain confidence with it, the whole process should go faster.
The meringue will deflate when you start to add the fat, but as you continue to add it it will thicken into a beautiful fluffy frosting. Then add the vanilla extract. At this point the Italian meringue butter cream is ready to use, or refrigerate or freeze until later, but we’re not just making IMBC! We’re making vegan aquafaba strawberry meringue buttercream! Emphasis on the strawberry! To make it strawberry flavored, we first make a strawberry sauce. Blend up some fresh strawberries and a bit of sugar then simmer stovetop until thick and syrupy. Strain the sauce through a fine mesh sieve to remove any seeds, then allow the sauce to chill completely before using (remember we don’t want to melt the fat!). Add the chilled strawberry sauce to the IMBC with your mixer running on medium speed until you’ve reached the color and flavor you want. I found the strawberry frosting to be very stable in spreading and chilling, but once chilled it cannot be re-whipped. When re-whipped the strawberries will weep and cause the frosting to break. If you must reuse the frosting after chilling, let it come completely to room temperature and it will soften enough to use. But don’t worry, it is completely stable on the cake!
One more note on the types of shortening and vegan butter to use. You want to use a palm-based shortening and a palm-based butter. I know there are a lot of issues with the farming of palm trees, so make the purchasing decisions that best reflect your ethics. What you cannot use is coconut oil based butter or shortening, because its melting point is at room temperature and you don’t want frosting soup. If you’re in the US I recommend using Earth Balance Buttery Sticks for the vegan butter. Do NOT use the spread in the tub as its water content is too high. If you do not want to use vegan butter you can use all shortening. Different brands of shortening have different consistencies at room temperature. I find that Nutiva shortening is more solid at room temperature, so it’s a nice consistency to substitute for vegan butter, or to use for all the fat in this recipe. It will not get as soft on a hot day. Another shortening that I have experience with using is Spectrum shortening. I find spectrum to have a softer consistency at room temperature. This means that the frosting could be a bit on the soft side on a hot day. But the frosting made with Spectrum shortening has a beautifully creamy texture when served at a cool room temperature. If you know you’re going to be in a warmer environment, one shortening to try is high ratio shortening. I have yet to use it, but from what I’ve read it’s a great shortening to use in buttercream. It is also pricey. If you do try it out or have experience with using it, I’d love to hear about it in the comments!
On decorating your cake:
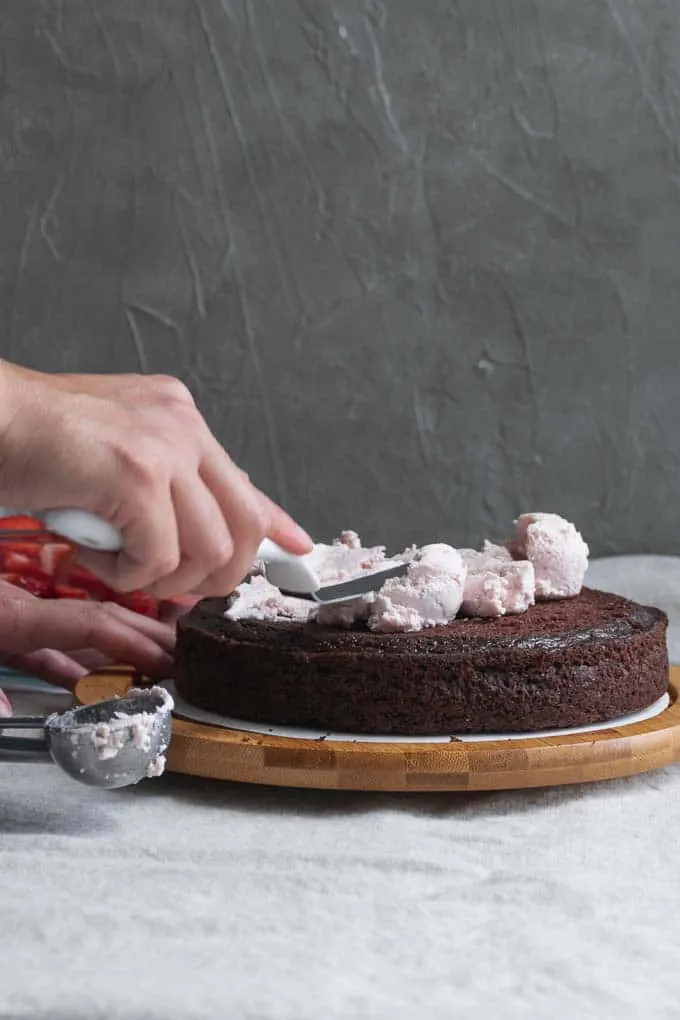
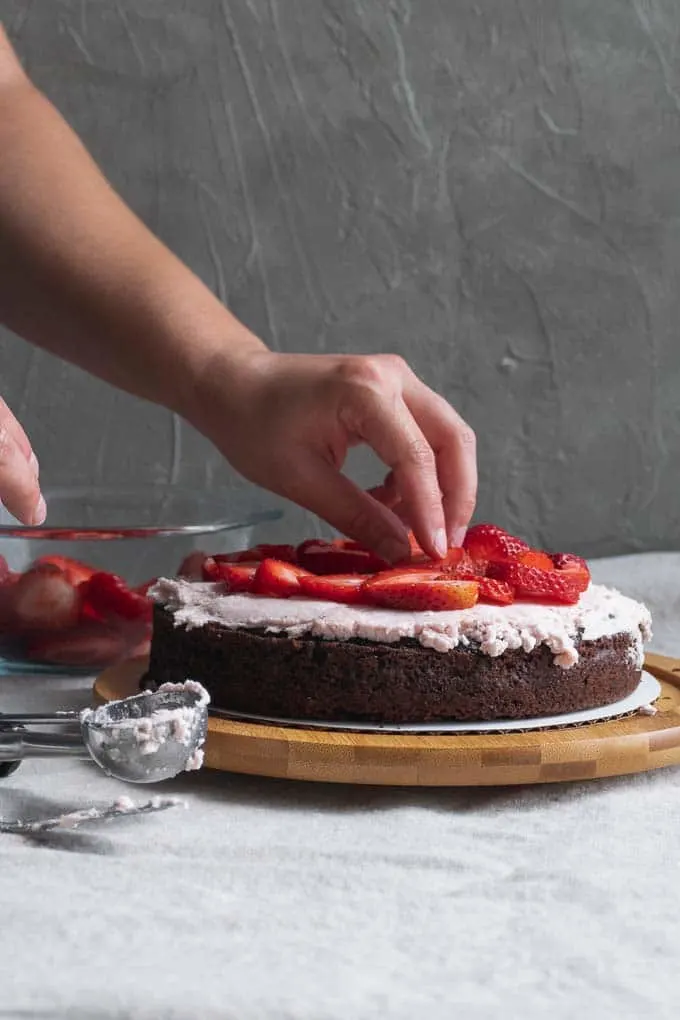
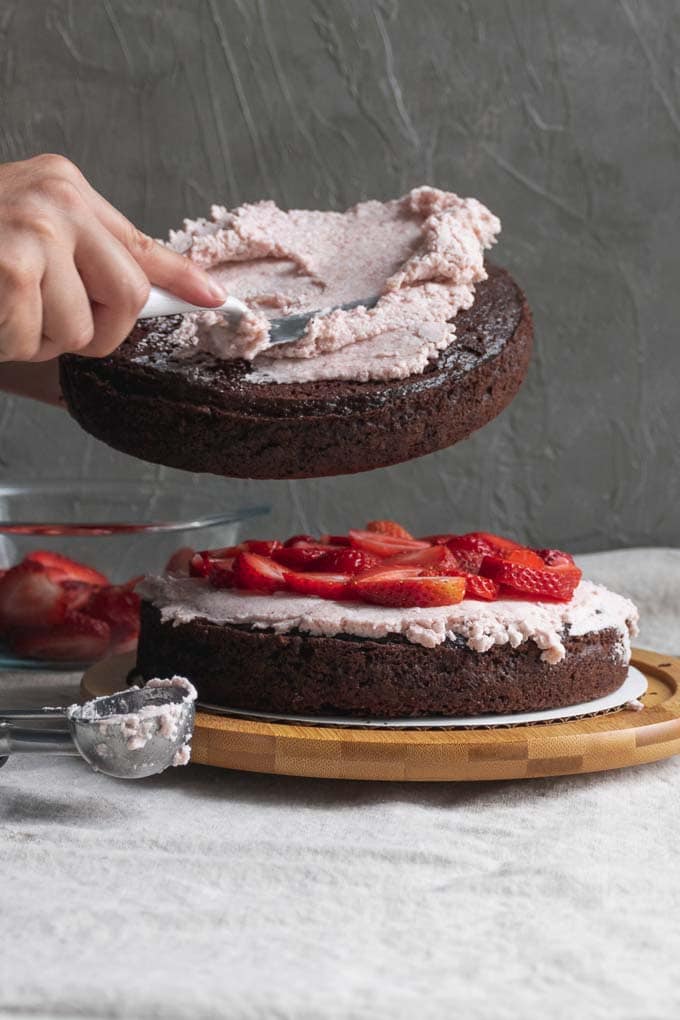
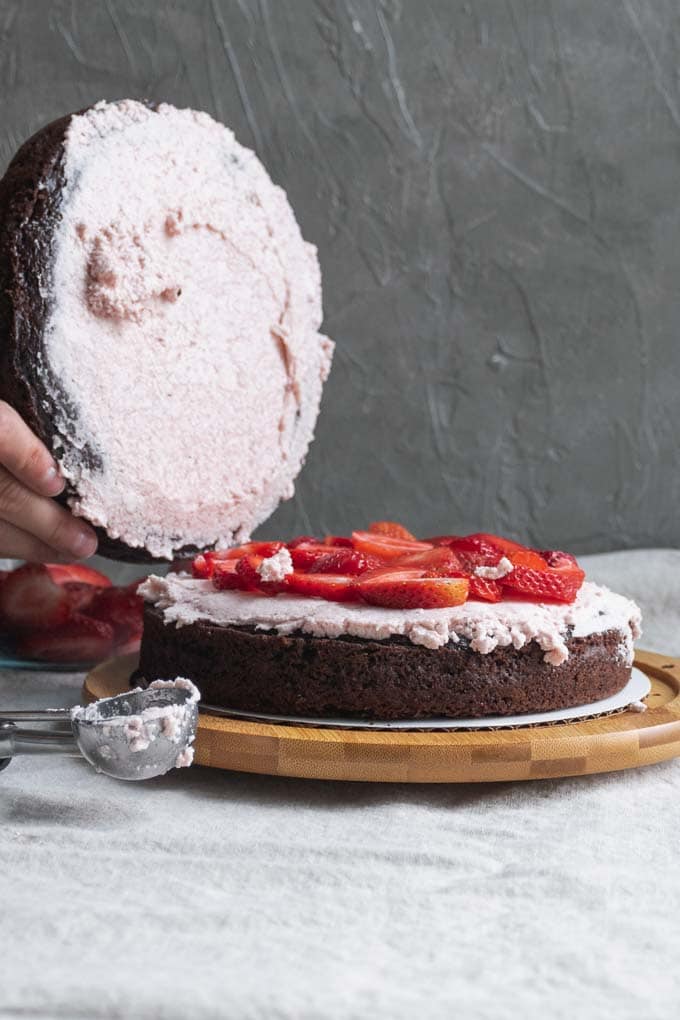
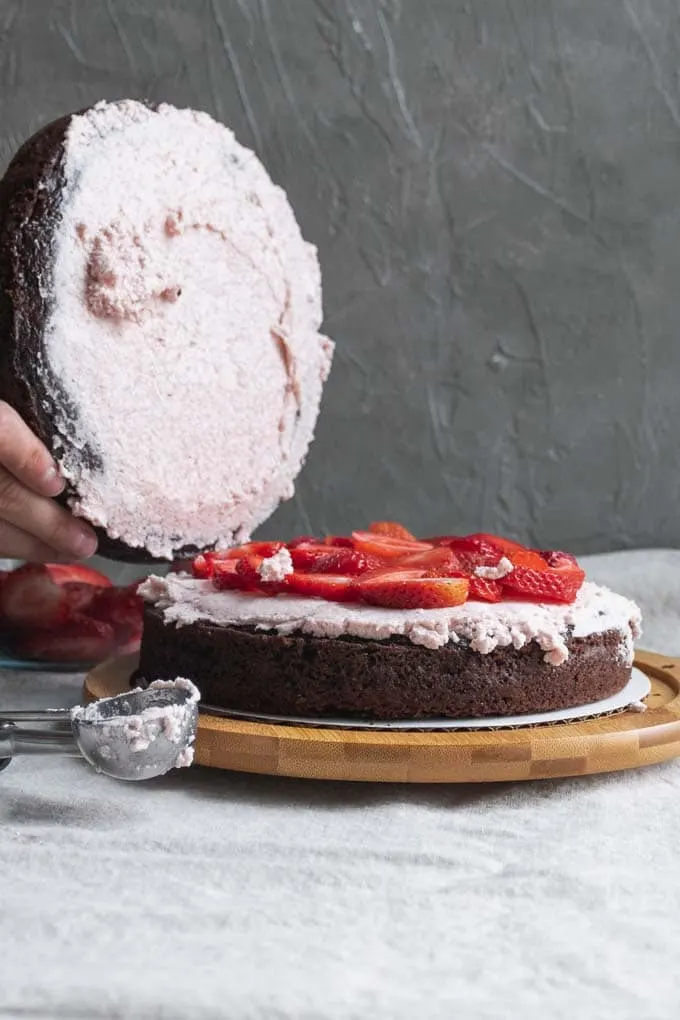
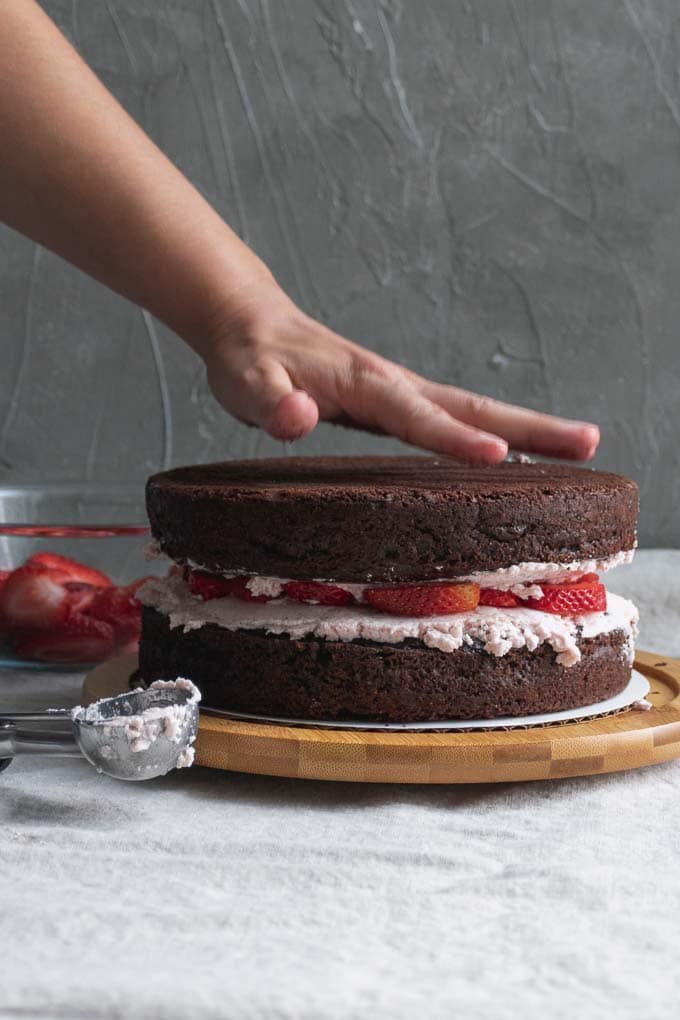
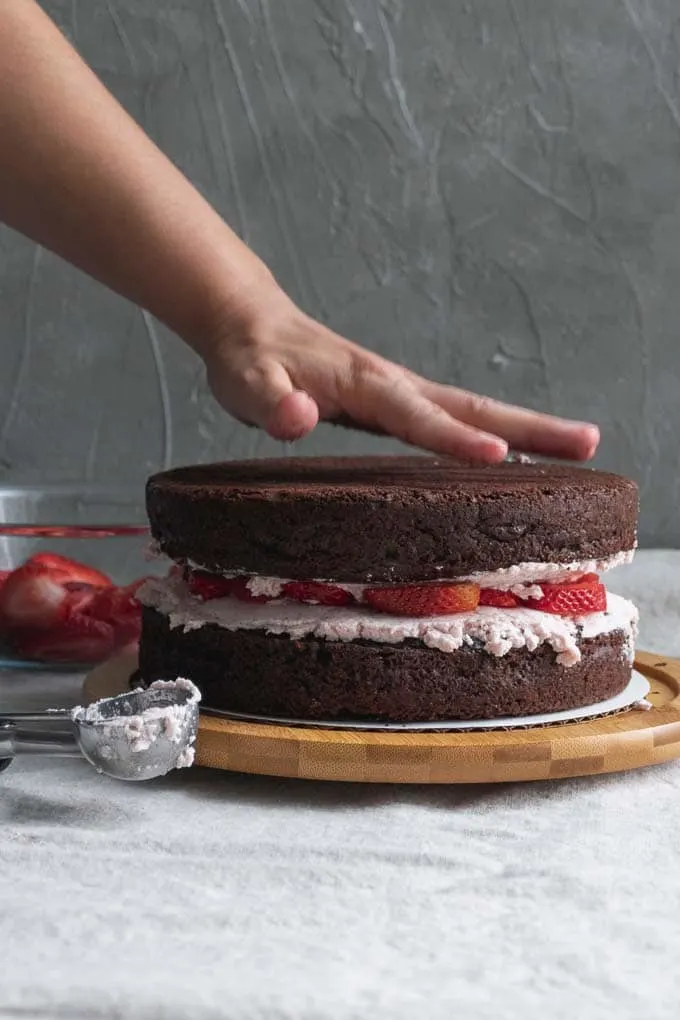
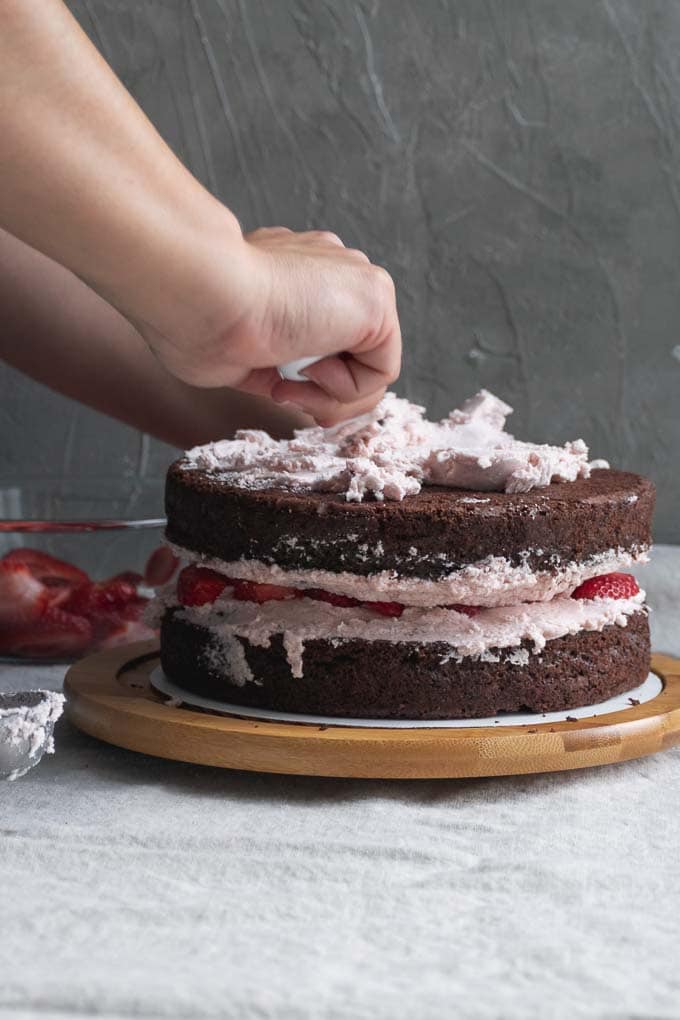
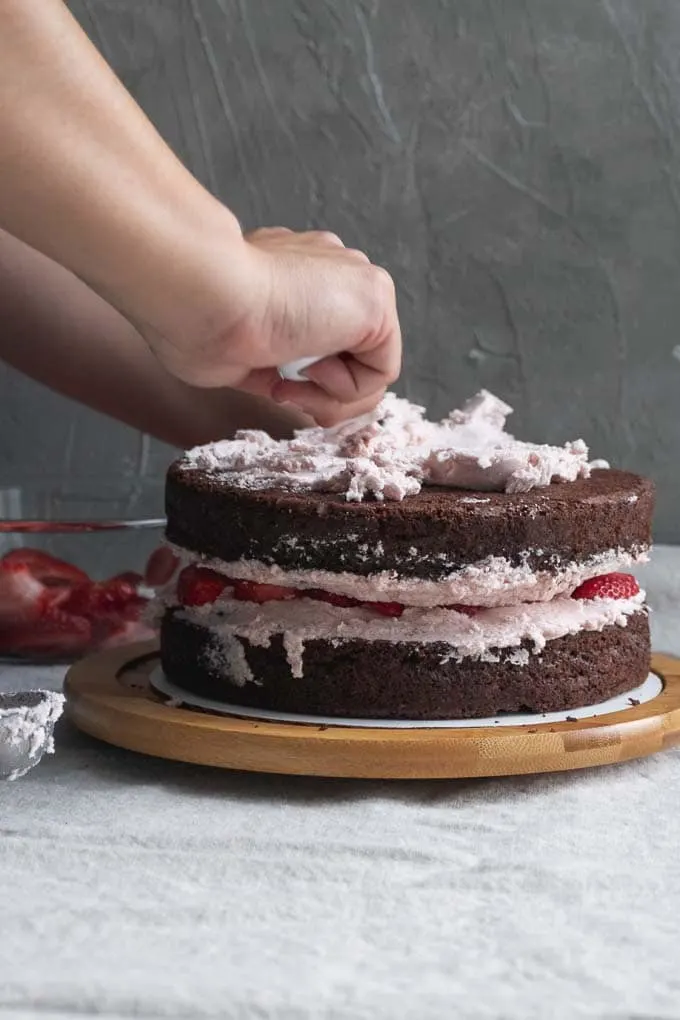
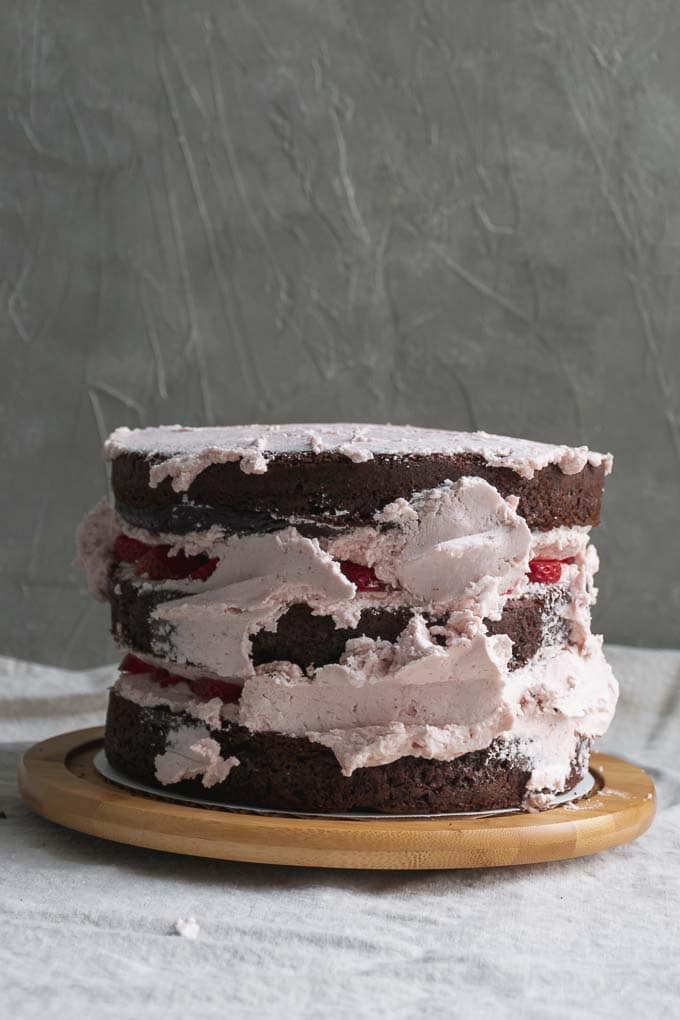
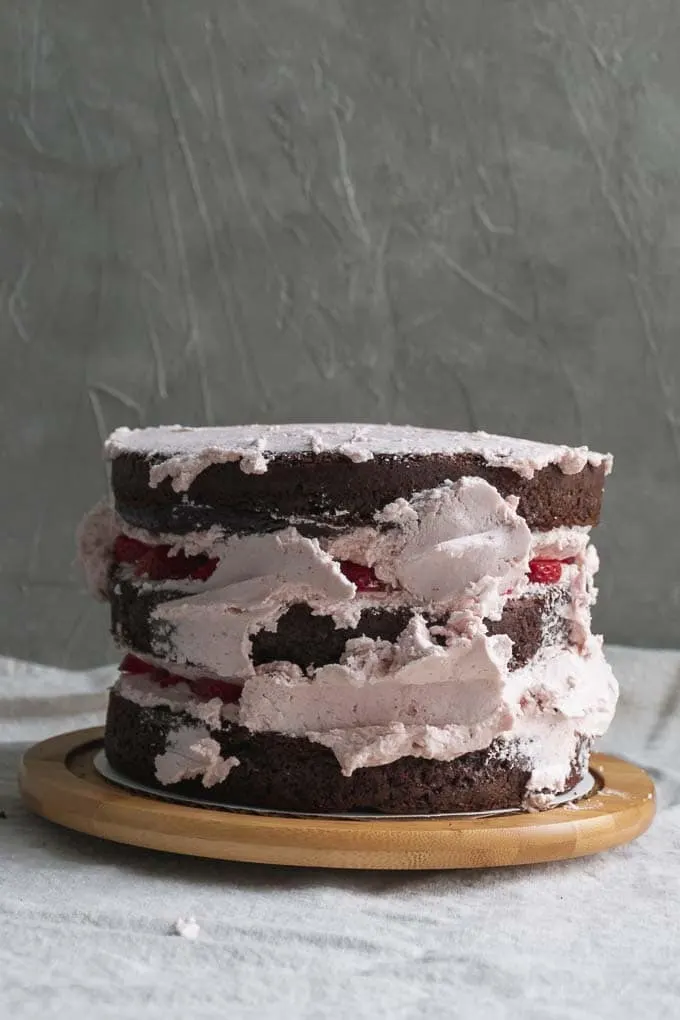
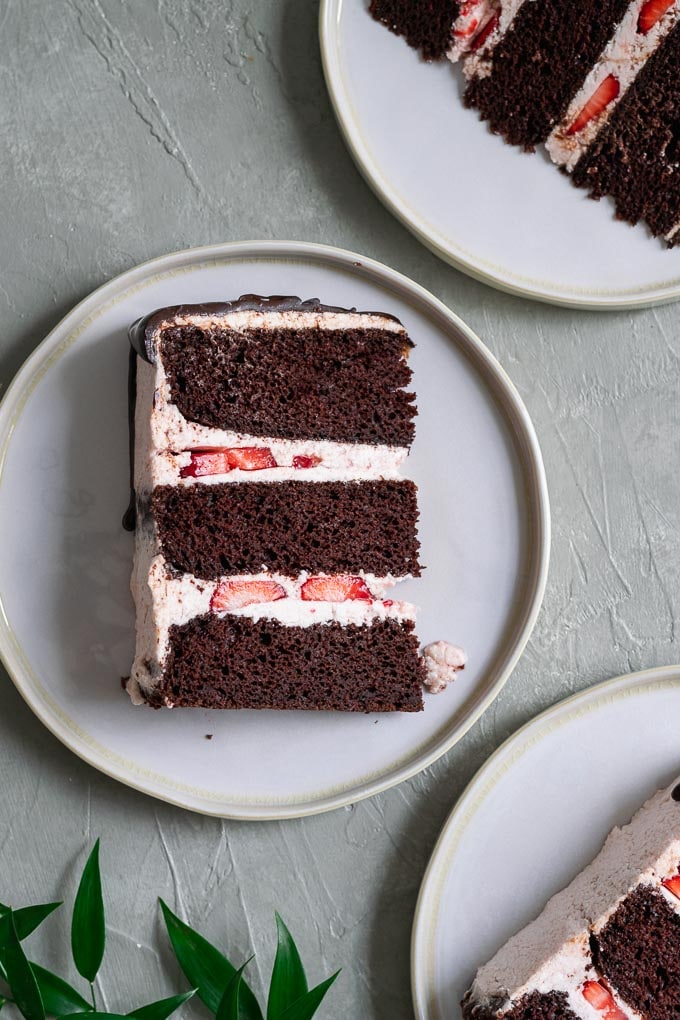
So now you’ve made your vegan aquafaba strawberry Italian meringue buttercream and you’re ready to decorate your cake?! Well, start decorating with completely chilled cakes. Chilling your cakes before decorating makes them less delicate and minimizes the crumbs. With this cake I made a triple batch of my easy vegan chocolate cake. Which I then of course chilled in the fridge. Before decorating, I trimmed off any domed top using a serrated bread knife. It’s easiest to decorate using a cake turntable, but I don’t have one and make do with a lazy susan from my cupboard. Someday I’ll get a cake table though! Place one layer of cake on the turntable, and scoop frosting on top. For even layers, measure your frosting. How much you use is really personal preference. Next, lay out half of your sliced strawberries, slightly overlapping, on top of the frosting leaving some space around the edge. Then, on the bottom side of the next cake spread some more frosting. Place it frosting side down over the berries and press gently to seal the strawberries in frosting. Repeat with the second layer and place the last cake bottom side up (because it’s nice and flat!) on top.
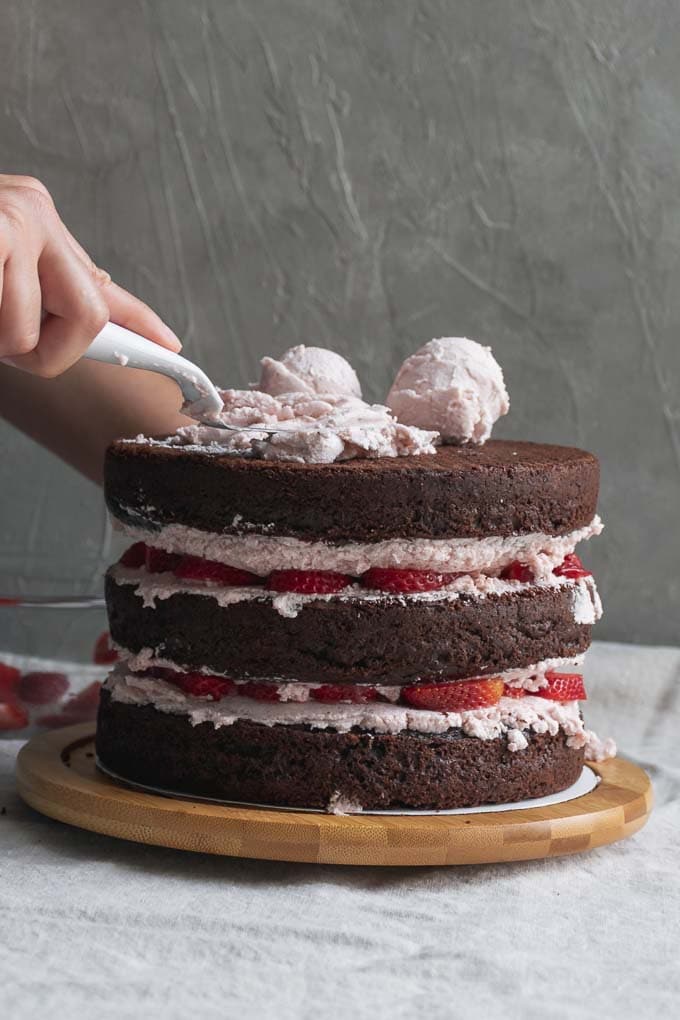
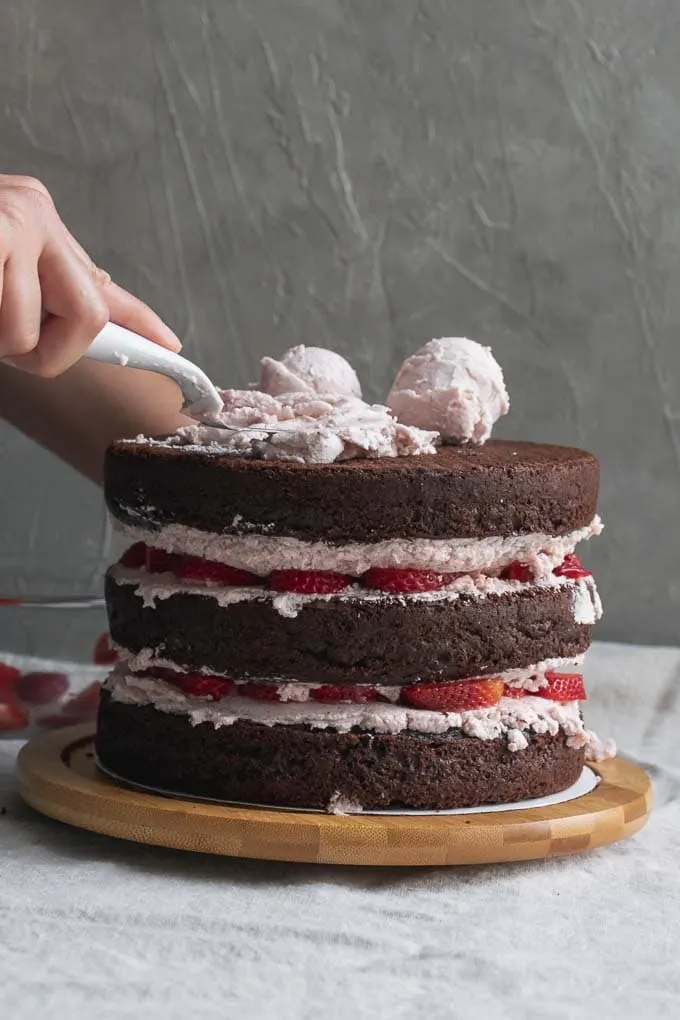
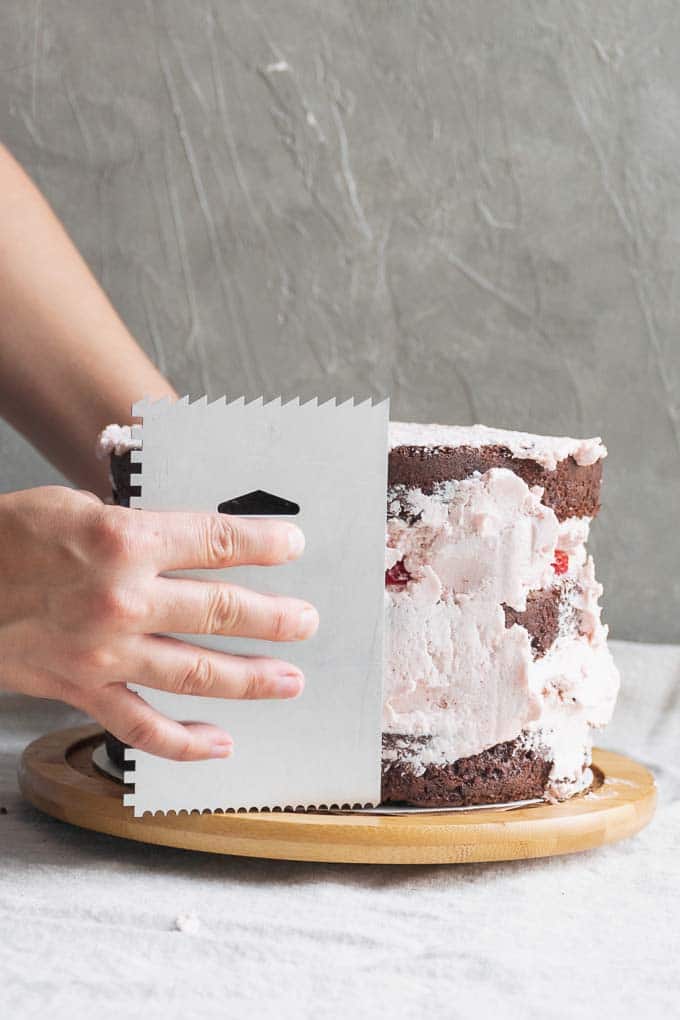
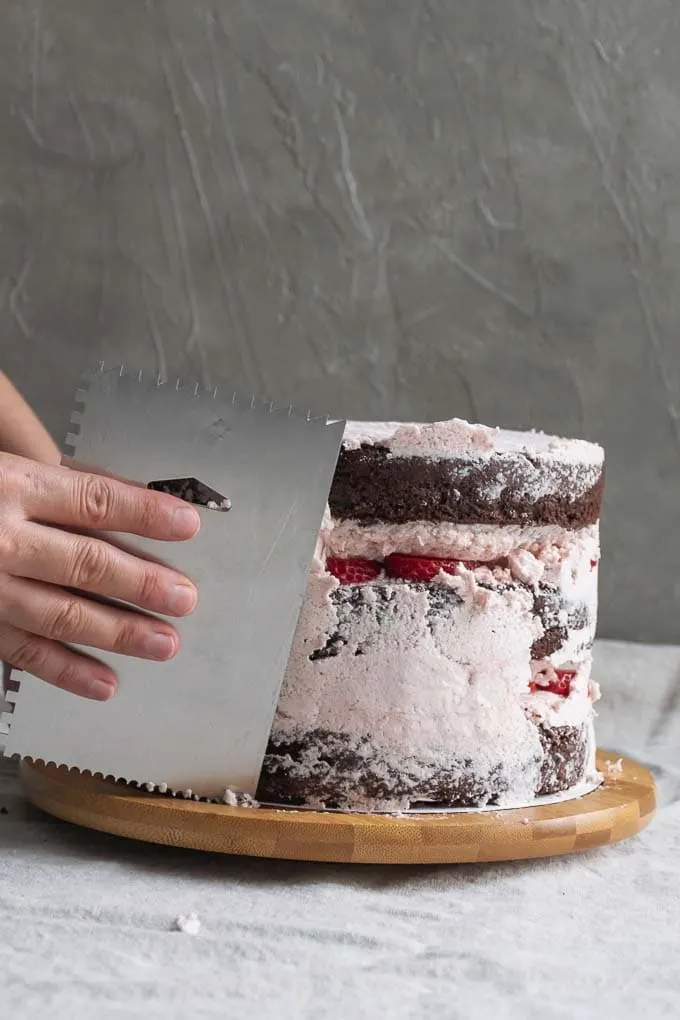
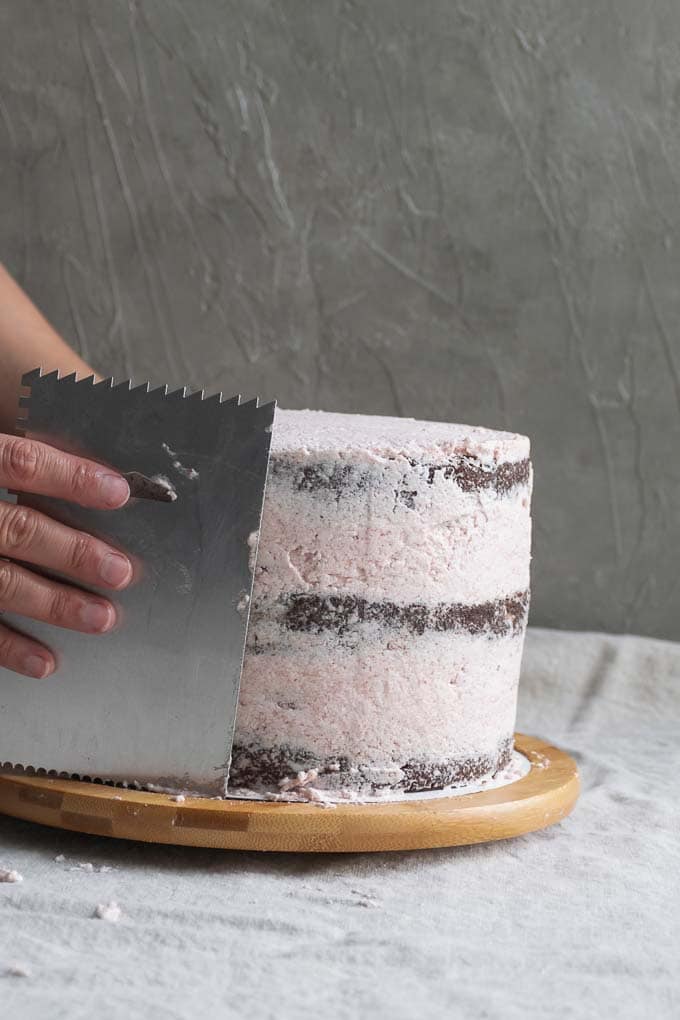
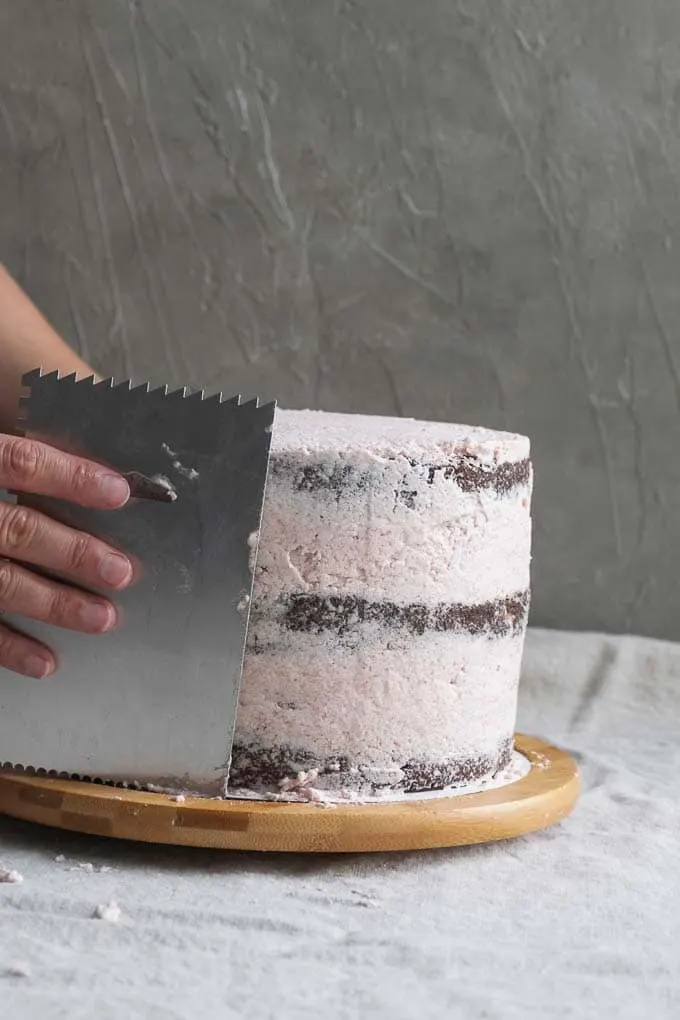
Now that we have our three layers of cake stacked, it’s time to apply the crumb coat. Add the same amount of frosting to the top of the cake as you did the inside layers and using an offset spatula spin the cake on the turntable and spread the frosting outwards creating a flat and smooth top. Then add globs of frosting to the sides of the cake, and using your offset spatula or the flat side of an icing comb gently scrape the frosting into a thin layer while turning the cake. Add more frosting as necessary, especially to fill in the crevices between the cakes. Next, using the offset spatula, swipe any frosting that has come up the sides to form an edge at the top of the cake into the center to make a flat top surface.
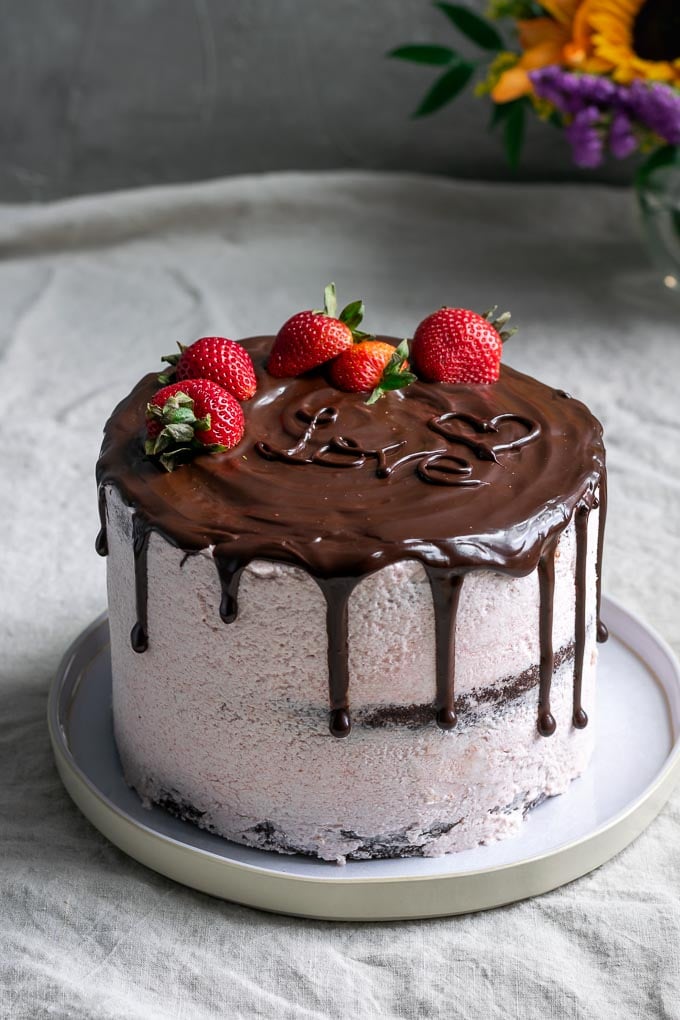
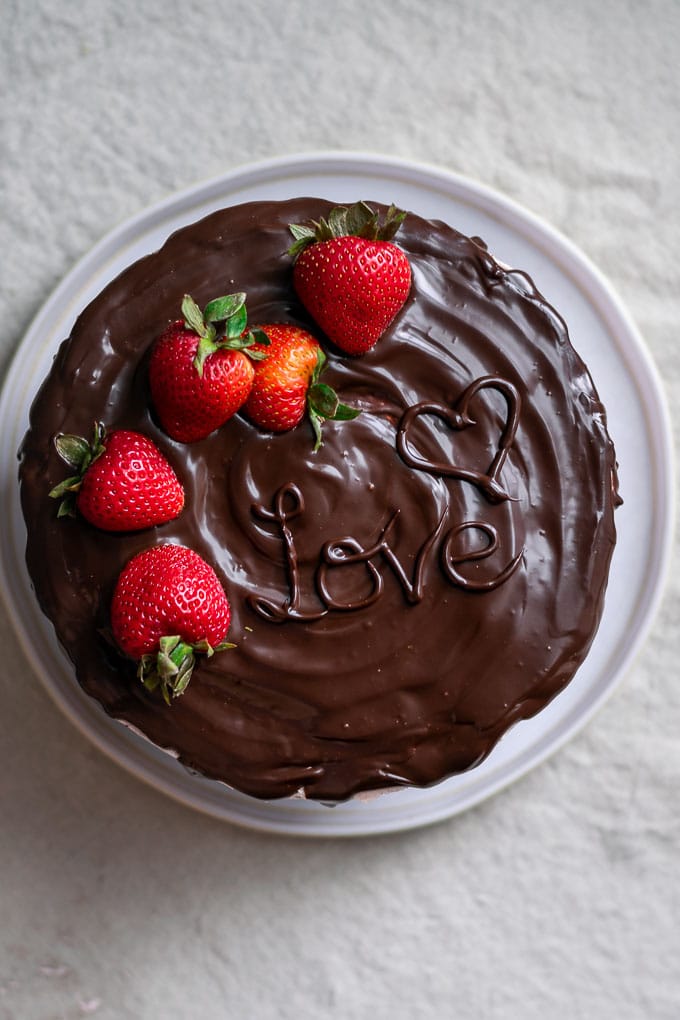
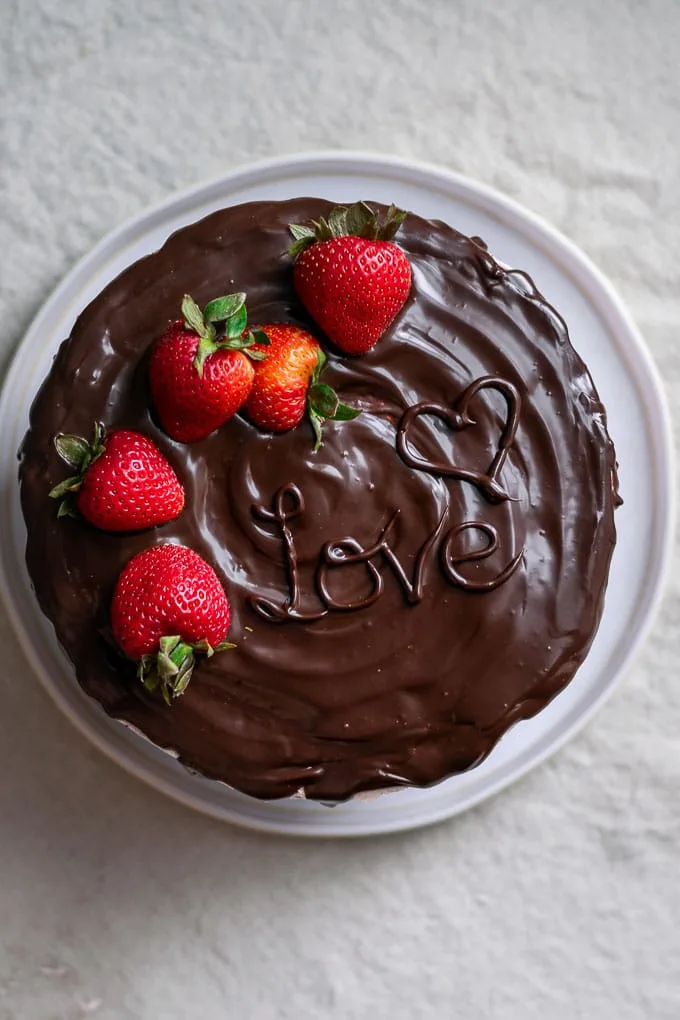
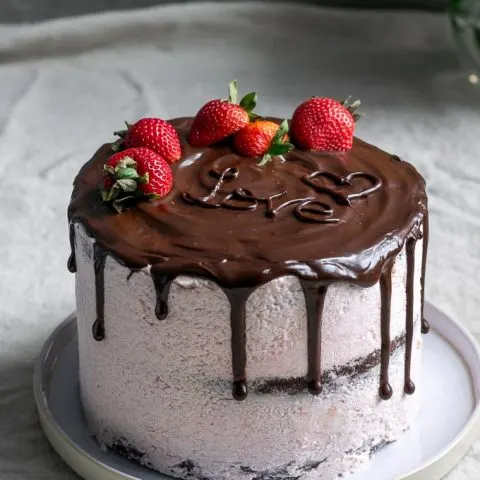
At this point you can chill your cake for about 10 minutes and then apply another layer of frosting, or call it a day, depending on what final effect you want along the outside of your cake. When you’re done frosting the cake you want to chill it before adding a chocolate drip. Melt chocolate using hot coconut cream, then add a bit of light corn syrup (not the high fructose stuff, just regular corn syrup!) and a pinch of salt and whisk until smooth. Pour the chocolate over the frosted and chilled cake. Use a spoon to make controlled drips around the side of the cake, using as much or little chocolate as you want. You can test the consistency of the drips one at a time until the chocolate has cooled enough to make the kind of drips you want. Once the outside of the cake has all of it’s drips, add chocolate to the center of the cake and spread to cover. You can add a swirl if you like once the chocolate has cooled slightly. Place the tip of your offset spatula in the center of the cake and turn the cake in a circle as you pull the spatula out to the edge.
Add a few strawberries to the top of the cake to decorate while the chocolate is soft, then chill the cake. If you want to add some words like I did here, pipe the cooled chocolate sauce onto a slightly chilled cake. I made this cake for my husband’s and my anniversary, hence the writing. 🙂 I like to store the cake in the fridge because the frosting stays nice and firm and is less likely to get mussed that way. The cake can technically be stored at room temperature for at least a couple of days. The cake make the cleanest cuts when chilled, and is best enjoyed close to room temperature. The frosting is perfectly soft and fluffy and the cake is extra soft and flavorful this way.
Let me know if you have any questions about this recipe! I tried to cover every step in detail to make it as easy as possible to follow. And if you try making this vegan aquafaba strawberry Italian meringue buttercream let me know! I’d love to hear how you like it! Don’t forget to tag your recreations @thecuriouschickpea and #thecuriouschickpea on Instagram! I love seeing your photos! Like what you see? Follow along on Instagram, Facebook, and Pinterest!
Notes:
If using all shortening and a salt-free can of beans (and therefore salt free aquafaba), you will want to add a little bit of salt at the beginning. I’d start with 1/4 – 1/2 tsp. This recipe really needs a stand mixer to be properly executed. It whips up the aquafaba more quickly and is hands off, which allows you to keep a close eye on the sugar syrup on the stove as well as free hands for pouring in the sugar syrup and adding the shortening and vegan butter. I have tried and failed to make this recipe using my handheld electric beaters with my husband’s help. I have this stand mixer. Any with a bowl of at least 5 quarts will work!
*Start with 2 cups of aquafaba and simmer until you achieve half of the volume. Chill before using. The estimated time for the recipe is generous, as you should move slowly the first time you’re making Italian meringue buttercream. You should speed up as you become familiar with the technique! Adapted from Geeky Cakes