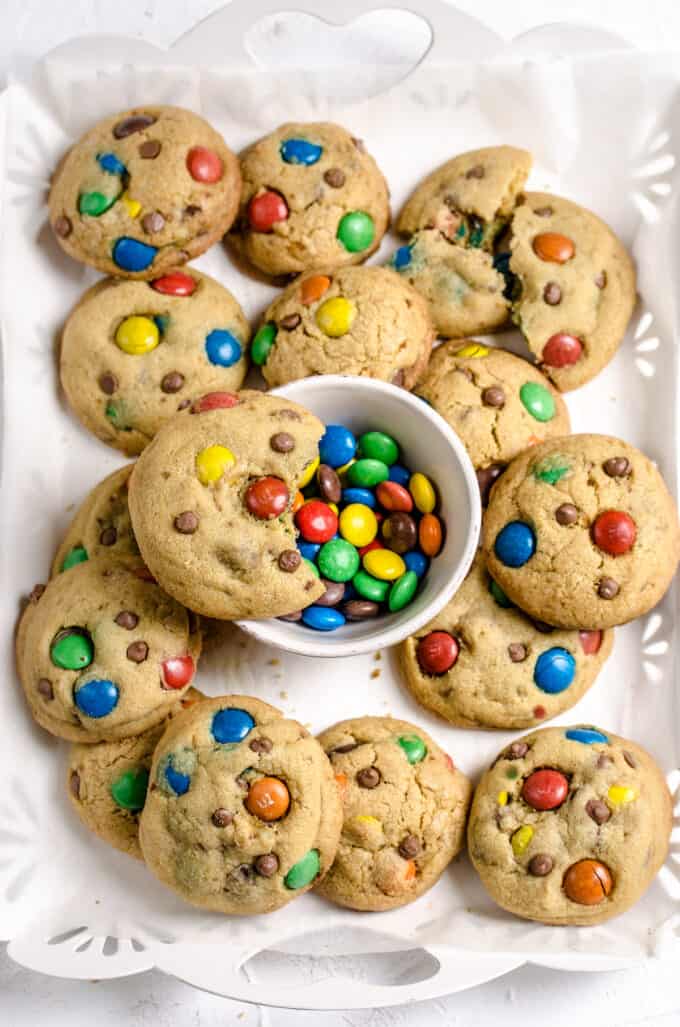
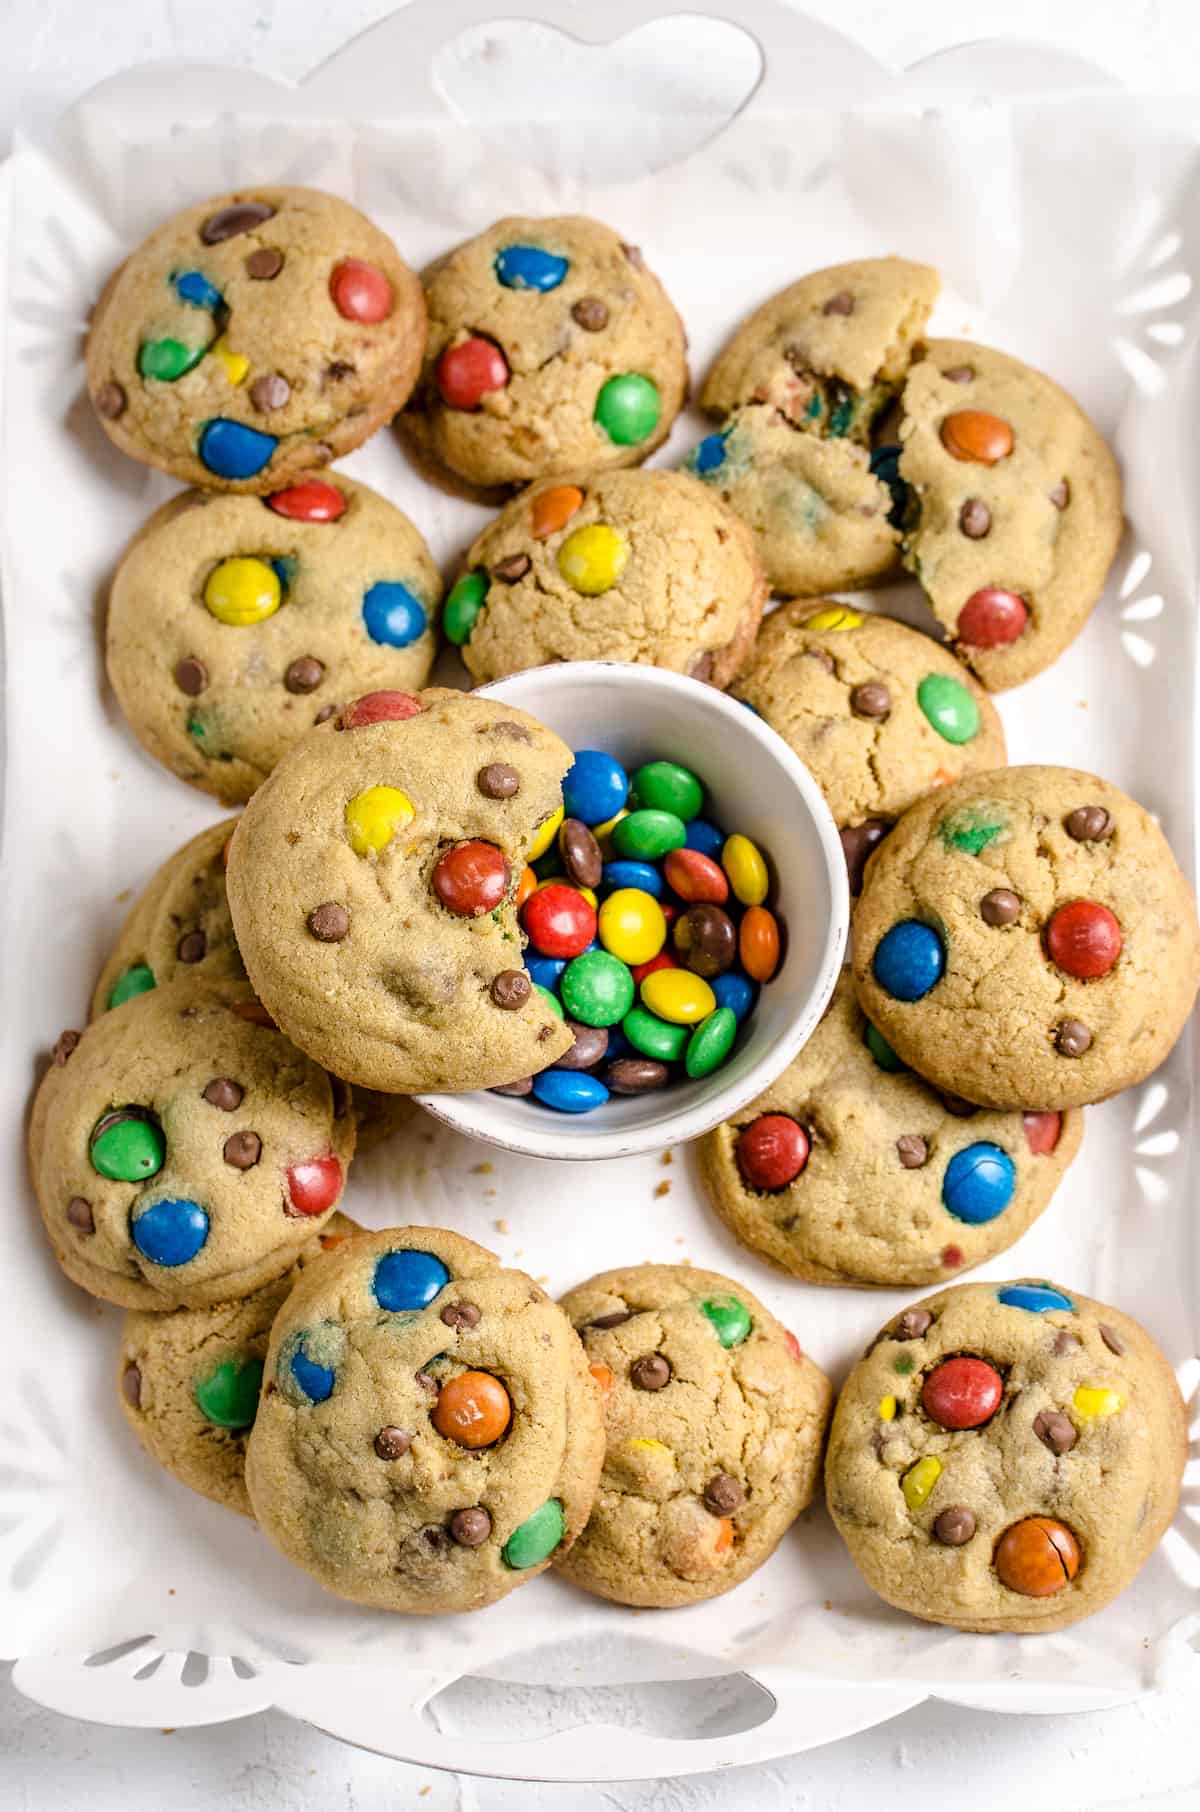
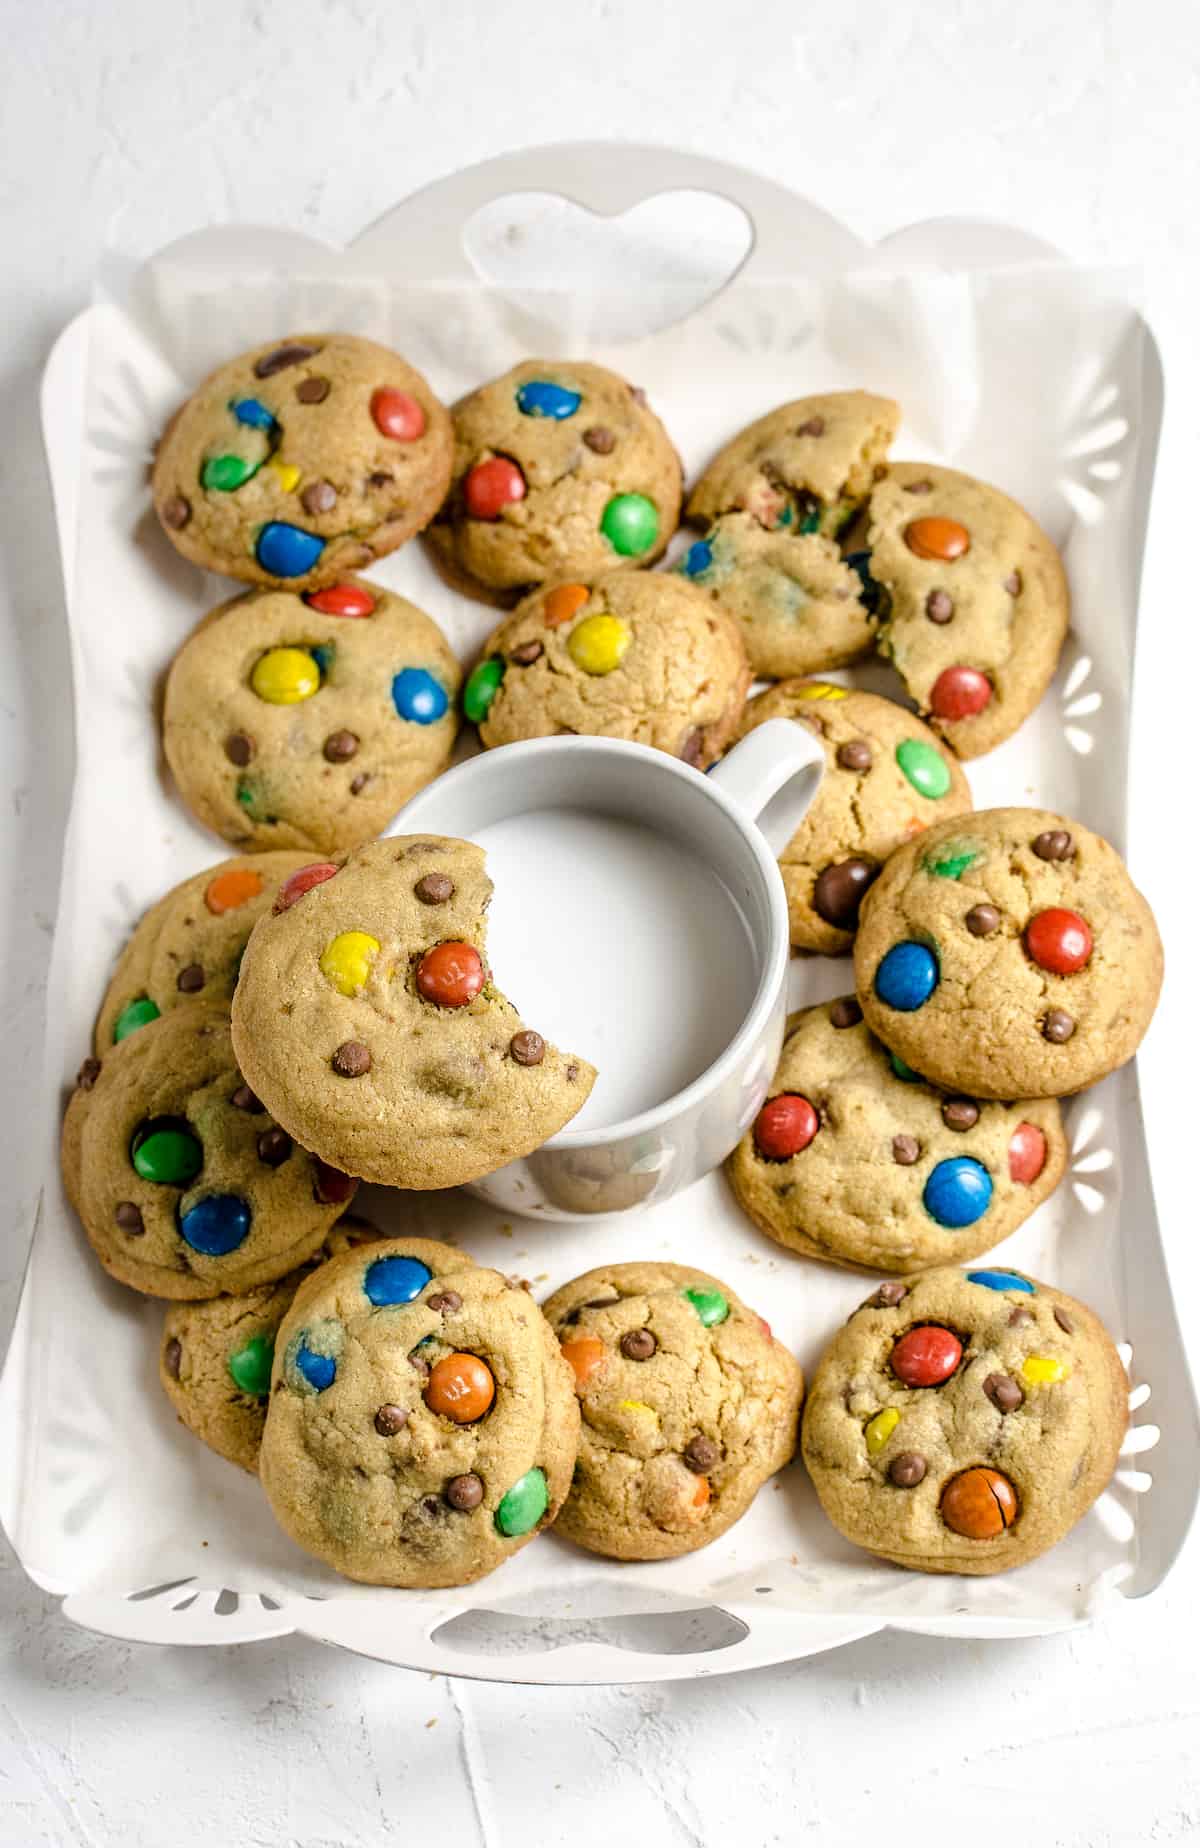
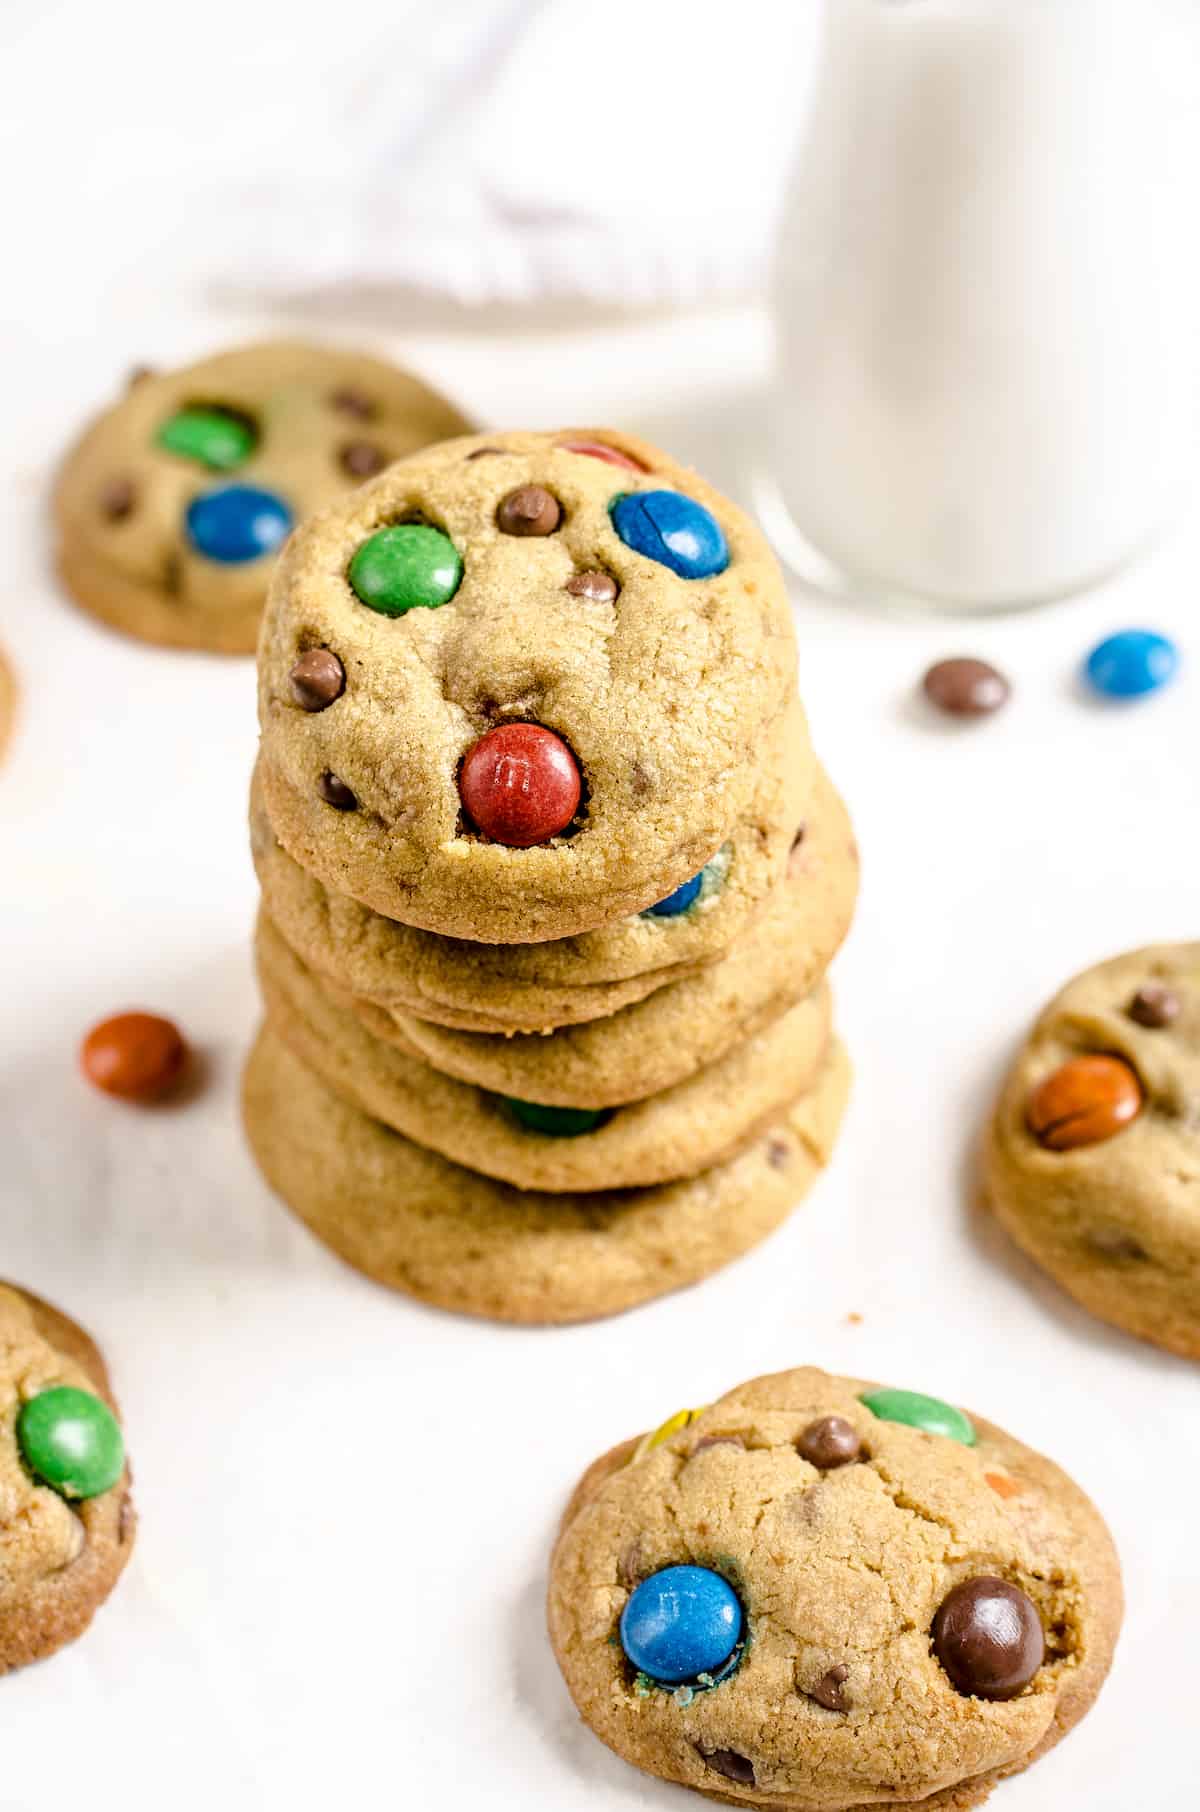
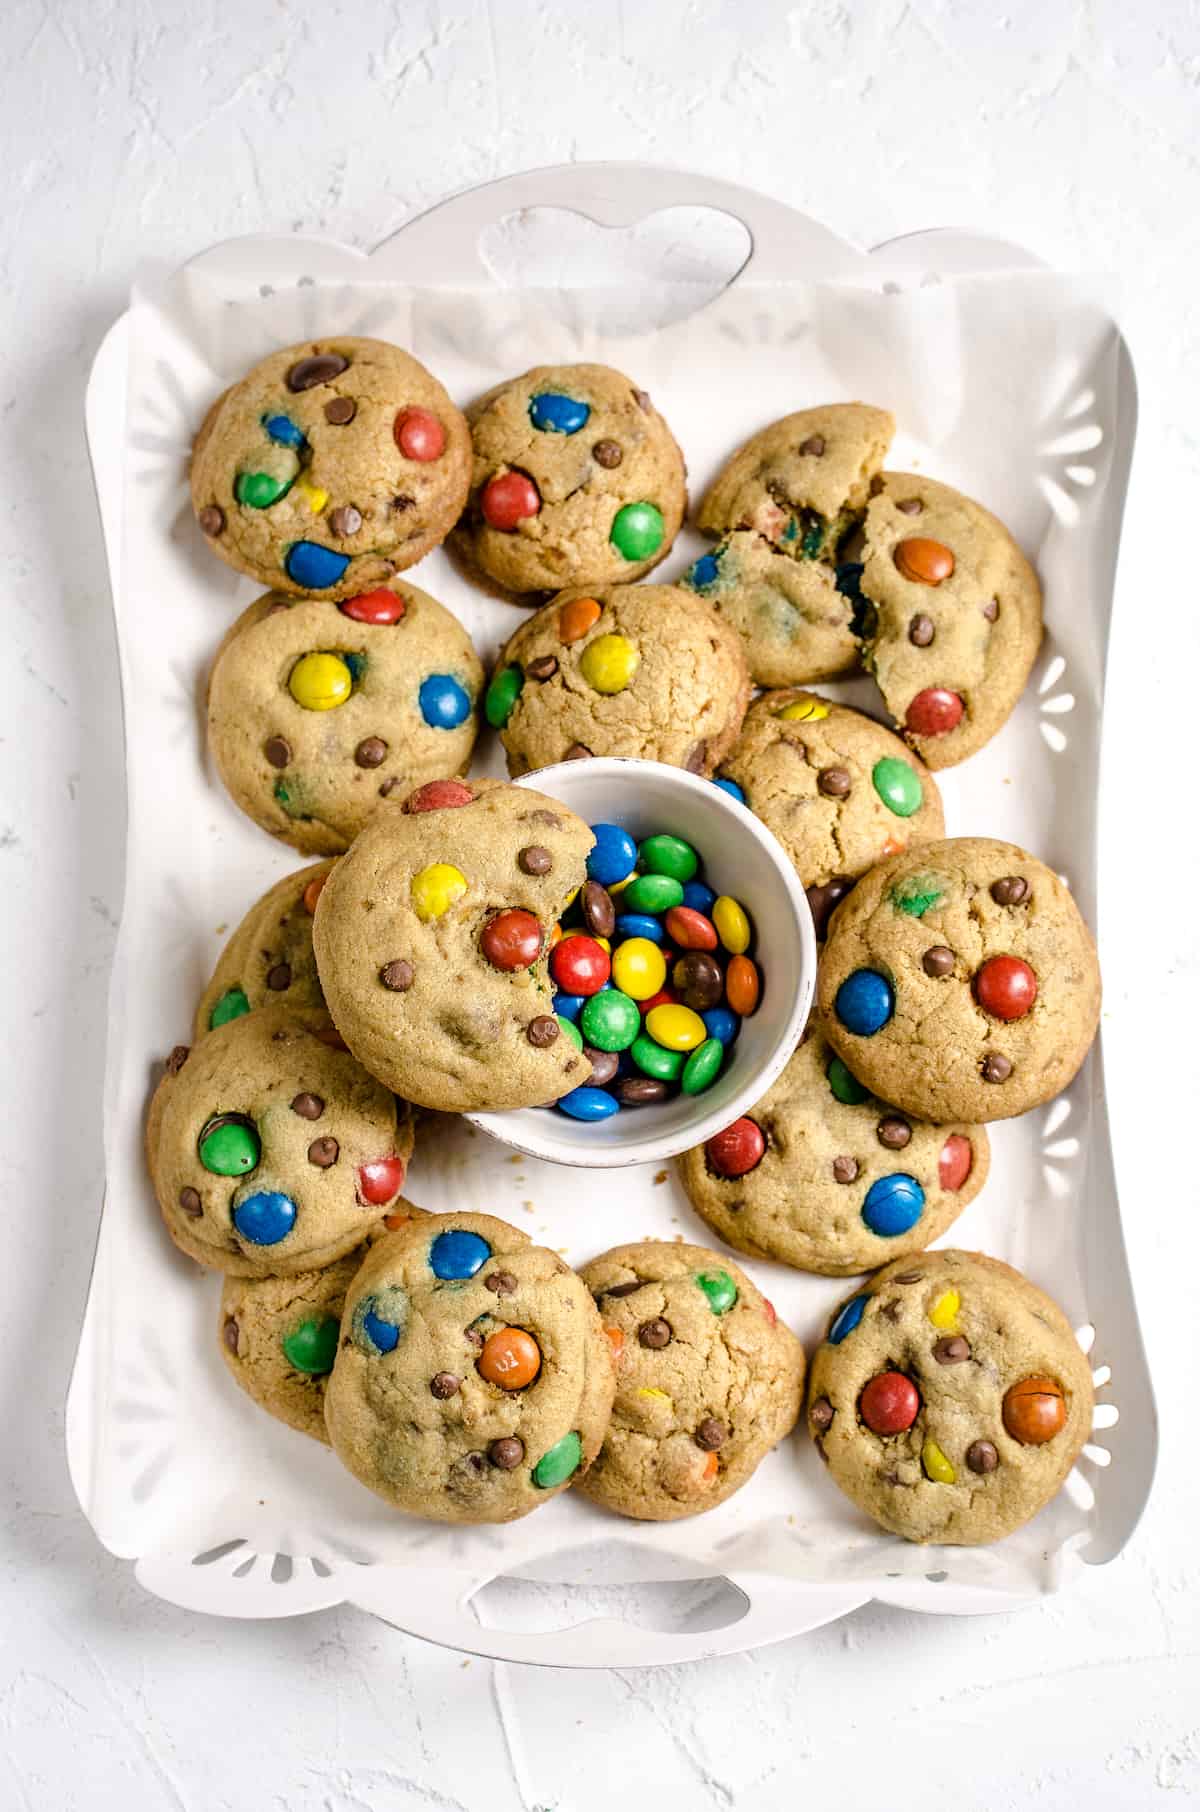
There’s something special about M&Ms that makes them such a classic sweet treat. Maybe it’s their smooth candy coating, maybe it’s the meltingly delicious chocolate it surrounds, and maybe it’s their undeniable versatility. Whatever the reason, these little candies are truly iconic. The thing I love most about M&Ms is how they taste inside these soft and chewy chocolate chip cookies. These are definitely the cookies we make most often at my house, and it’s not just because they’re easy and irresistible. Since every holiday has its own festive M&Ms, these babies make a wonderful dessert for any celebration. On top of all the holiday-themed M&Ms, there are so many tasty variations of the classic candies you know and love. You’ve got the mini ones, the pretzel ones, the caramel ones—I could go on! No matter what kind of M&Ms you use for these cookies, they’re going to make you melt with each bite.
What You’ll Need
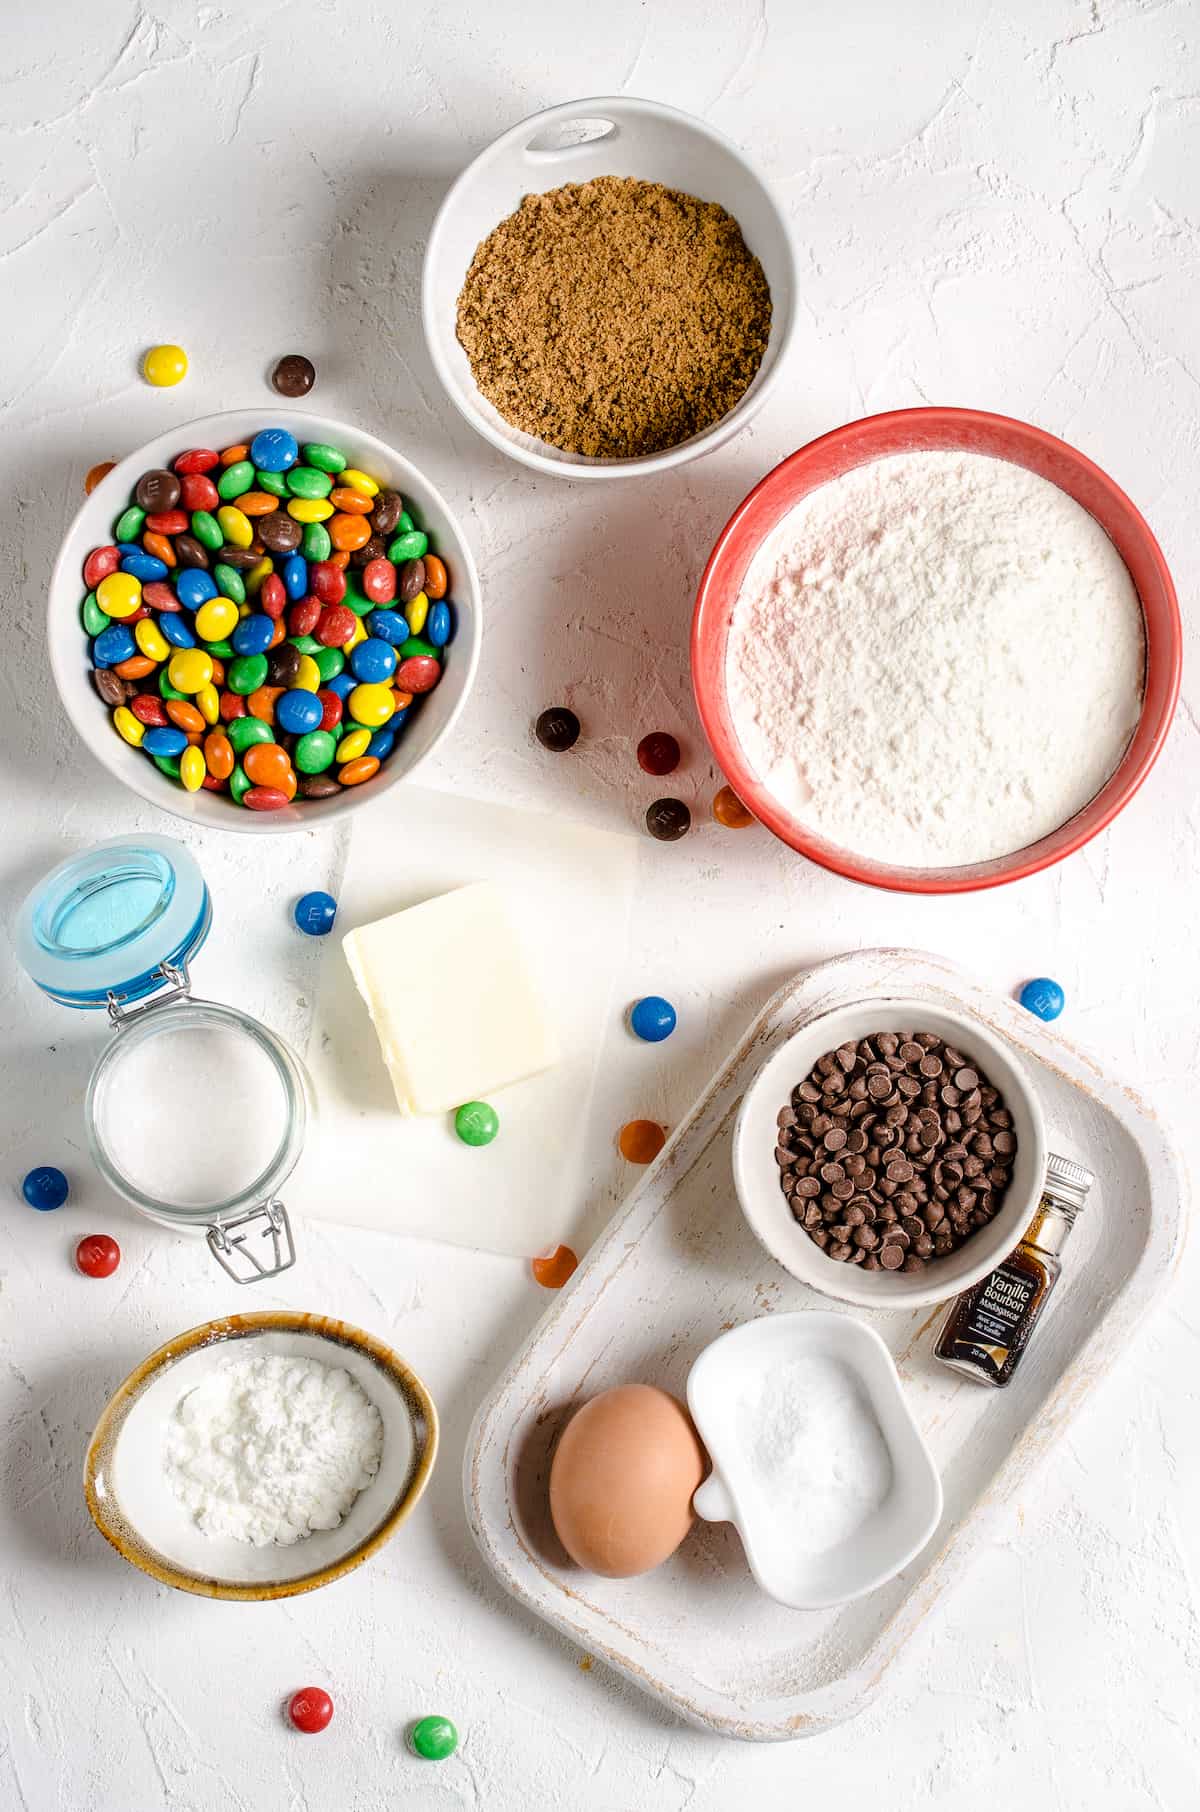
You only need a few kitchen staples to make these crave-worthy cookies from scratch. The amounts can be found in the recipe card at the bottom of this post.
Salted Butter: This should be softened. Light Brown Sugar: Be sure to pack it tightly into the measuring cup. Granulated Sugar Egg Vanilla Extract: Use a high-quality extract for the best tasting cookies. All-Purpose Flour: Spooned and leveled or measured with a food scale. Cornstarch: This helps your cookies stay tender and chewy. Baking Soda Table Salt Milk Chocolate M&Ms: Or any M&Ms you like. Milk Chocolate Chips: You can replace these with extra M&Ms if desired, but I highly recommend combining the two.
How to Make M&M Cookies
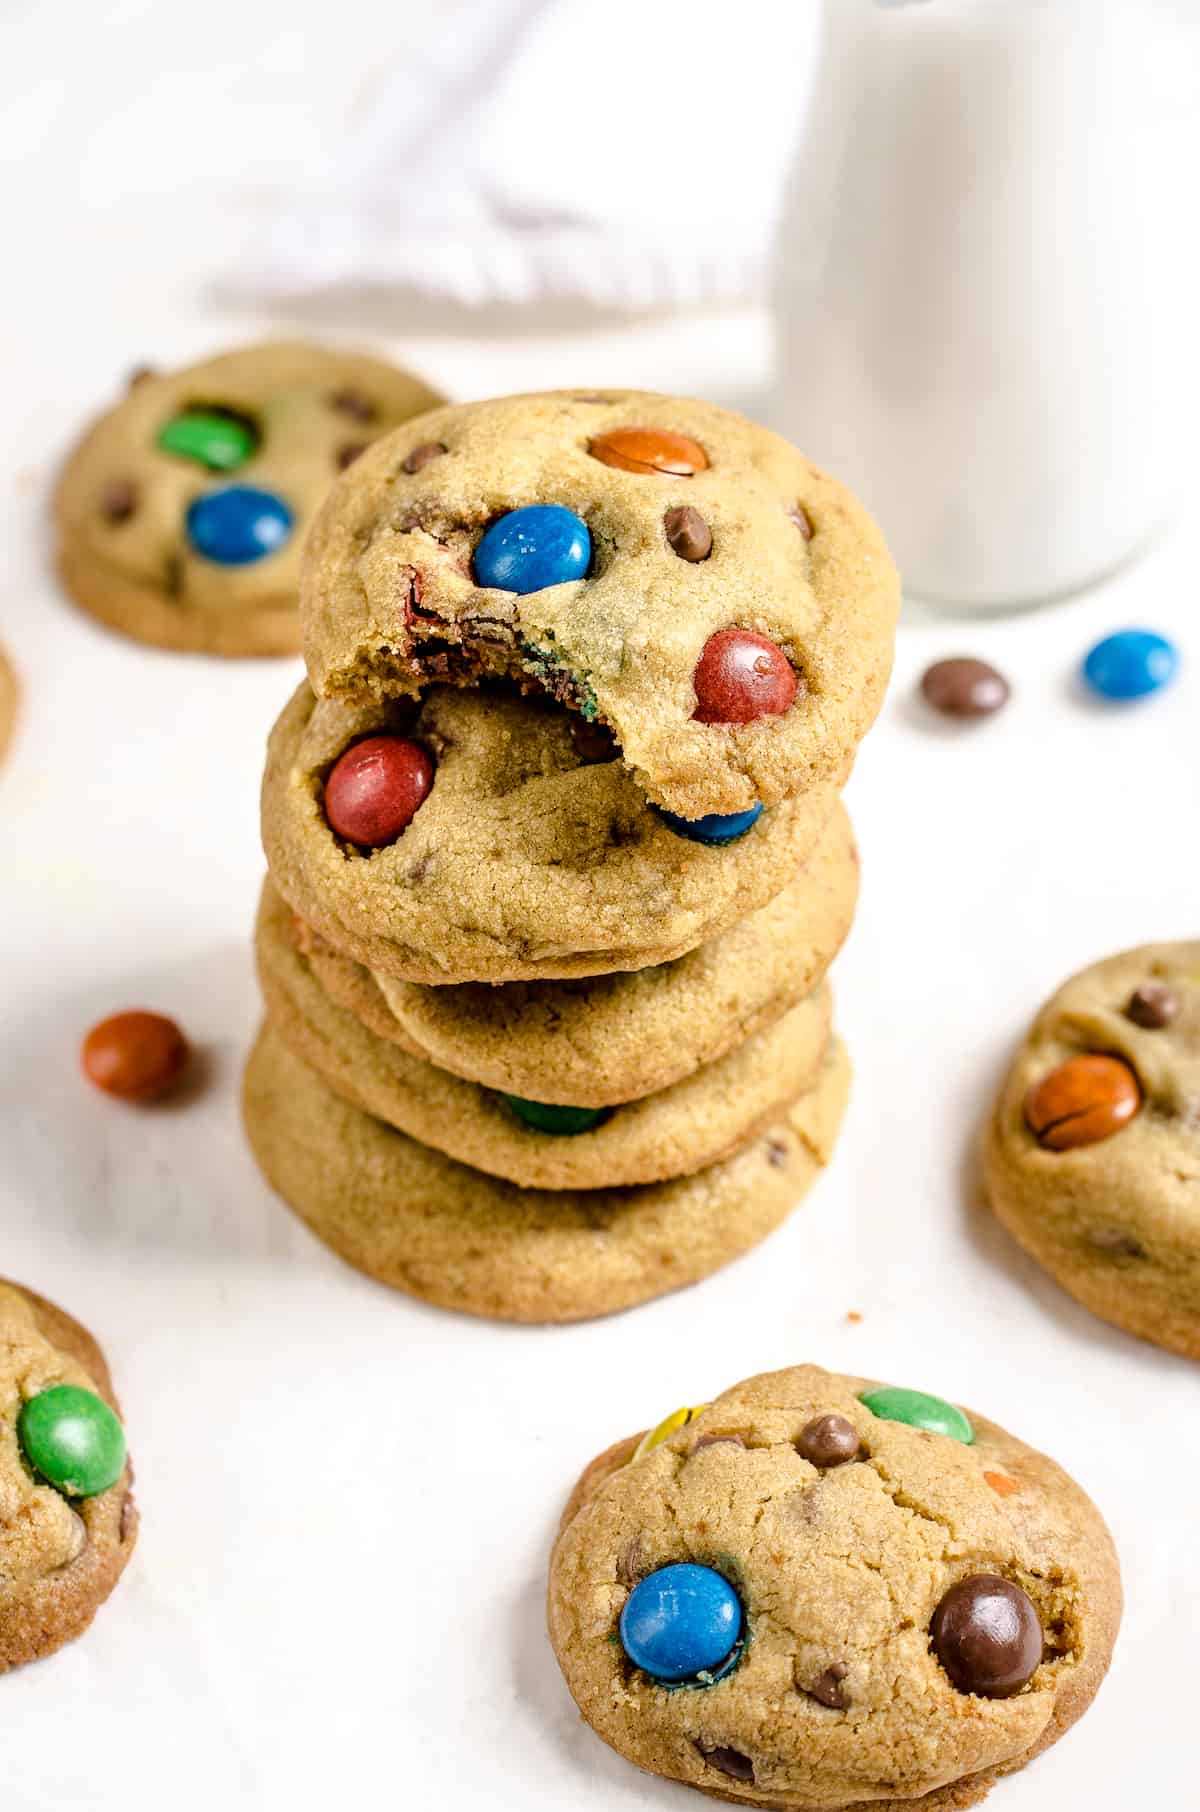
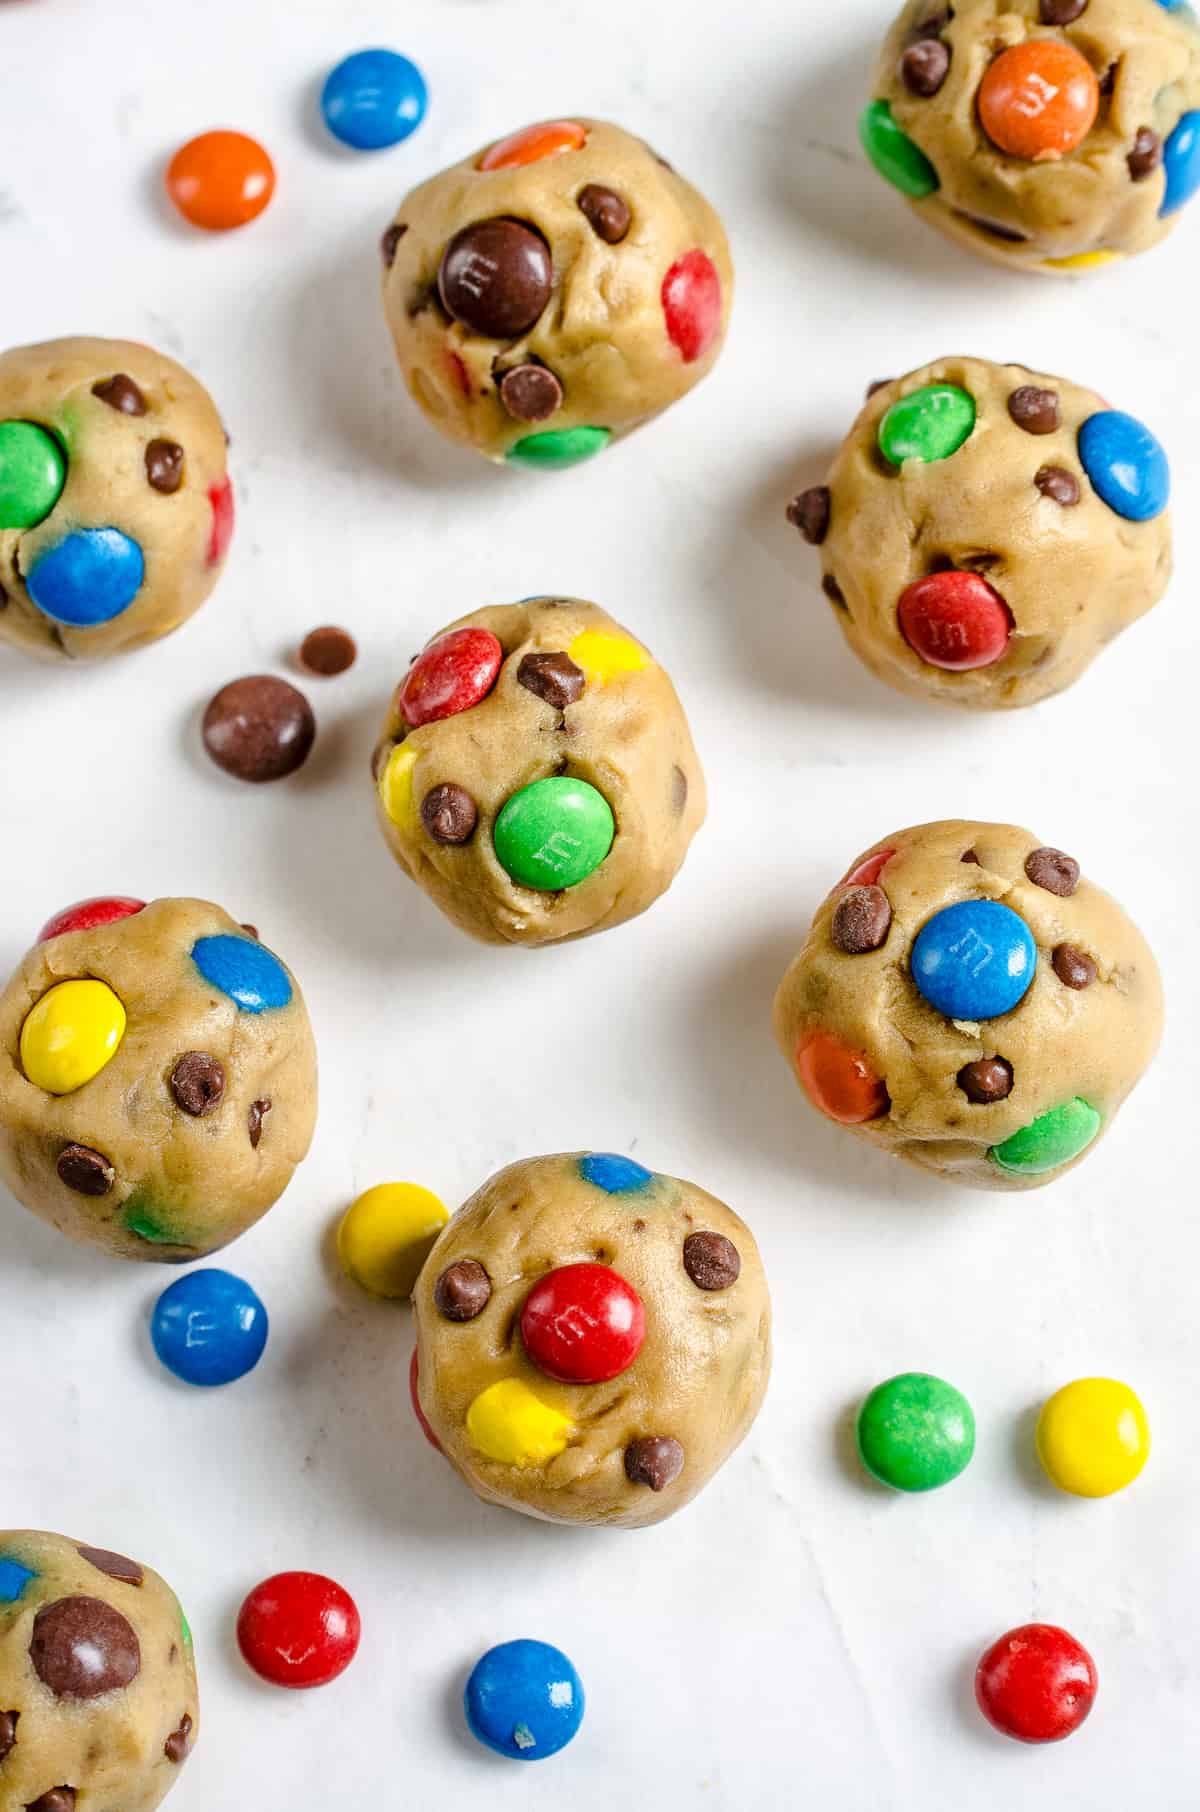
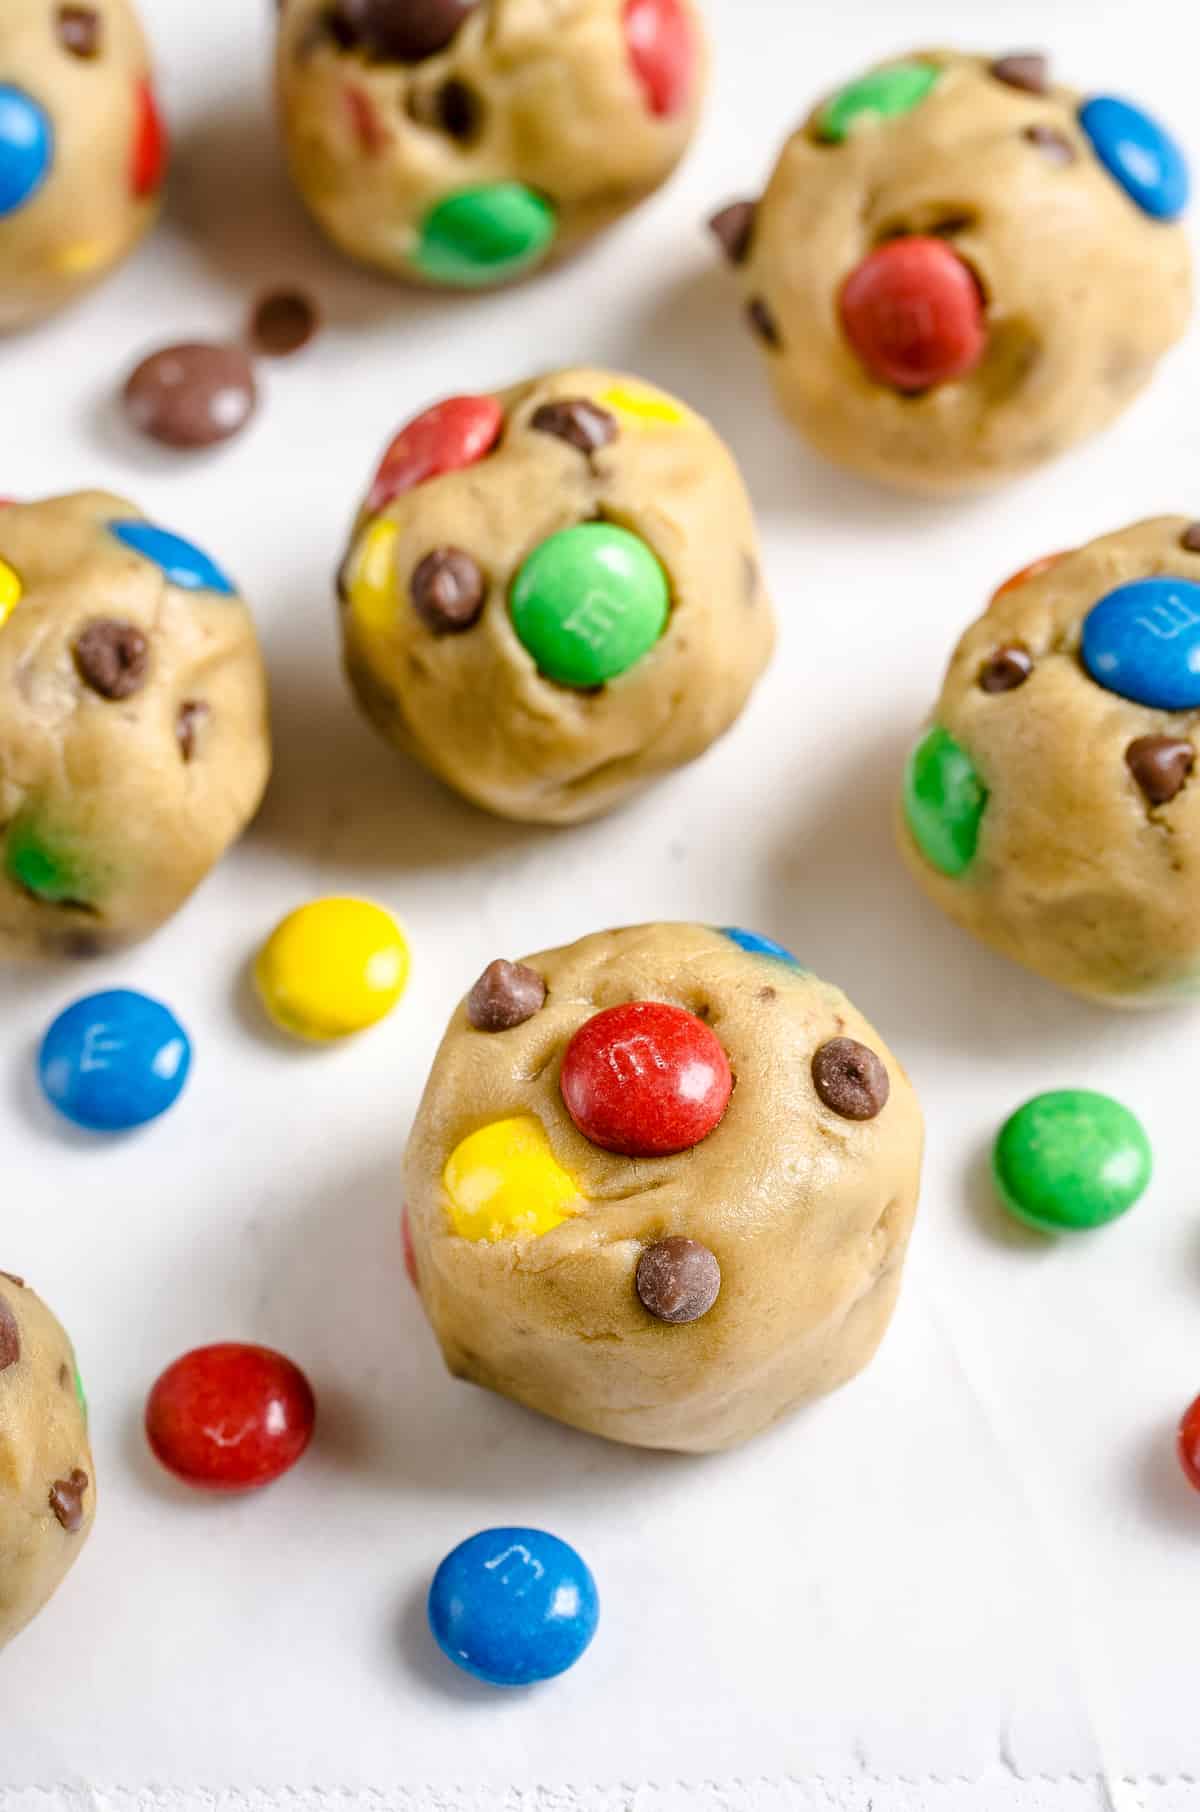
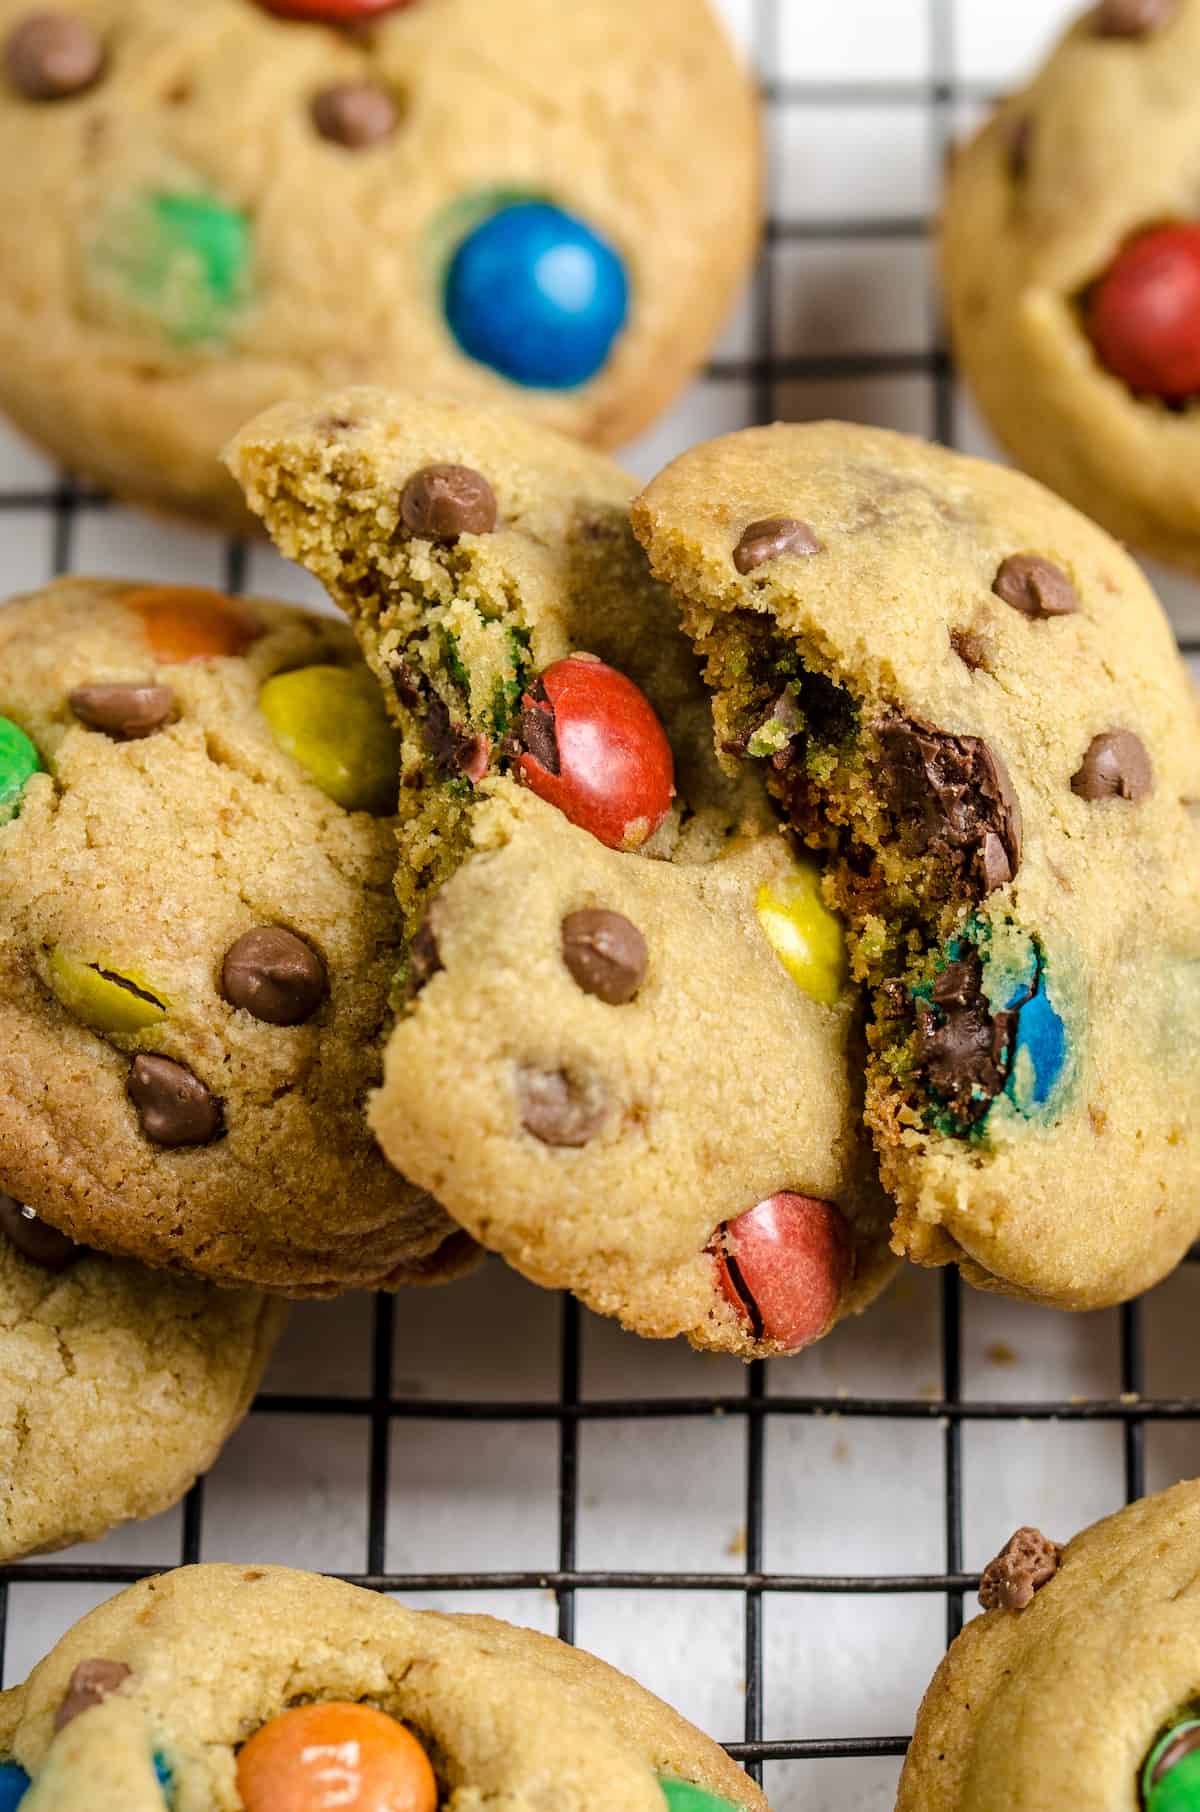
Cookie dough often needs to chill before it’s baked, but not this dough! You’ll have your first batch out of the oven in 20 minutes or less. Prep for Baking: Preheat the oven to 350°F and line a baking sheet with parchment paper. Combine Wet Ingredients: Combine the butter, sugars, egg and vanilla in the bowl of a stand mixer. Beat on medium speed until the mixture is light and fluffy, about 3-4 minutes. Add Dry Ingredients: Add the flour, cornstarch, baking soda and salt, then mix until just combined. Add M&Ms & Chocolate Chips: Gently stir in 1 ¼ cups of the M&Ms and all of the milk chocolate chips, reserving the remaining M&Ms to place on top of the cookies before you bake them. Scoop Dough Onto Baking Sheet: Scoop the dough into balls and roll each ball between the palms of your hands if you want very uniform-looking cookies (or just drop the balls of dough onto the parchment-lined baking sheet in mounds, which is what I usually do). Bake: Press some of the reserved M&Ms into the top of each cookie, then bake for 9-11 minutes, until the edges have set and the tops are just beginning to set – even if the cookies look slightly glossy and under-baked in the center. Let Cool: Allow the cookies to cool on the baking sheet for 2-3 minutes before transferring them to a wire rack to cool them completely.
Can I Make the Dough Ahead of Time?
While you’re not required to chill this cookie dough, you can definitely do so if you’d like to whip it up ahead of time. Wrap it tightly in plastic wrap and store it in the fridge for up to 2 days. When you’re ready to bake the cookies, remove the dough from the fridge at least 15 minutes before you use it to let it soften back up.
Tips for Soft and Chewy Perfection
This one-bowl recipe is great for first-time bakers. Make sure you review these tips and tricks for extra support.
Ensure Accurate Flour Measurements: Using a food scale is the best way to get an accurate flour measurement every time. If you don’t have one, simply fluff up the flour and scoop it into your measuring cup little by little, then level it off with a butter knife. Don’t Over-Bake! It’s best to remove your cookies from the oven before the centers look completely set – they will finish cooking as they rest on the hot baking sheet. This is key for soft and chewy cookies! Set Aside Some M&Ms: I recommend reserving about 3/4-cup of M&Ms to press into the tops of the cookies before you bake them. It’s not going to change how the cookies taste, but I think they ought to be pretty and colorful on the outside too.
Variation Ideas
We’ve talked about some of the different M&Ms you can use in your cookies, but what if there’s another adjustment you’d like to make? I’ve got you covered!
Swap Out the Chocolate Chips: If you’re not feeling the milk chocolate chips, go ahead and switch it up. Semi-sweet chocolate chips, peanut butter chips, butterscotch chips—you really can’t go wrong! Make Jumbo or Mini Cookies: I typically use about 1 ½ tablespoons of dough in my cookies, but you can make yours bigger or smaller as desired. Just remember to increase or decrease the bake time accordingly. Add More Mix-Ins: These cookies would taste amazing with pretzel pieces, mini marshmallows, toffee bits, or any other add-in you’re craving. Have fun with them!
How to Store Extras
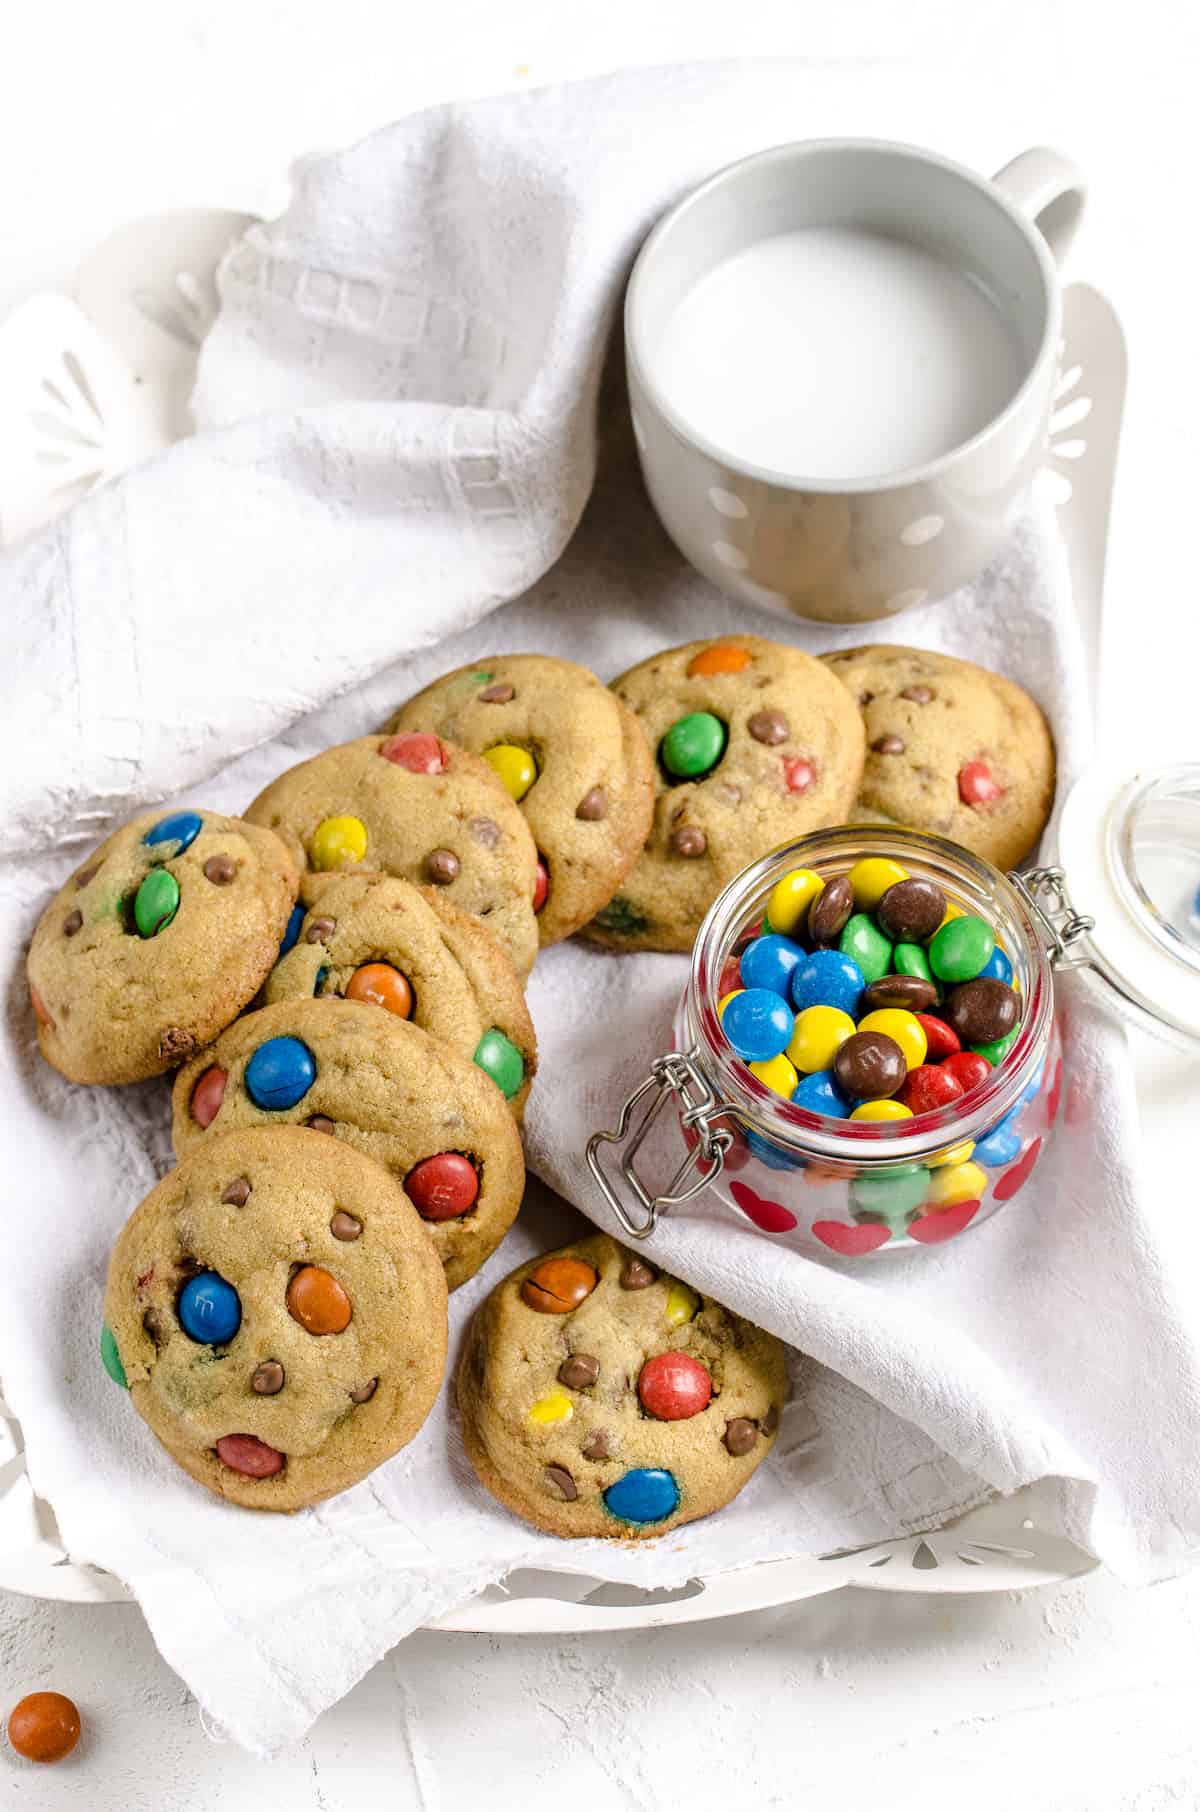
Once they’ve cooled, these cookies can be kept in an airtight container for 4-5 days. Chances are, they’ll get gobbled up well before then! You can pop your cookies into the microwave (one at a time) for 5-10 seconds to warm them up before enjoying them if you’d like.
Can I Freeze These?
Yes! You can freeze the dough before you bake it or freeze the finished M&M cookies once they’ve cooled.
To Freeze the Dough: Scoop the dough into balls and place them on the baking sheet as usual. Set the baking sheet in the freezer for 1 hour, or until the dough solidifies. Once it’s frozen solid, transfer the dough balls to a heavy-duty freezer bag or container and freeze them for up to 3 months. Thaw them out at room temperature before you bake them. To Freeze the Cookies: Place the cooled cookies into a heavy-duty freezer bag or container and store them for up to 3 months. Thaw them out before digging in.
More Chocolate Chip Cookie Recipes
Hungry for more? Check out these chocolatey cookies next.
White Chocolate Macadamia Nut Cookies Toffee Oatmeal Chocolate Chip Cookies Pecan Chocolate Chip Cookies Red Velvet Chocolate Chip Cookies
This post was originally published in February, 2018. The photos and content were updated in June, 2022. Let me know what you thought with a comment and rating below. You can also take a picture and tag me on Instagram @houseofnasheats or share it on the Pinterest pin so I can see.