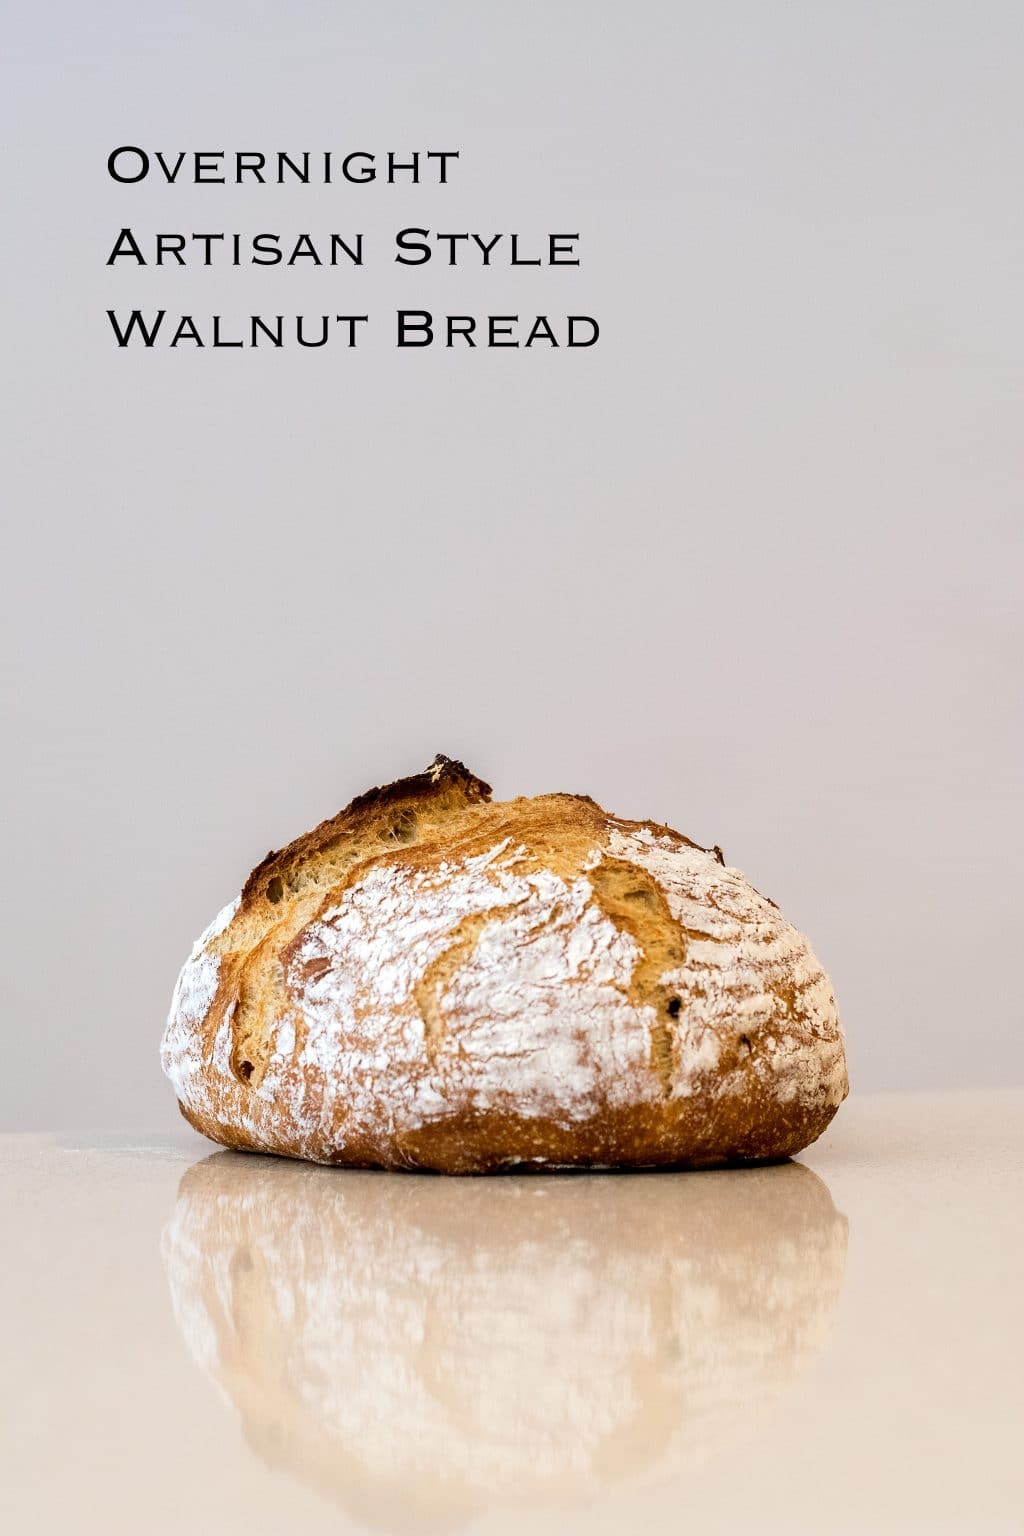
I’m obsessed with bread. Everything about it, from the yeasty smell as it bakes to the soft, squishy, pillowy interior. The crackly crust that shatters so perfectly on a freshly baked loaf. Even making the dough. There’s something so relaxing about the process, feeling the dough as it develops in your hands. Gaining elasticity and structure simultaneously. Whether I’m making bagels, sourdough, slow-rise boules with commercial yeast, pre-fermented bread such as baguettes, rolls or buns. I love it all. So when it came to sharing a bread recipe with you guys, I didn’t know where to start. So I went with the beginning. The bread that started my love of baking bread. Well, sort of.
While I had dabbled in bread baking since high school, I first fell in love with baking bread when I started making sourdough in graduate school. My first loaves were flat and a bit misshapen, but still yeasty and sour and delicious. I started devouring all the information I could find on baking bread, in books and the internet. I reached a real turning point when I discovered Ken Forkish’s book Flour, Water, Salt, Yeast. While I had found the same sort of information in other places, I love the straight forward and semi-scientific approach he has to baking. It was certainly a game changer for me. Within months I went from my amateurish looking loaves, to feeling like I could probably sell this stuff for $8/pop. As with many things, when you begin to learn techniques, you want to do it with the simplest format possible. For me, this means starting with a commercial yeast bread. The same principles apply as with sourdough, but you don’t have to mess with creating and maintaining a sourdough starter, and you end up with a gorgeous and delicious loaf.
Ingredients and equipment:
To make bread you’ll need the following ingredients:
flour (all purpose and whole wheat) water salt instant yeast walnuts (which are optional, but a very enjoyable addition)
As far as equipment goes, you’ll need:
a large mixing bowl with a lid or a large stock pot with a lid (I always use the large pot when I’m making a double recipe) a scale or measuring cups. If you get into baking bread, using a scale is really the best way to go, but it’s ok to measure when you are starting out a mixing bowl or a proofing basket (banneton), 8 or 9″ lint free dish towels 4 or 5 qt cast iron dutch oven, safe up to 500 ºF
It’s also helpful (but not necessary) to have:
a bench scraper a kitchen thermometer
Once you have everything you need (which you’ll notice is probably stuff you already have mostly!), pick a relaxed evening or afternoon you’ll be at home for several hours for, and make sure you have some space in your refrigerator for an overnight rise. While this recipe doesn’t require a lot of hands on time, it does require semi-frequent short bouts of attention.
How do you make it?
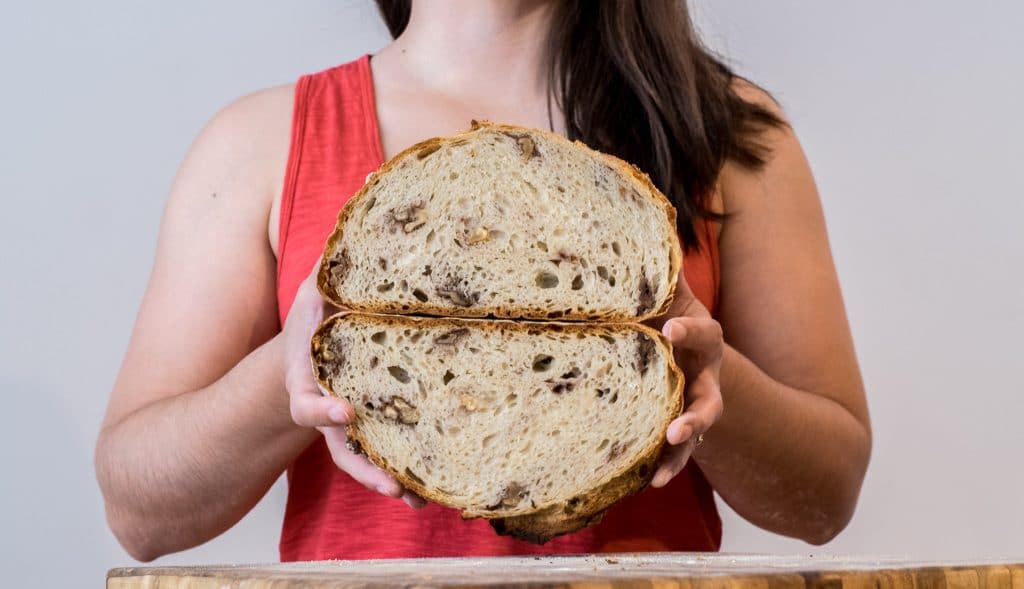
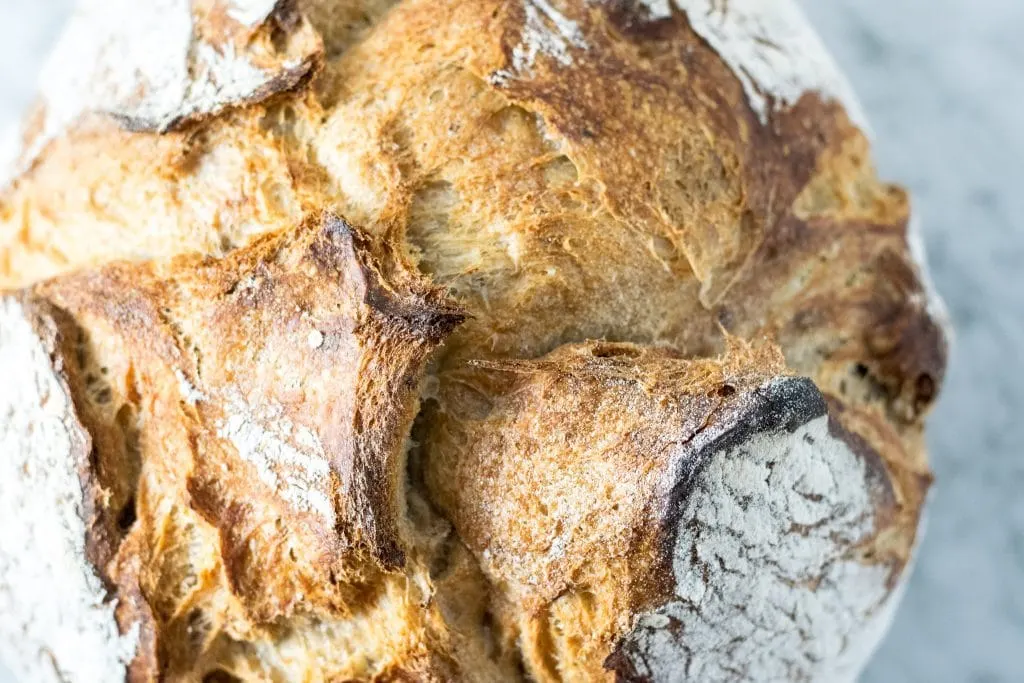
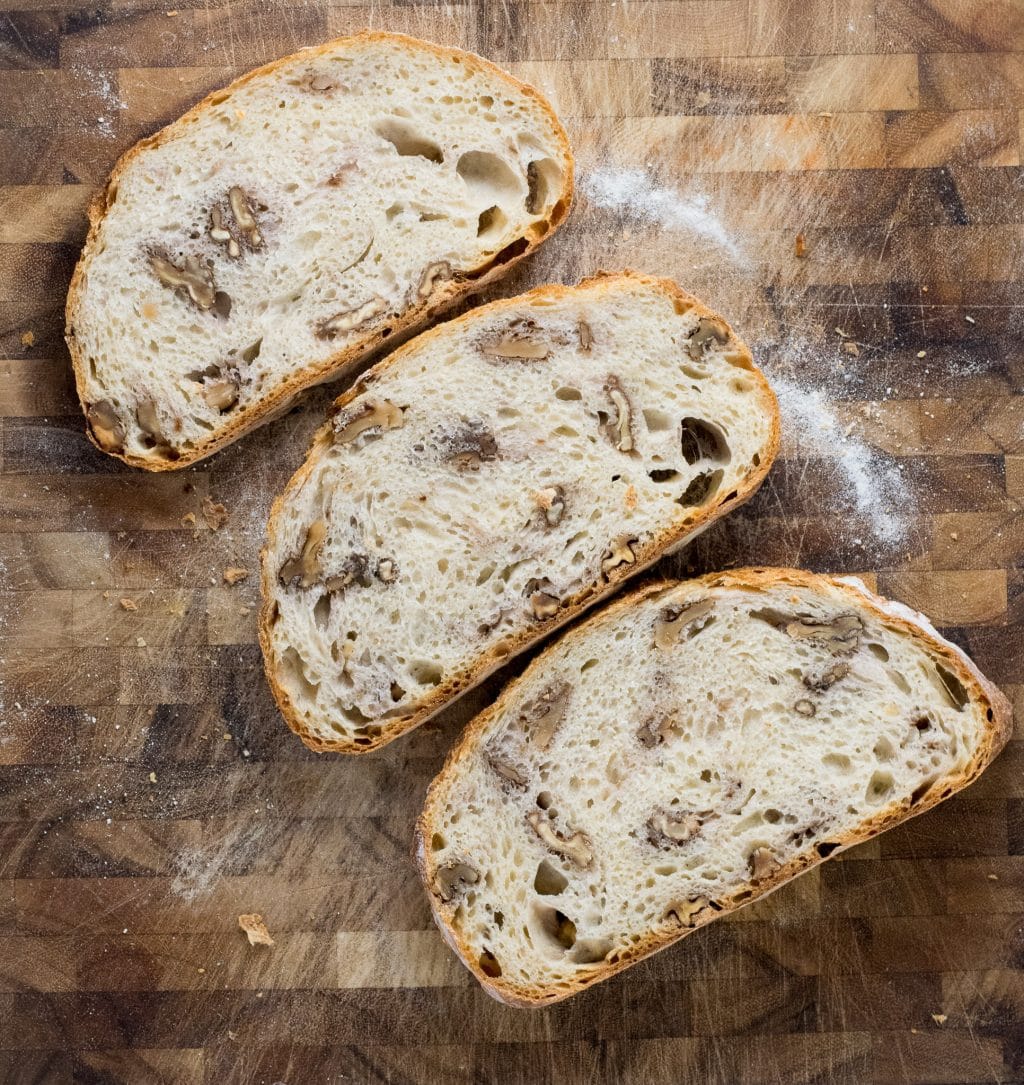
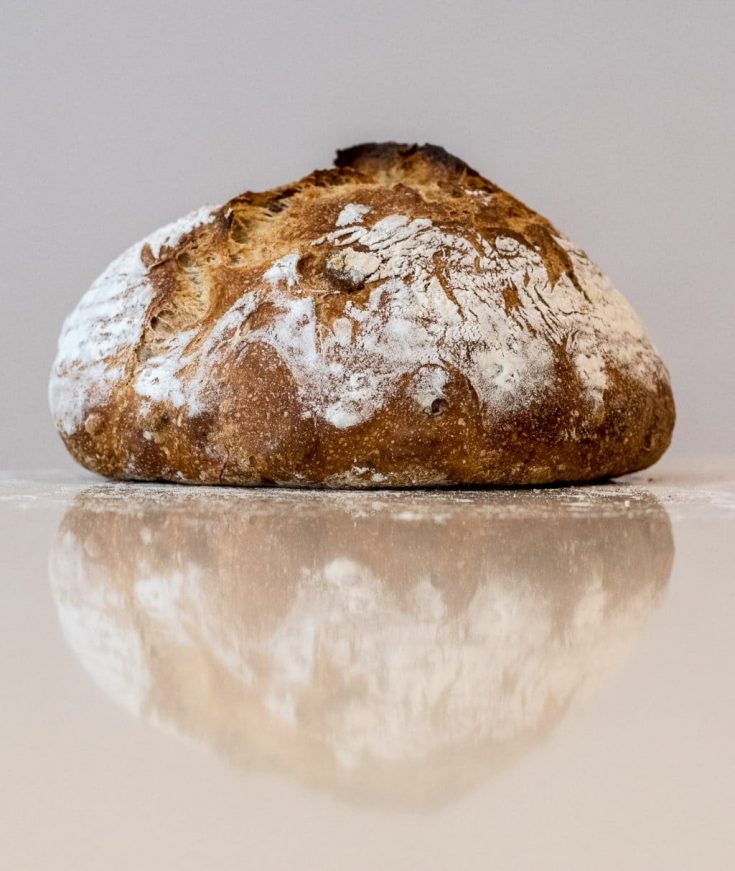
This recipe makes use of a no-knead technique. Instead of the traditional mechanical kneading of dough to incorporate ingredients and build the gluten structure in the bread, this method requires no real physical exertion. Flour and water are combined and stirred together to create a shaggy dough, then left to hydrate. Salt and yeast are then sprinkled on top and incorporated by pinching the dough between your fingers into segments, then reaching under a section of the dough and gently stretching it up until resistance is met, then folding it over the dough in the bowl. Rotate the mixing bowl and repeat this process section by section until you’ve gone a full 360º. Repeat the pinch and fold a couple of times until all the salt and yeast are incorporated. You’ll let the dough rest, and then repeat this pinch and fold method with the walnuts (or other add-in). This dough does not require the traditional kneading, because it is made with a higher hydration, or with more water, than stiff doughs you may be used to working with. Instead, this higher water content helps the gluten strands line up and form protein networks (which gives the bread its rise and final hole-filled/airy texture). To assist the gluten network in forming and to develop the elasticity of the dough, you’ll do a series of folds while the dough is rising at room temperature. This is the same type of folding you did when incorporating the salt, yeast, and walnuts. Gently stretch the dough until it meets resistance, and fold back down. As you apply the folds to the dough you’ll feel it tighten and give more resistance to your pulls, as it becomes smoother and nicer to work with. The dough uses very little yeast compared to what you maybe used to, and as such it has a slow rise, completed overnight in the refrigerator. This long, slow rise develops more flavor than the faster methods, and is way superior. As an added benefit, cold dough is easier to work with for the final shaping of the bread. When you are ready to bake the next morning, you’ll first take the dough out of the fridge and shape it and prepare a proofing basket (or mixing bowl lined with a lint free dish towel) by flouring it. Gently ease the dough out onto a clean, floured counter, and stretch it into a roughly round shape. Then working in sections, gently stretch the dough up, and then fold that section back into the center. Work around the dough until you have a rough ball shape. Now, moving over to an unfloured section of the counter, take the dough and flip it over so the seam is on the counter. Cup the dough in your hands, so that your pinky fingers are resting against the counter. Pull the dough ball towards you, and feel the dough stretch under the counter. Your pinkies help keep it from just rolling. If you are sliding across without any stretching across the surface your counter is not clean enough and dust away any extra flour. Wipe it with a barely damp cloth if necessary. Rotate the dough and repeat a few times until you have a nice taught skin across the dough ball with the seam meeting in a cluster underneath. Take this dough and put it seam side down in the prepared proofing basket. This seam side will become the top of your bread. By using the seam as a natural place for the gas to escape when the dough hits the hot oven, you get that rustic split open look on top. This splitting allows the bread to have a higher rise, and gives you a more open crumb structure. The bread is baked in a dutch oven. Use a large, 4 to 6 quart cast iron dutch oven, with heat proof knobs and handles, up to 500 ºF. The bread is baked covered at first to provide the extra steam that gives that perfect crackly crust you’ll get from french bakery bread. About 2/3 of the way through you remove the lid and allow the crust to darken.
Tips:
Use wet hands when handling the dough for mixing and folding. Re-wet as necessary to prevent the dough from sticking to your hands. Use dry hands, floured if necessary, when shaping the final dough. Have fun with the bread, even if your first couple loaves don’t come out 100% perfectly, they will still be very enjoyable to eat I promise! And it’s always a learning process, no matter how many times you’ve made bread.
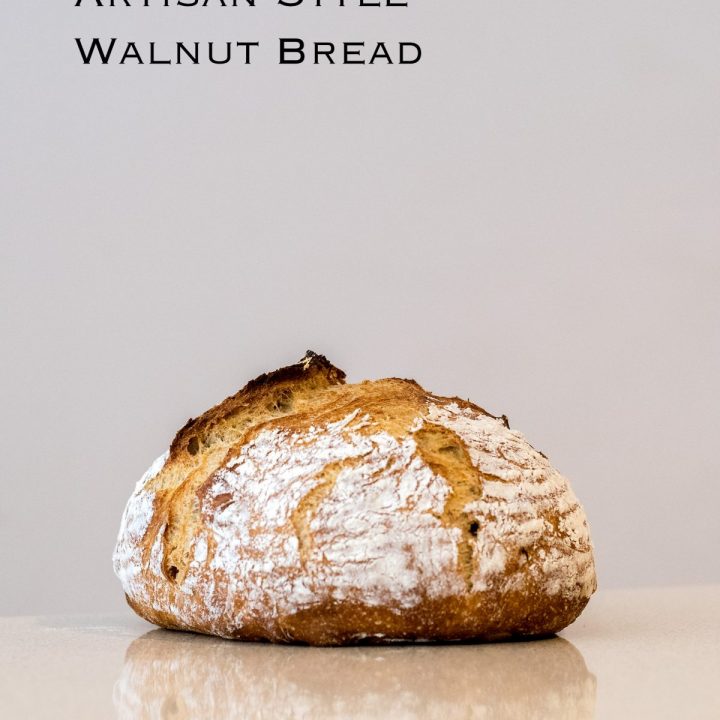
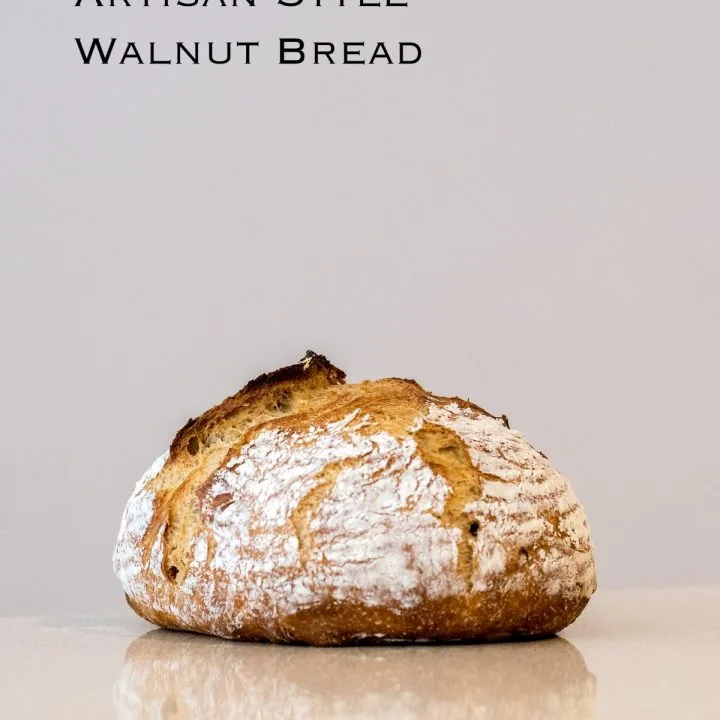
If you try making your own bread, please let me know! Leave a comment, or tag me on Instagram! And of course, feel free to ask me any questions if you have them. Enjoy your artisan style walnut bread!
Notes:
Read through the entire instructions before beginning the recipe so that you understand the work flow. I love using whole wheat white flour, and do so in most of my breads. You can use either regular whole wheat or whole wheat white for the same effect. For a nut free version, you can use substitute pepitas. You can also put in some steamed diced potatoes, or cooked polenta. Get creative! If you just want plain bread, then leave out any add-ins and just skip that step.
*I often use whole wheat white flour (and did in these photos) *Recipe adapted from methods in Flour Water Salt Yeast by Ken Forkish