You know those theoretical questions that ask you what cuisine you’d choose if you could only eat one for the rest of your life? They’re along the lines of “what 3 things would you bring to a desert island-“type questions. Mostly I eschew these types of questions, because what crazy dystopian world would have to live in to only be able to experience one culture, one cuisine, or ONLY THREE THINGS EVER??? But, it’s possible, that if I had to choose (and I’m not choosing), it might be Mexican food. Then again, it might be Italian food (could I live without pizza? … I’m not sure Mexican pizza would count in this dystopia). But one thing is true, I could not give up beans. After college my best friend and I did a backpacking trip around Europe, and after an entire month without Mexican food and basically no beans (gigandes in Greece was pretty much it), I found myself in my parents kitchen eating room temperature refried beans straight from the can with a spoon. No adornments, no heating it up, no putting it in a bowl at least. Yes, at times, I’m a savage. I also have to admit that is not the only time I’ve eaten plain, cold refried beans with a spoon…
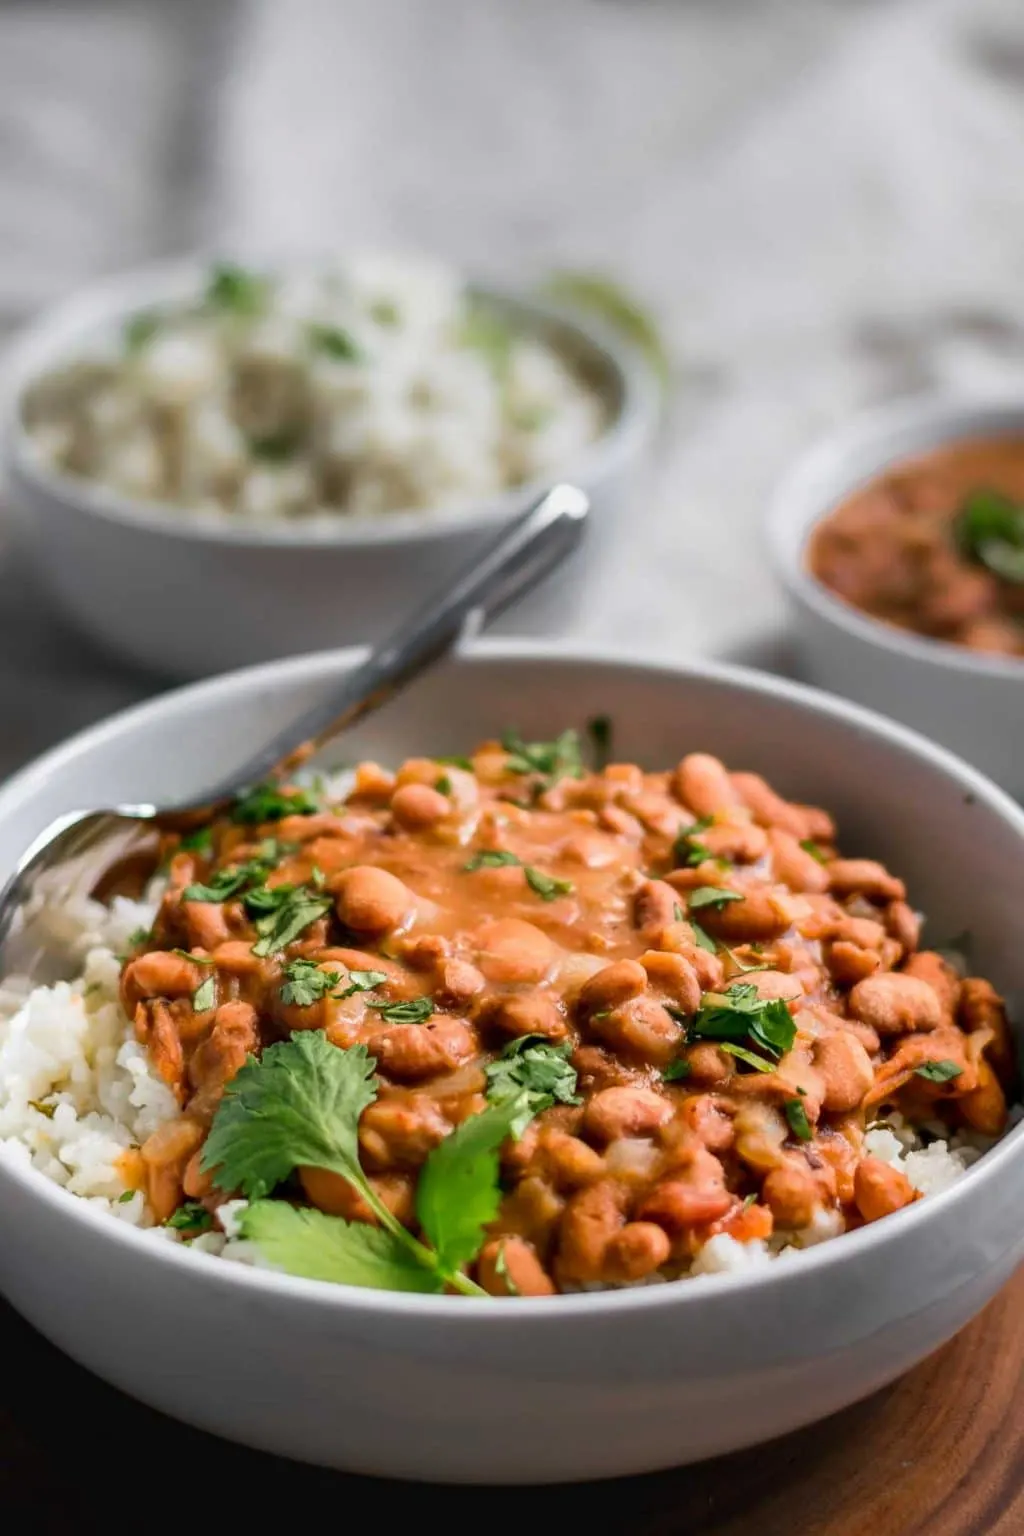
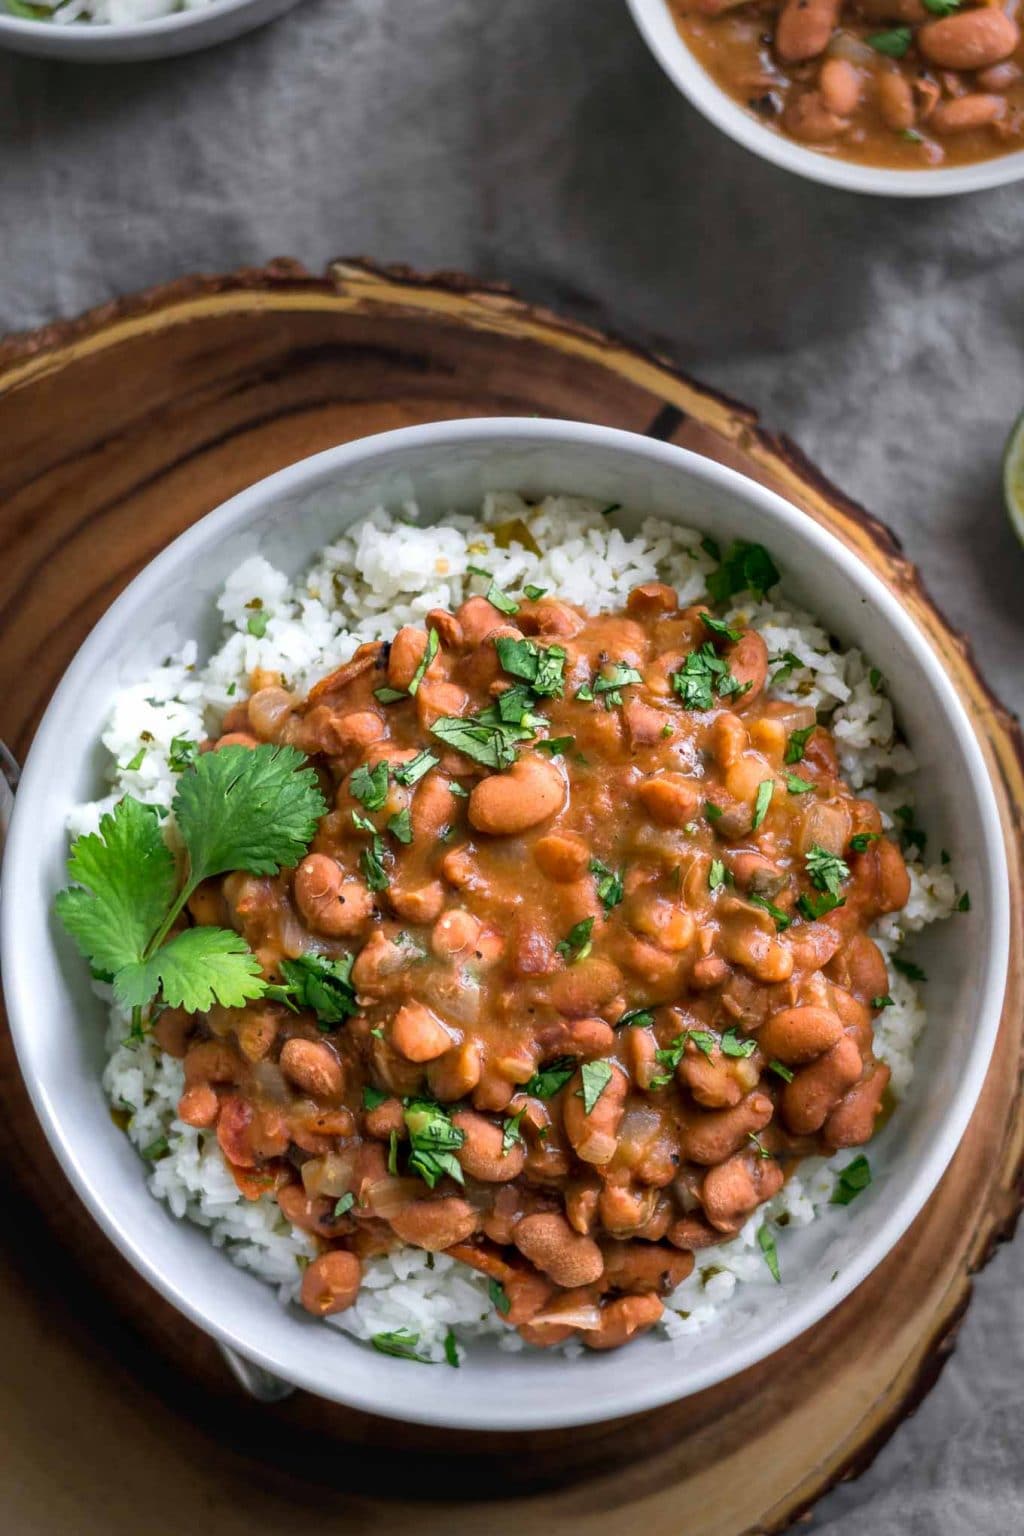
Ok, let’s talk about these beans now. Do you ever cook your beans from scratch? I’ll admit I usually opt for canned beans, but cooking from dry makes for a tastier and INSANELY cheap dish. One pound of dried beans cooks to over 6 cups of beans, while a costing about the same as 1 15oz can of beans (which is typically 1 1/2 – 1 3/4 cups). Plus you don’t have to worry about BPA lining your cans, or the BPA alternative (which may be just as bad), or the extra waste associated with throwing out the cans. The method I use to cook the beans for this recipe, is one I’ve been interested in for years. You put soaked or un-soaked (we’ll get to that in a moment) beans in a pot with plenty of water, and then put it in the oven at a low heat and let cook for about 1 hour and 15 minutes until they’re perfectly soft. This method works because the beans are kept above the boiling temperature of water (water boils at 212 ºF, the oven is set to 300 ºF), they’re evenly heated in the oven as compared to stovetop, and the beans are left untouched while they cook. Stirring beans while cooking them on the stove causes splits and bursts, all undesirable things in your finished beans. Stove top beans are also less likely to be evenly cooked, with some beans softening before others, because the bottom of the pot is likely to be warmer than the top. You can soak your beans or not, pinto beans are small beans that often don’t require soaking (unless they are very old). But soaking does help guarantee more even cooking, and also makes it even less likely that the beans will split. And of course, some people find it helps with the gaseous effects of beans. I add epazote to the beans which helps as well, while adding extra flavor! Apparently the best thing you can do is just eats beans regularly though! If soaking the beans, make sure to soak them with salt, as this softens the skins and helps the beans cook up softer. I know this may counter what you’ve heard before, but trust me and try it! I also include both slow-soaking and quick-soaking instructions, because I’m bad at planning my bean soaking ahead of time, and I’m guessing you might be too. The beans are finished stovetop, and this is where extra flavor is added. While the beans are cooked in the oven with bay leaves and epazote to infuse them with some flavor, on the stove we add that wonderful roasted garlic to the pot, along with canned tomatoes with green chilies and fried onions. The beans are simmered for about a half an hour, until the liquid is thick and creamy, and the beans are oh so perfectly melt in your mouth soft. You can actually turn these beans into refried beans at this point, just add about 1/4 cup of oil and either mash the beans or use an immersion blender or food processor to get your desired level of chunkiness. It makes for delicious refried beans.
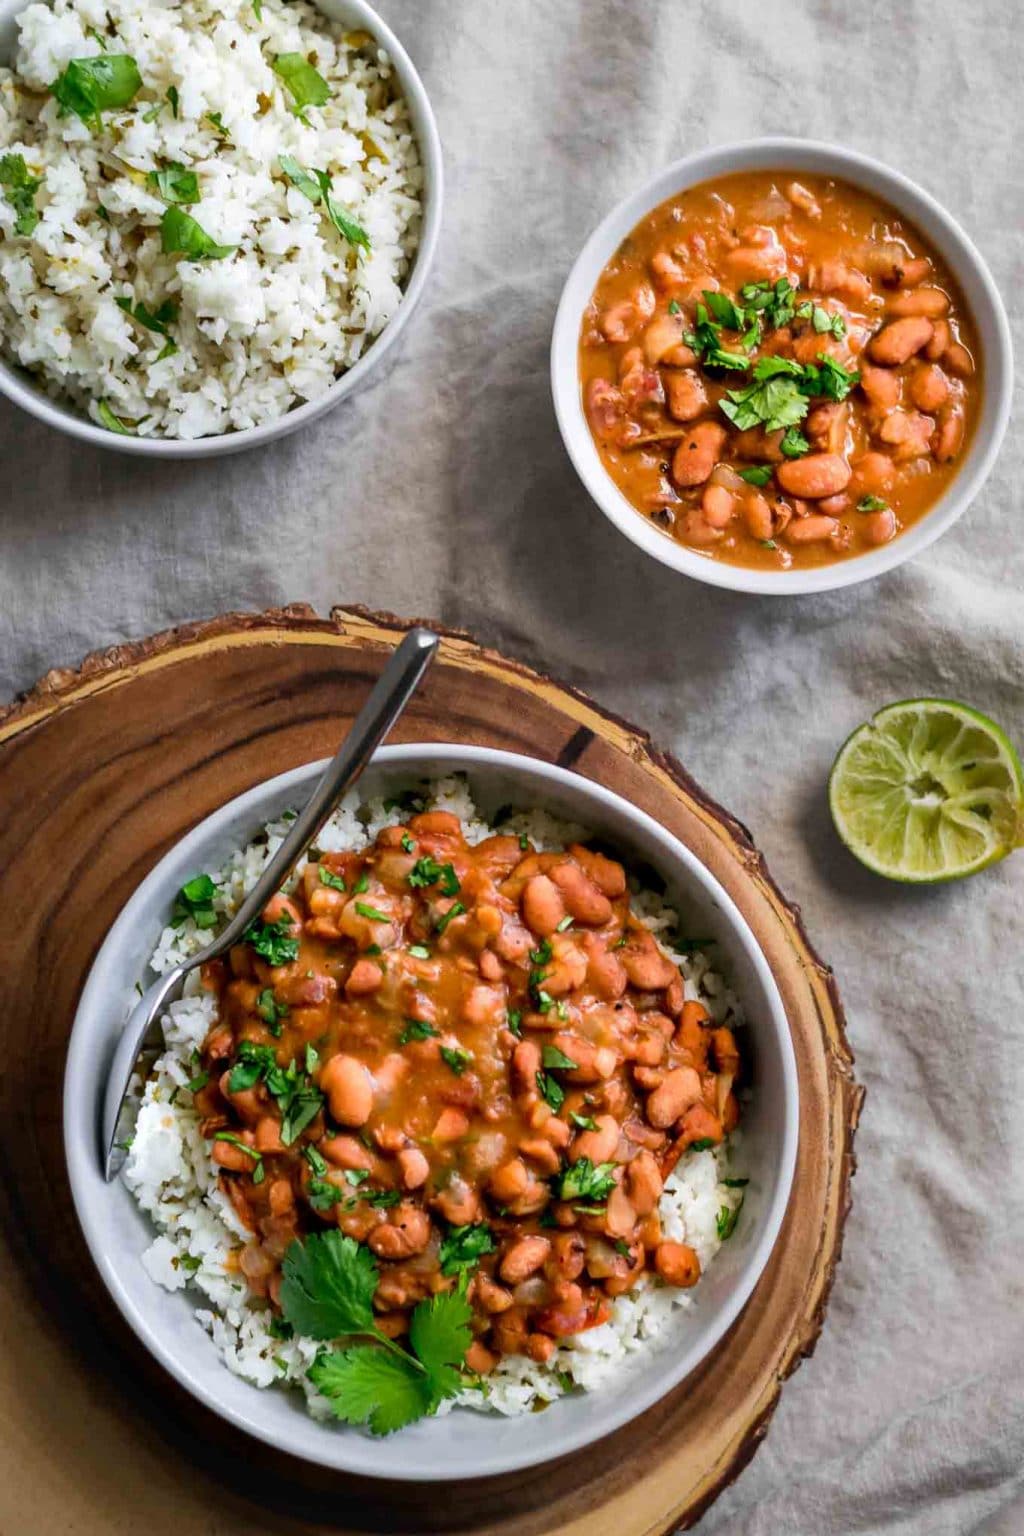
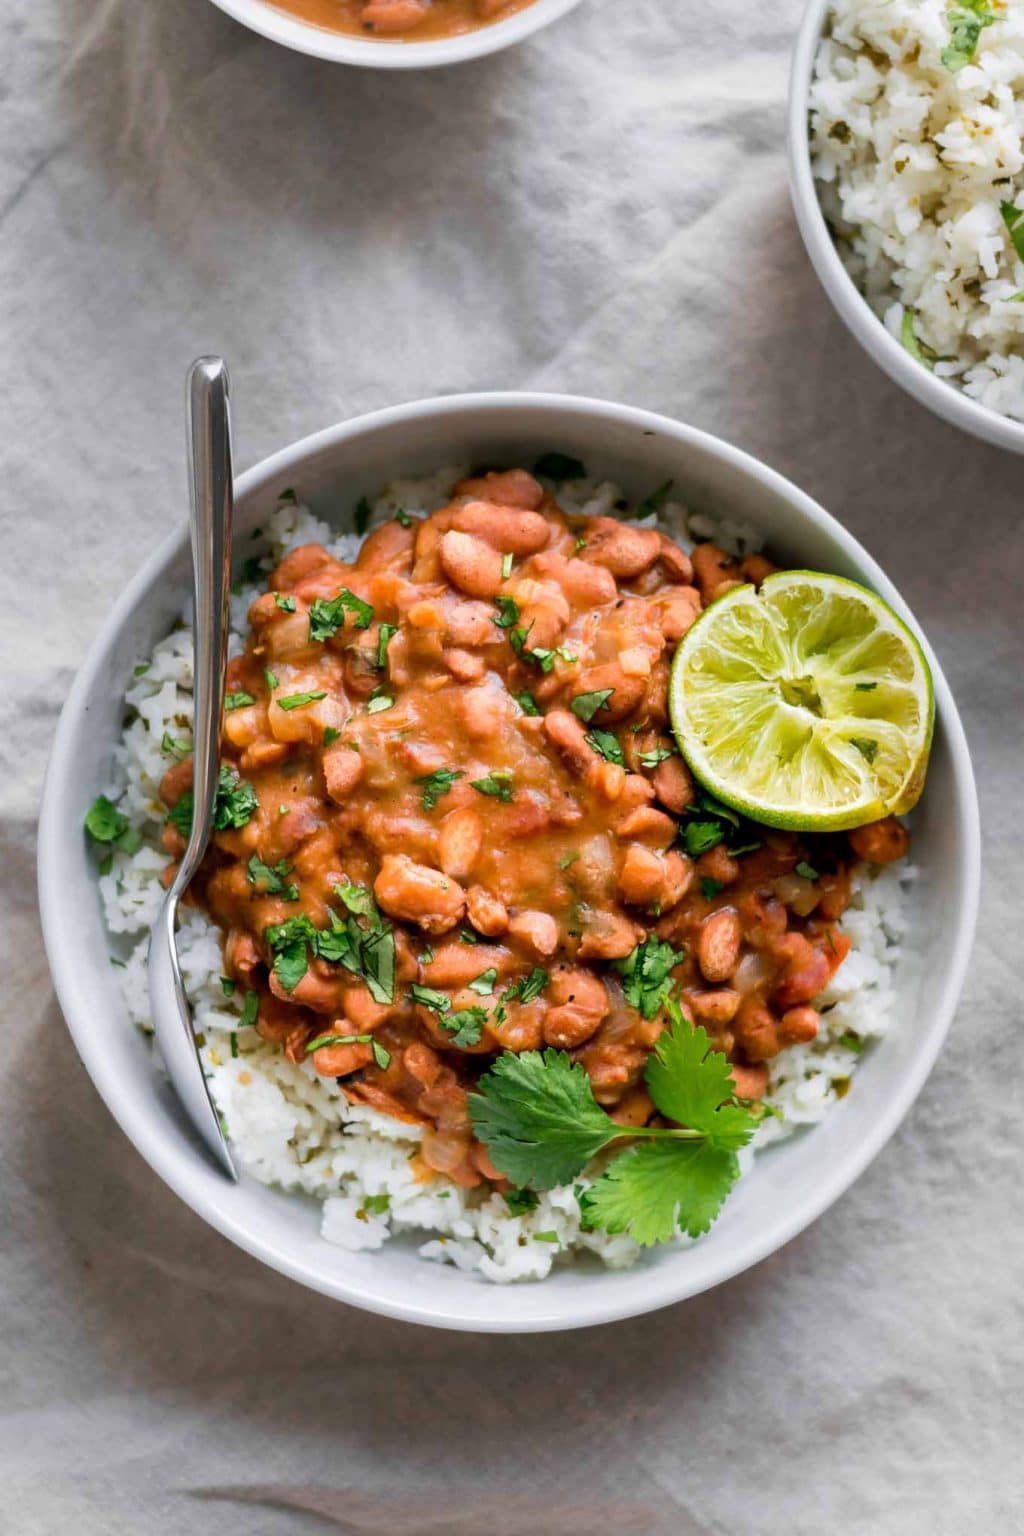
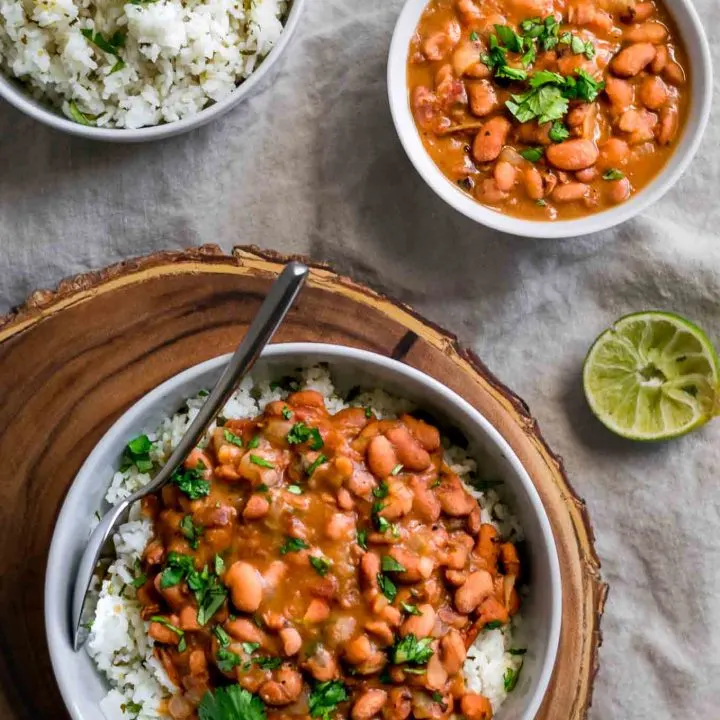
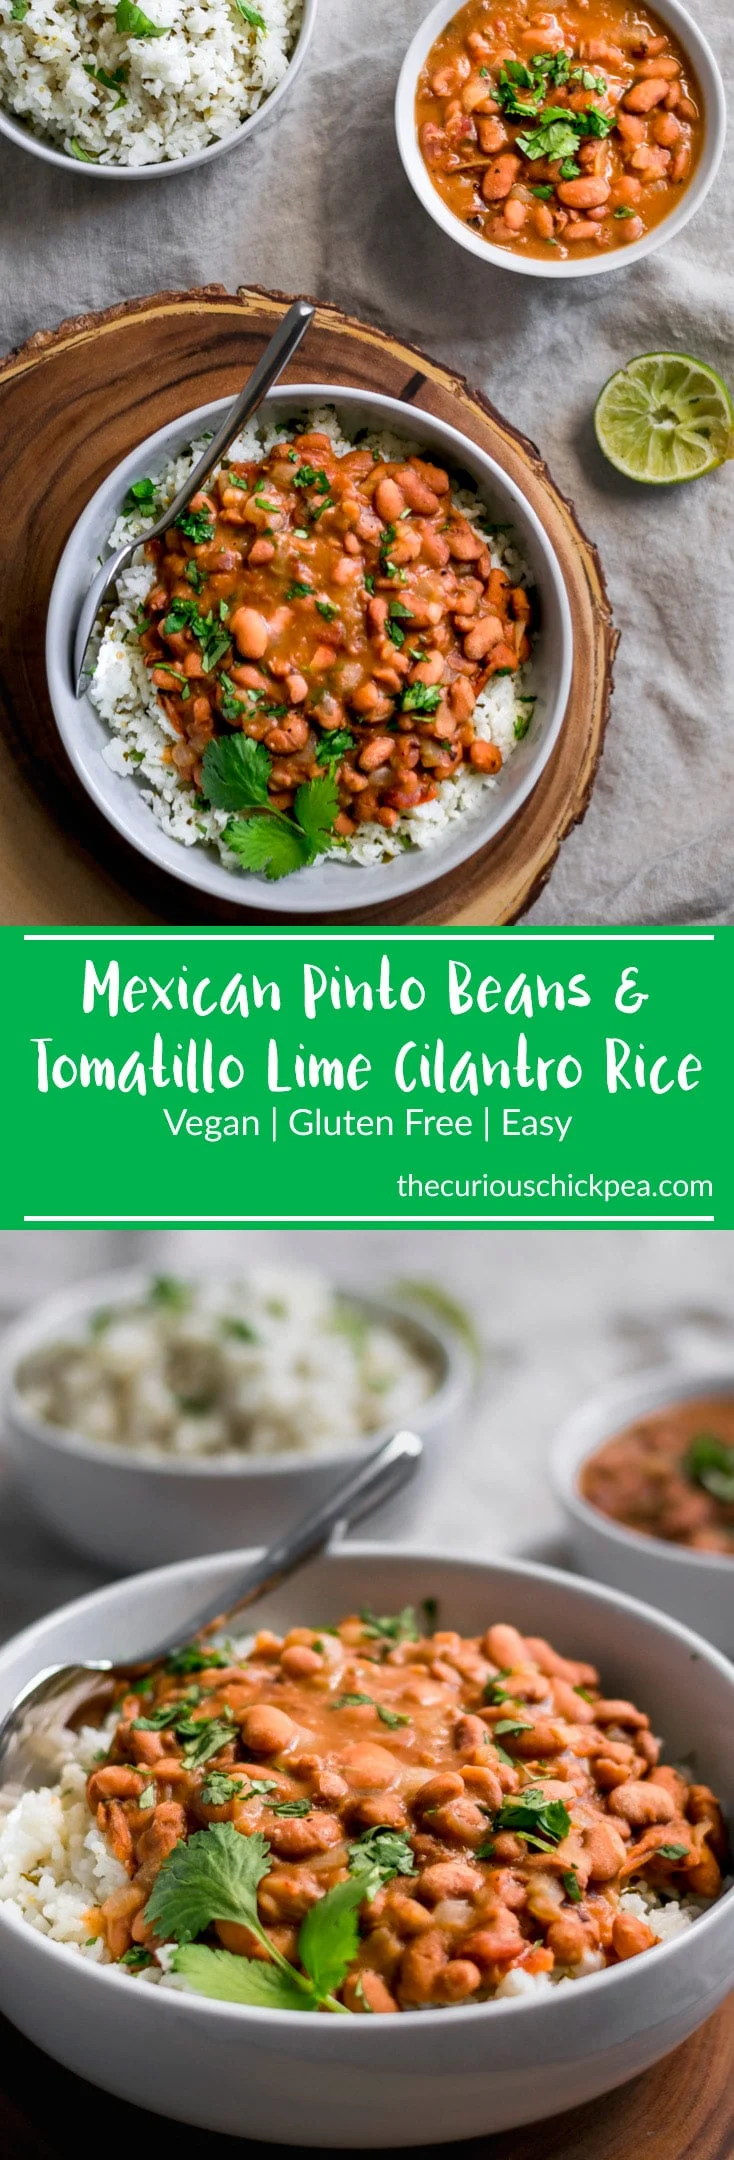
I like to serve these beans with a simple but flavorful rice. The rice is cooked as normal, but during the last steaming step before fluffing, I toss on some diced tomatillos and let them steam and soften along with the rice. Then some minced cilantro and a generous squeeze of lime is added right before fluffing the rice and mixing everything in. The rice is perfectly tangy and citrusy, full of bright flavors which accompany the Mexican style pinto beans perfectly. The rice and beans can be stuffed into a burrito (might I suggest, alongside my tinga taco “meat”?), or served alongside any tacos, just like you’d have at a Mexican restaurant! This is simple comfort food at it’s best. I hope you try the homemade beans and my favorite tomatillo cilantro lime rice (leave out the cilantro if you’re a hater!). Let me know if you do, and leave a comment below! Tag your recreations @thecuriouschickpea and #thecuriouschickpea on Instagram, or share with me on Facebook.
Notes: