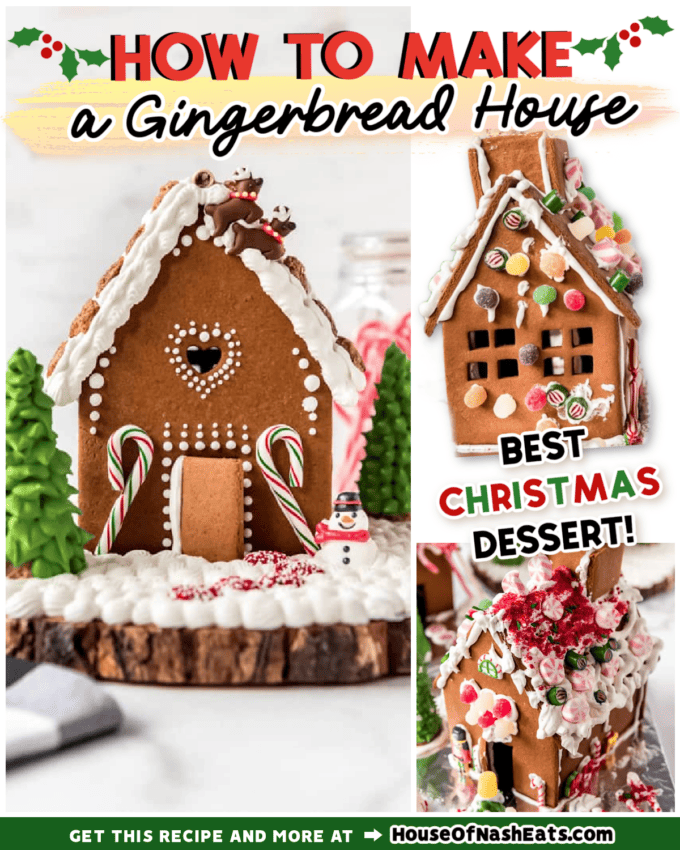
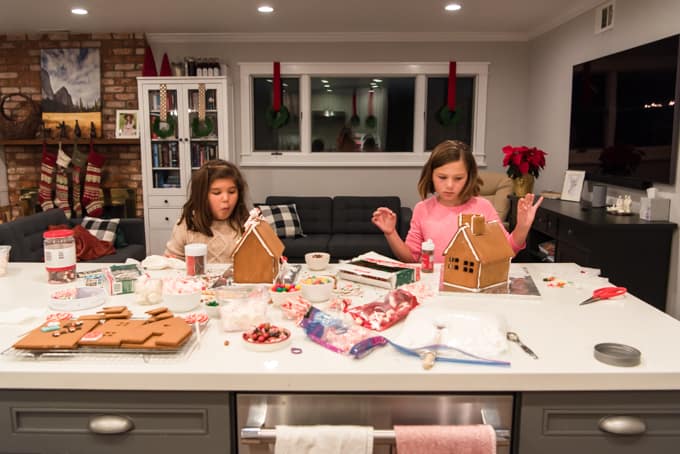
It’s the most wonderful time of the year! Almost 20 years ago I was spending one of my first Christmases away from my family while serving as a missionary for my church. A family from our congregation invited the missionaries over for a gingerbread house decorating party and it was so much fun! It was the first time I had ever decorated a real gingerbread house and I was put in charge of making the royal icing to act as the cement glue for the houses. I have enjoyed making gingerbread houses almost every year since! When Paul and I were newly married, we would invite couple friends over to decorate gingerbread houses with us. When the girls were little, I opted for the easier approach of just buying gingerbread house kits from the store. Nothing makes it feel quite like Christmas like the smell of gingerbread filling your house! We also love to make Soft Gingerbread Men Cookies and Gingerbread Cupcakes with Eggnog Buttercream! But the kits are always so disappointing! The candy options usually aren’t very good and there is never enough of it. The “glue” icing is always a pain to work with. And the gingerbread pieces themselves don’t even smell like gingerbread, which is one of the best parts of the whole thing! Making gingerbread yourself at home means you can make whatever design you want, your house will smell like gingerbread for days and days (seriously, every time you walk into the room where you display your gingerbread house), and it’s way more fun to decorate with better (and more) candy than the basic ones that come in the box kit. While this fun baking project is technically 100% edible, it doesn’t exactly taste amazing. It needs to be able to hold up to humidity and sitting out for a few weeks, so it bakes really hard and strong. That said, my kids kept nibbling on spare pieces of the gingerbread whenever I wasn’t looking.
Gingerbread Decorating Ideas
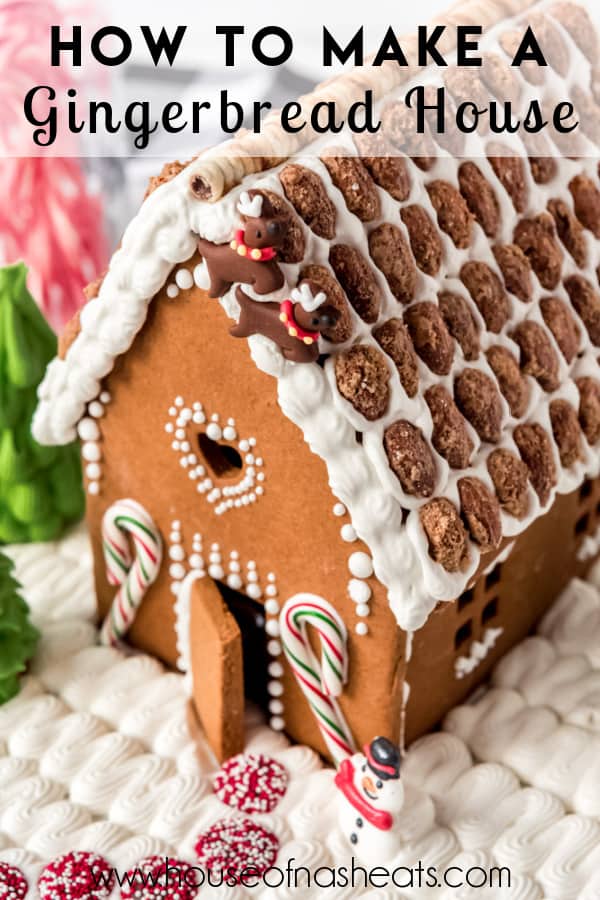
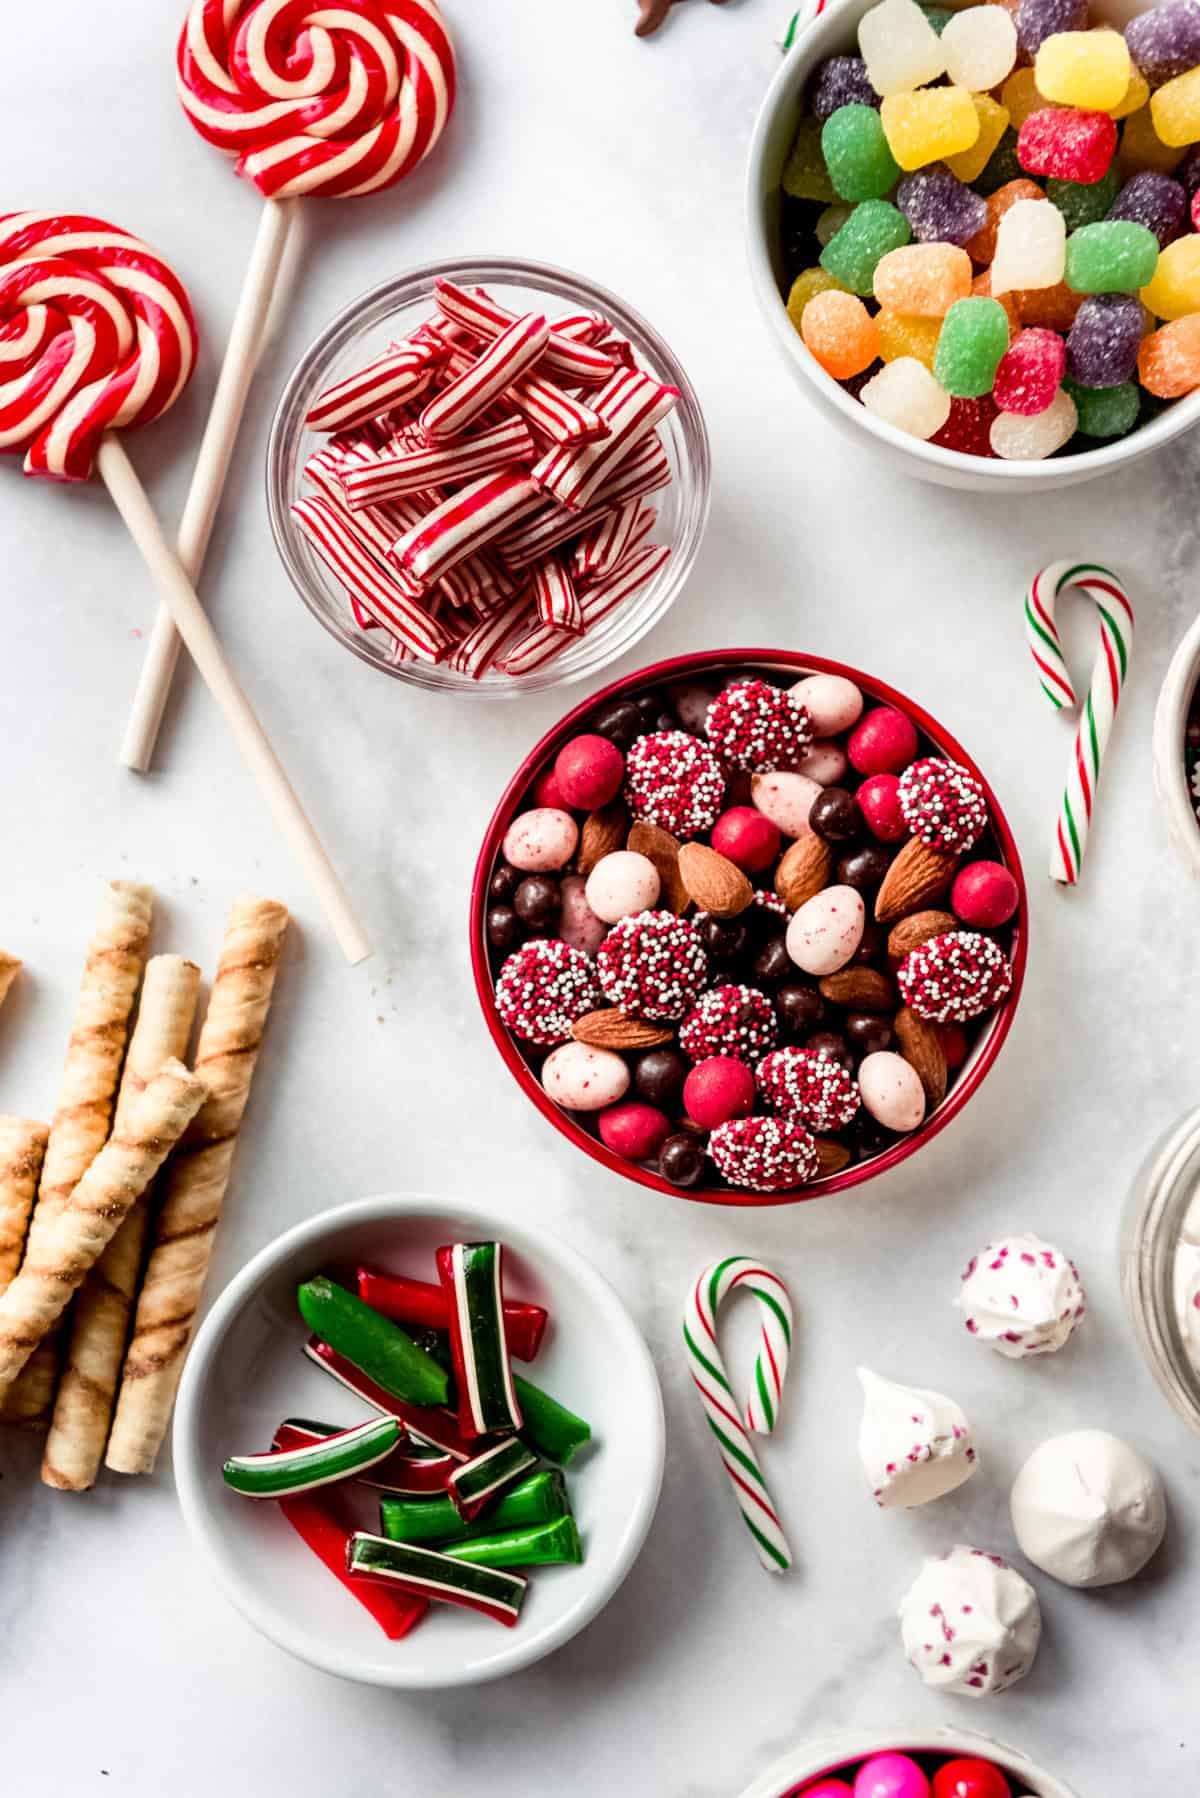
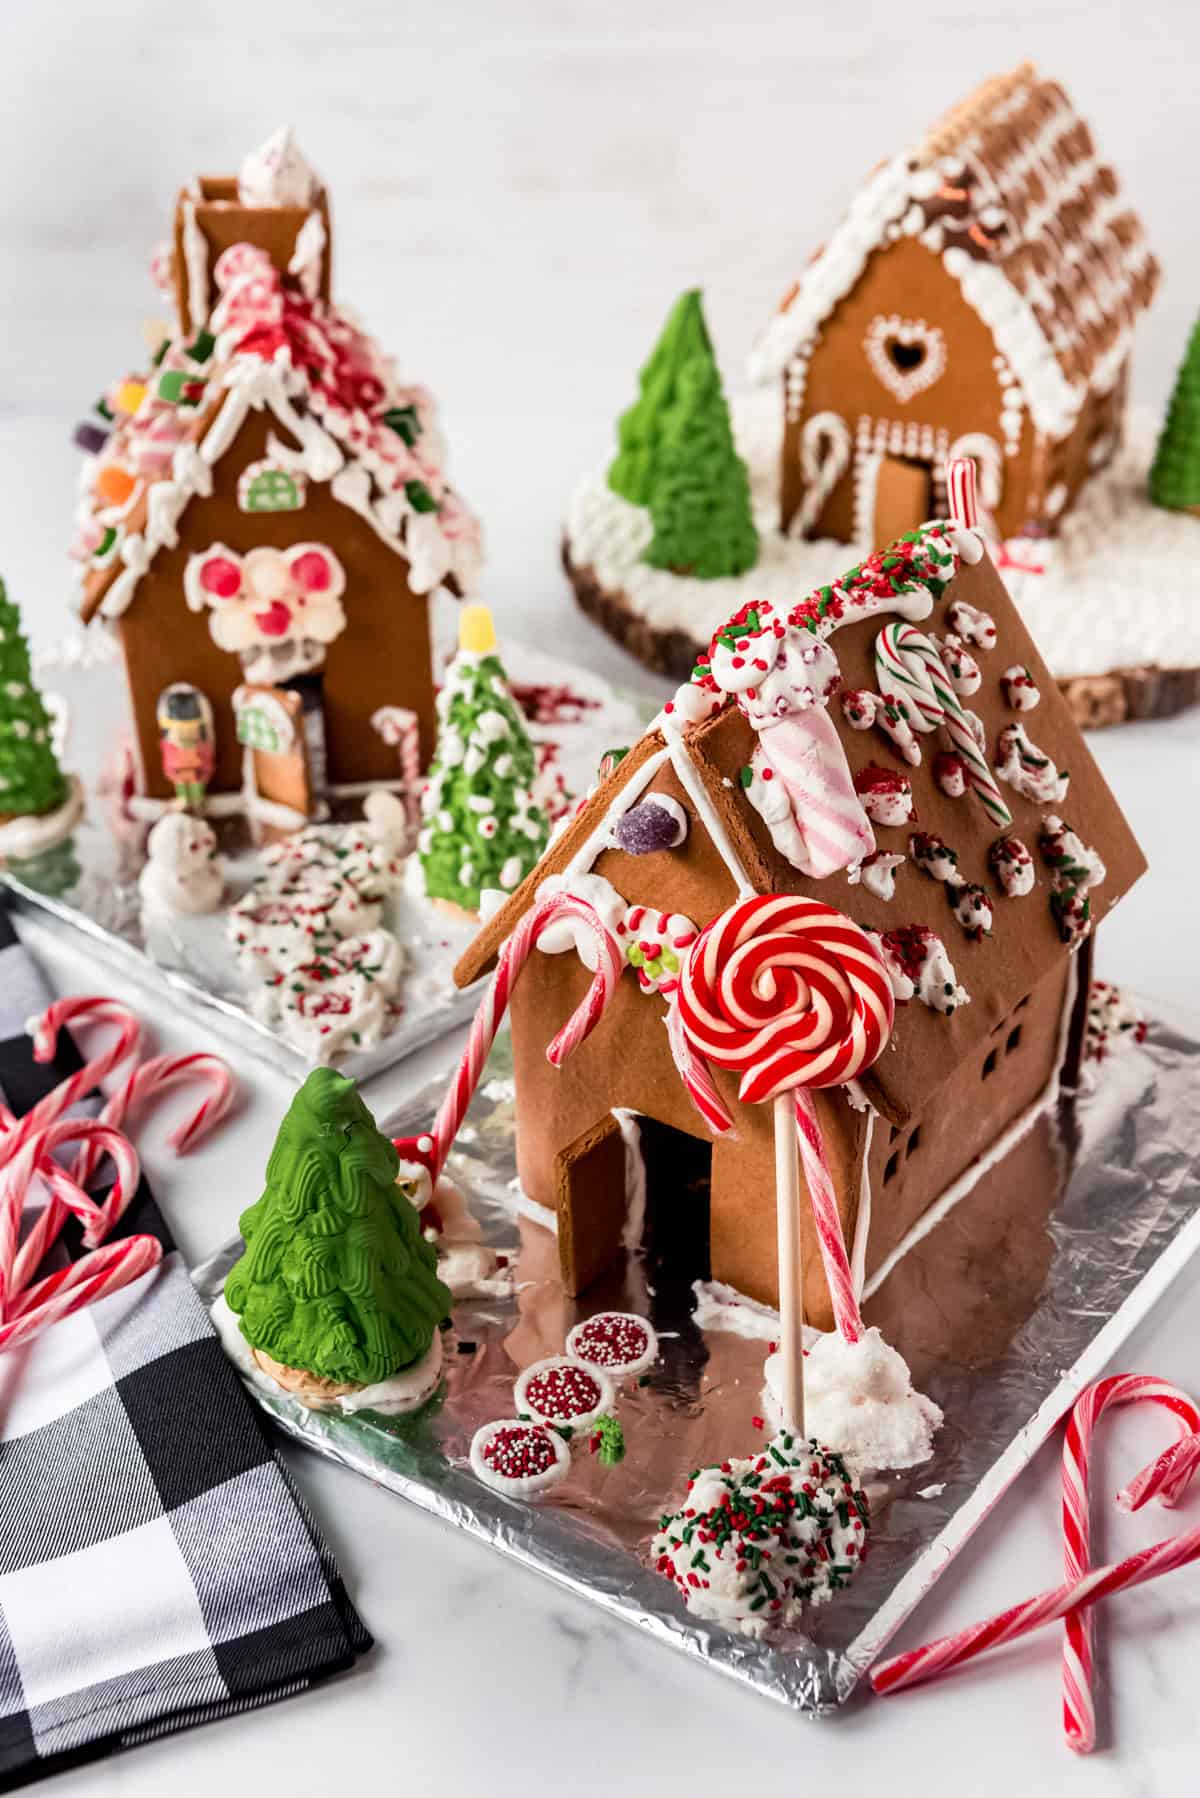
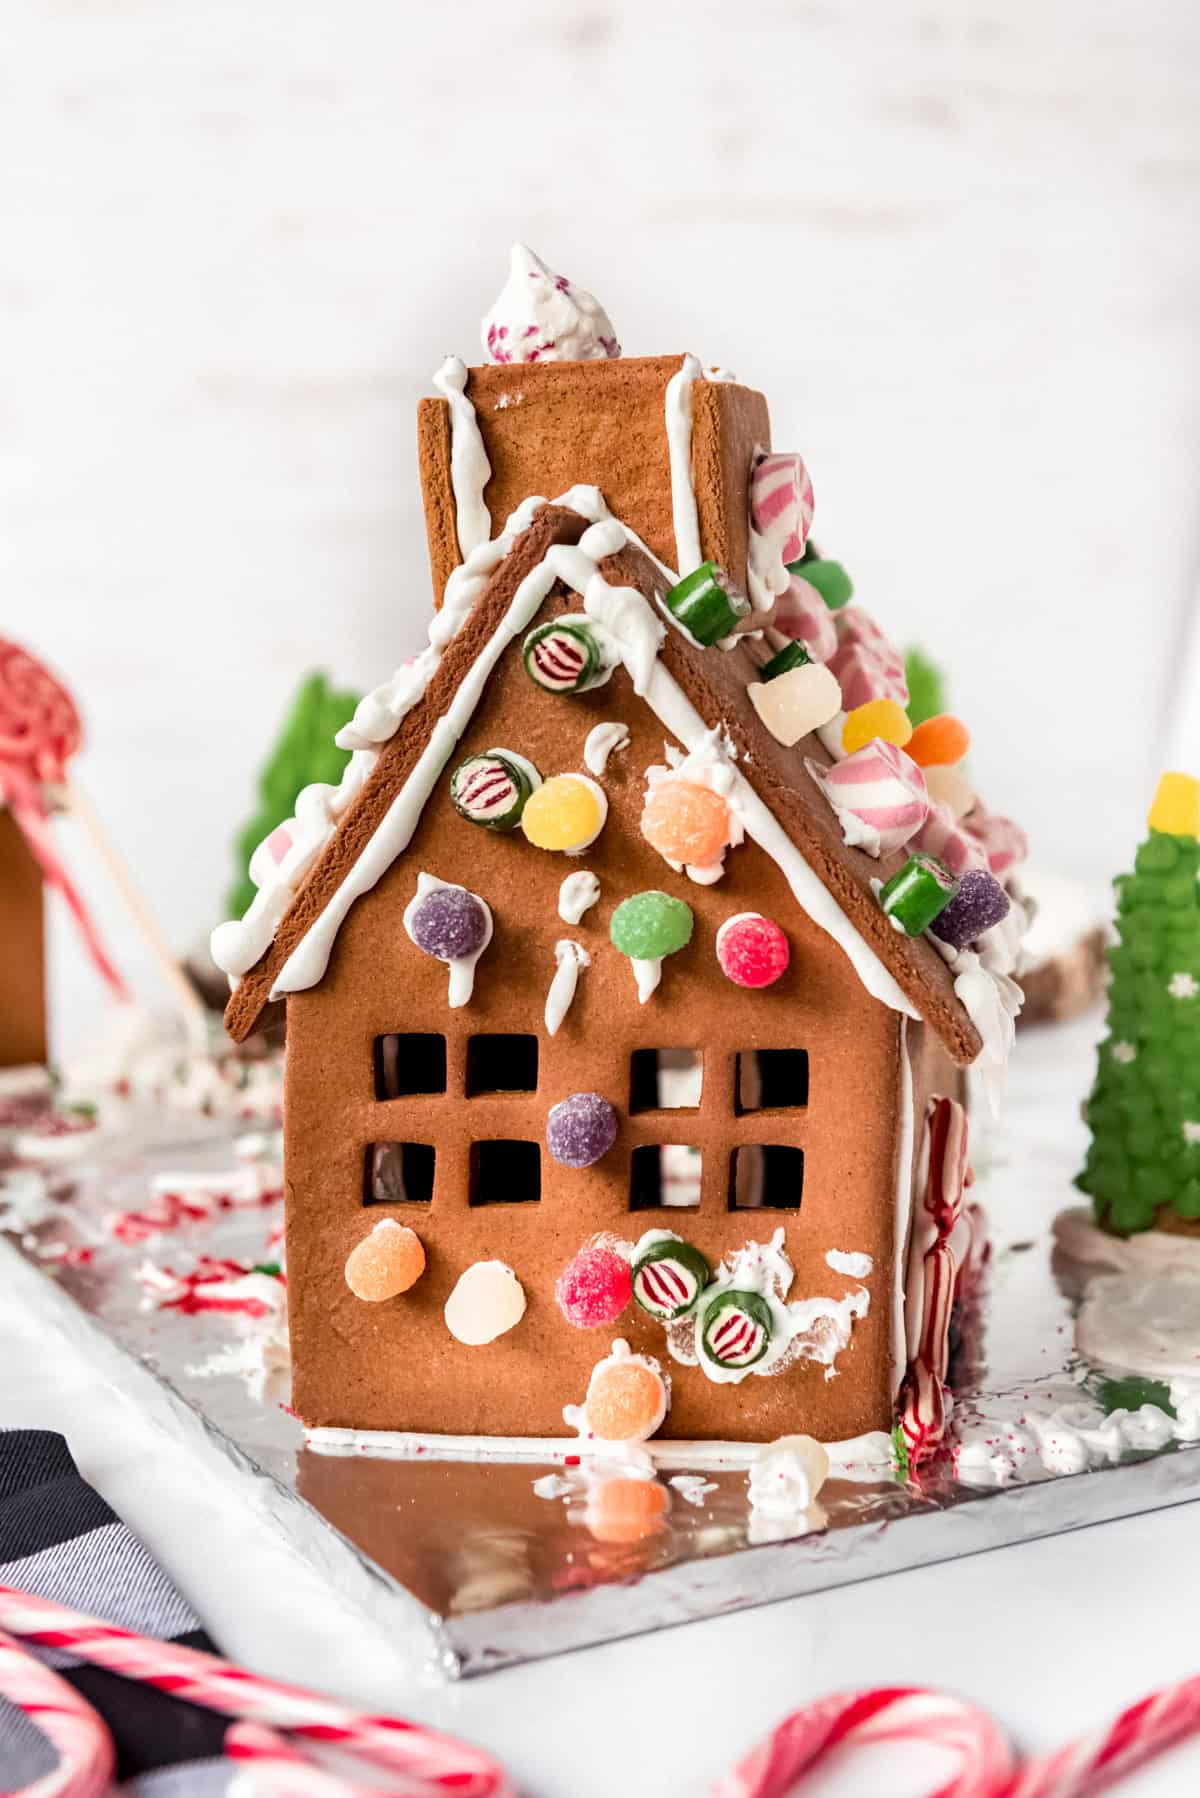
There are endless ways you can decorate your gingerbread houses! If you have decorating skills, you can pipe the royal icing in decorative patterns and swirls on the walls and roof of your house. Or rely on candy to create a festive winter wonderland scene! Some of my favorite places for sourcing fun candy for decorating gingerbread houses are stores like Home Goods, Target, and craft stores. Sometimes, I will just save leftover candy that doesn’t get used for the next year, since it’s not something we plan to eat anyway. Here are some of my favorite candies and decorating elements are:
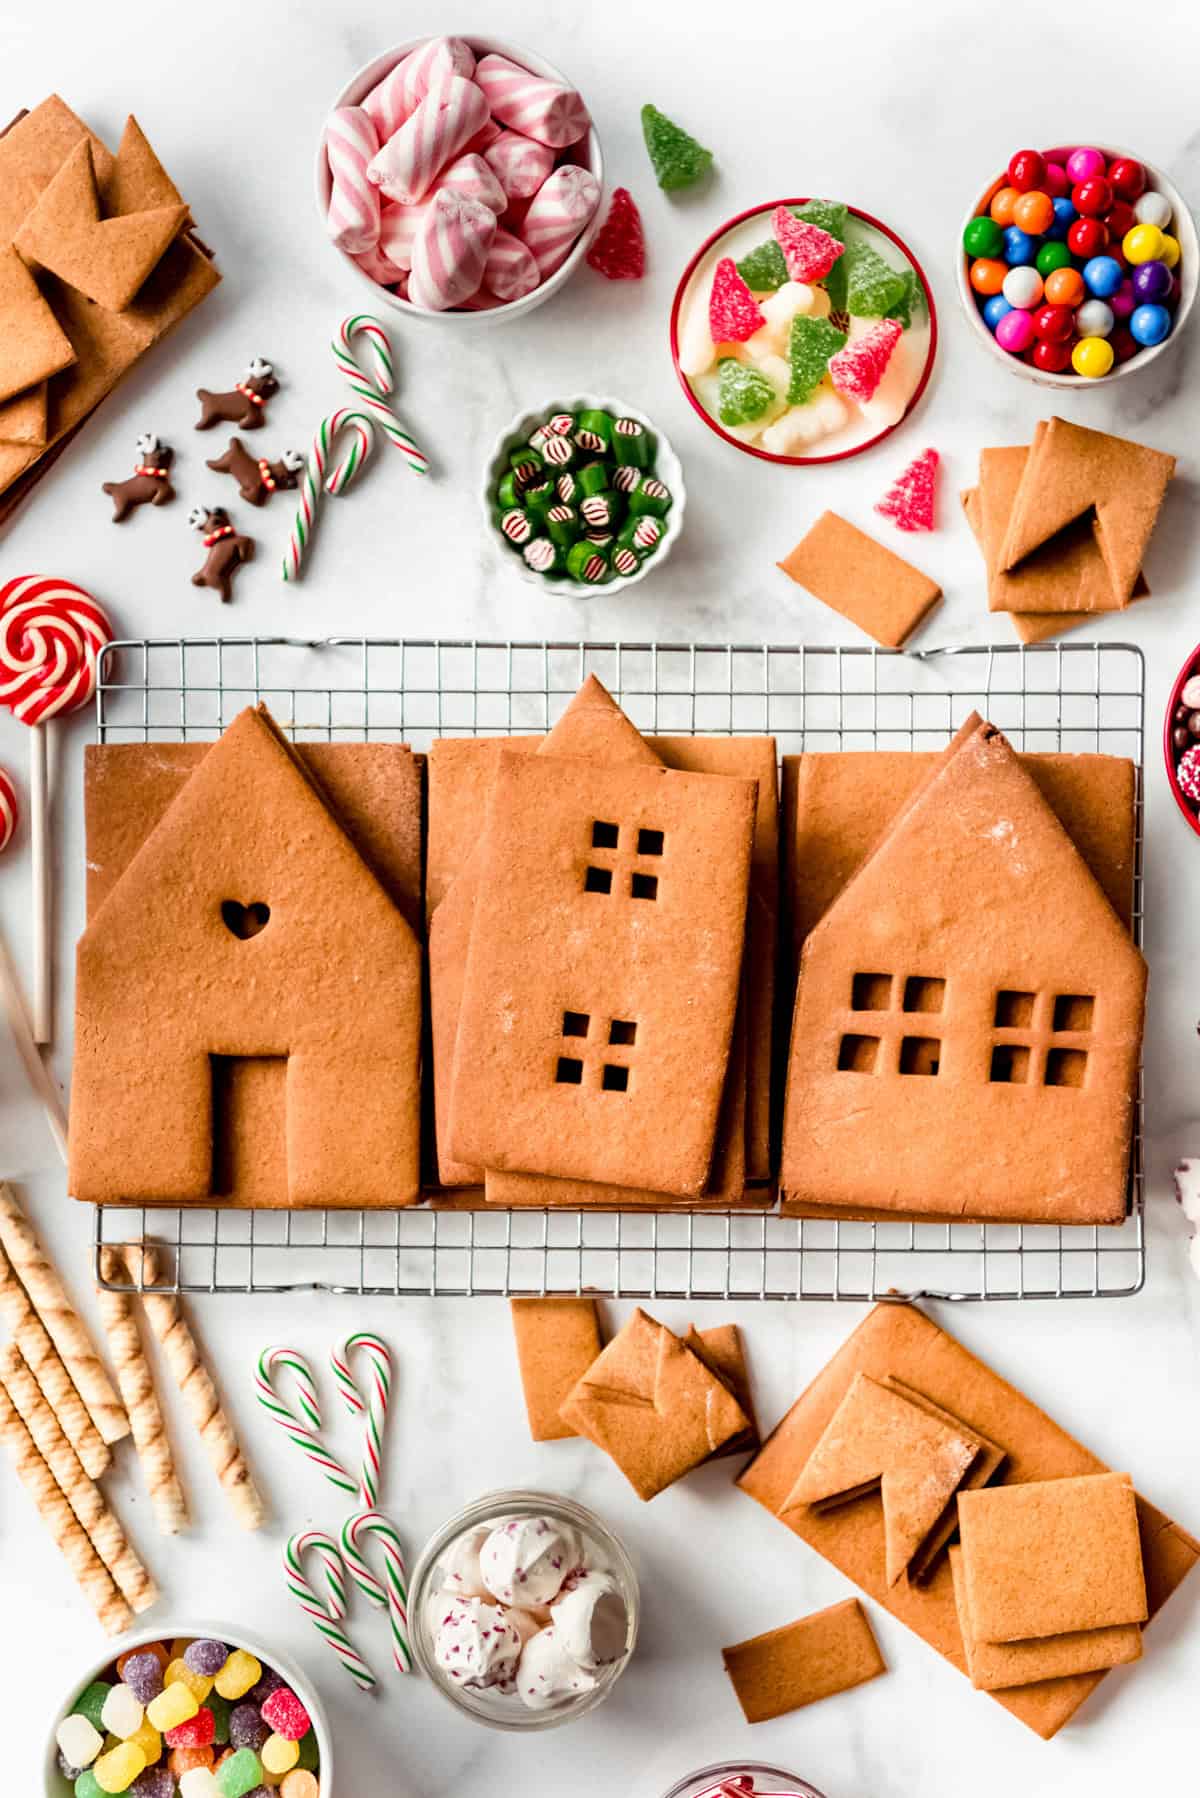
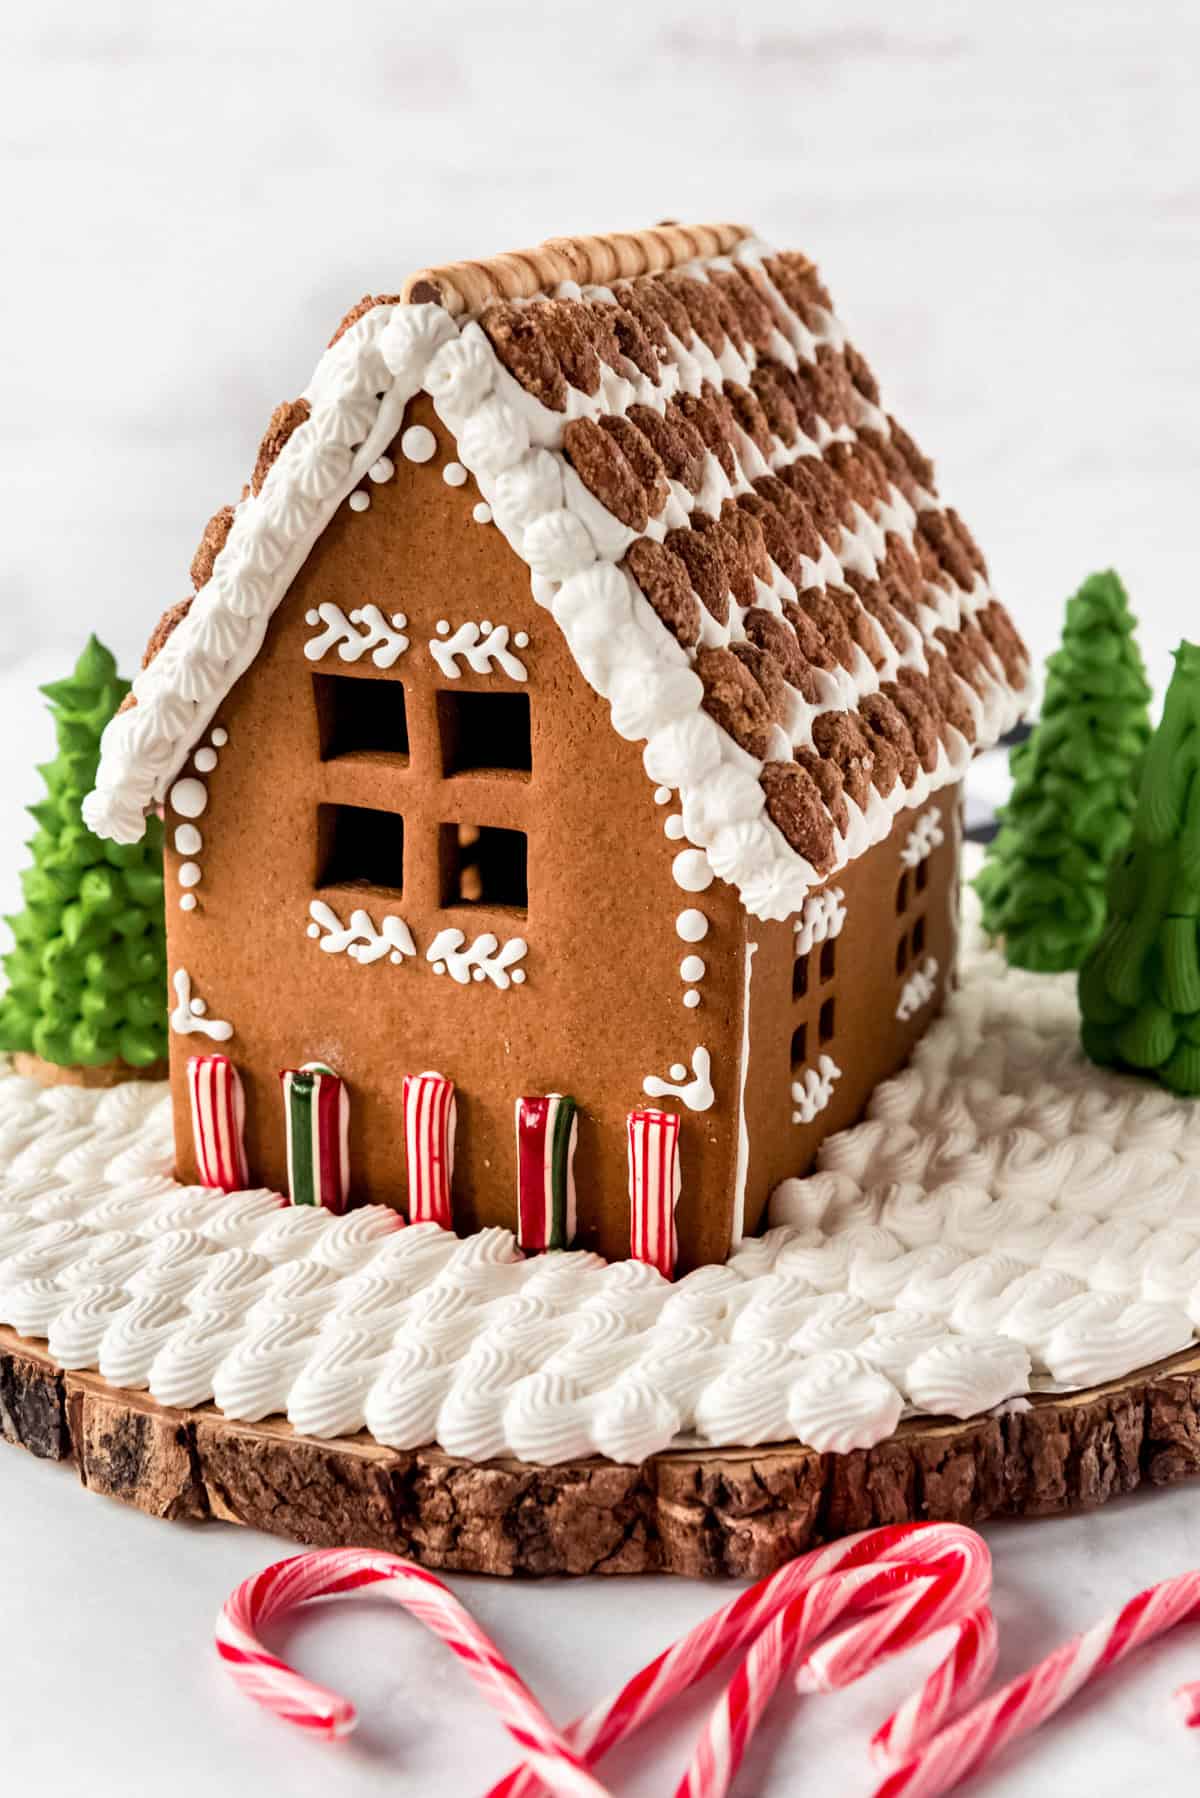
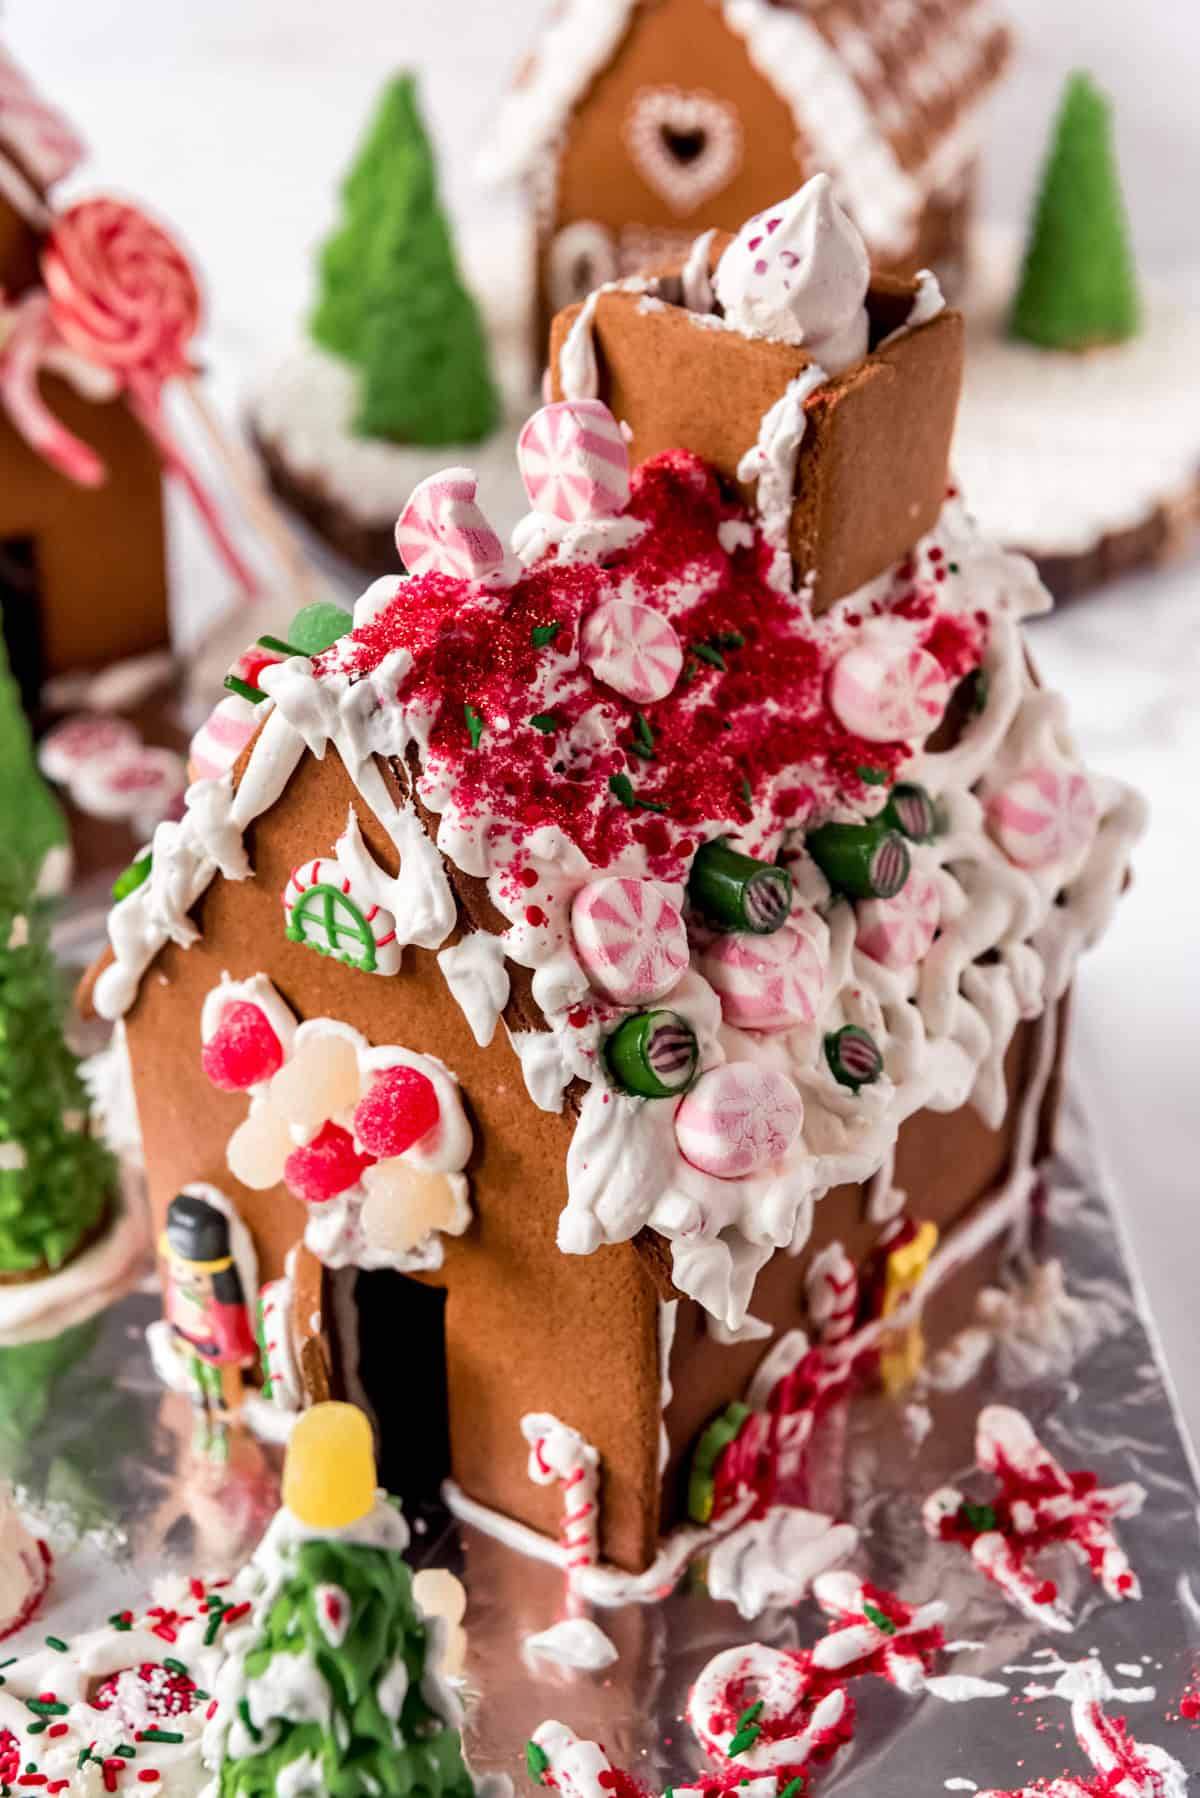
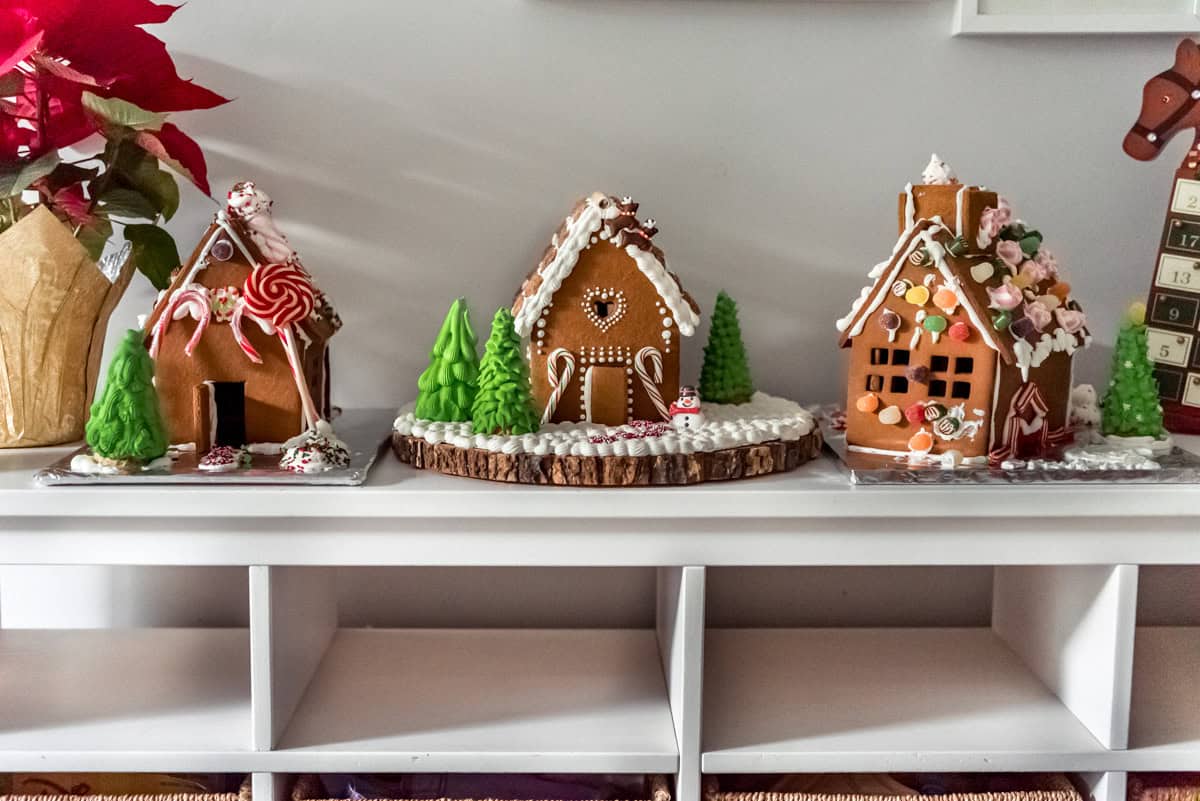
Gumdrops (so classic!) Pretzels Nonpareils Mini or full-sized candy canes Raw or candied almonds or other nuts Pirouette cookies (these make great log cabins) Shredded wheat cereal Necco wafers Gumballs Marshmallows Old-fashioned hard candies Holiday M&M’s
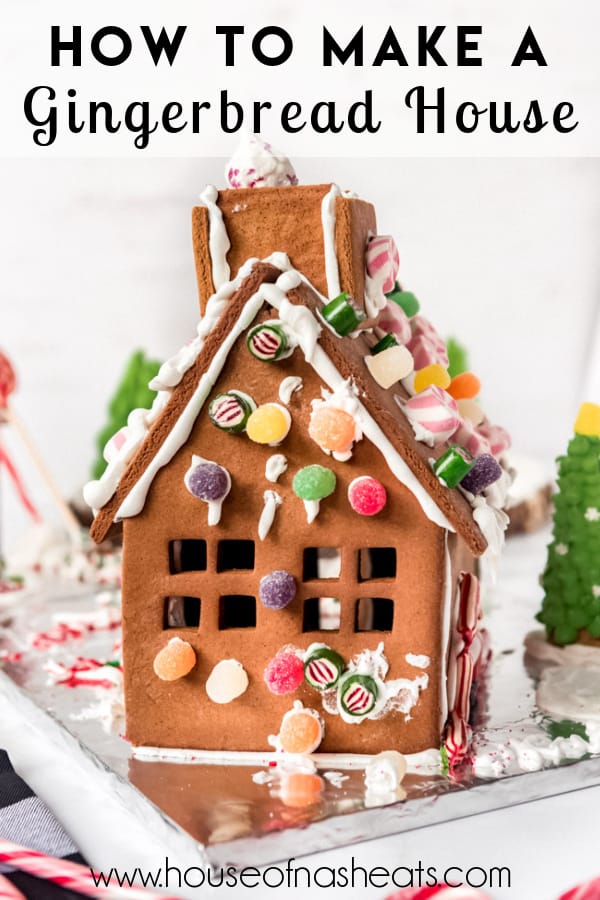
I ended up going a very different route than planned with my gingerbread house this year and did much simpler decorations using less candy and more royal icing piped in decorative dots BEFORE assembling the house while the pieces were lying flat. And I love it! But I also adore the less-than-pinterest-perfect creations that my kids come up with. It’s so fun to hear them come up with plans and then watch them execute them. Some of their ideas this year were arched bridges and ice skating rinks in the yard. And my oldest took the royal icing trees I made for her and used some of her white icing to “flock” them, which I thought was so creative! And if you are like me and have a Type A personality and a hard time dealing with the mess, I find that it helps a TON to decide beforehand to just let the mess happen and not try to clean up and keep things looking nice as you go. Then once the houses are all done, move them to another location and clean up all the sprinkles and icing and mess in one go. That may sound overly simple, but it has made a HUGE difference for me in terms of enjoying the process!
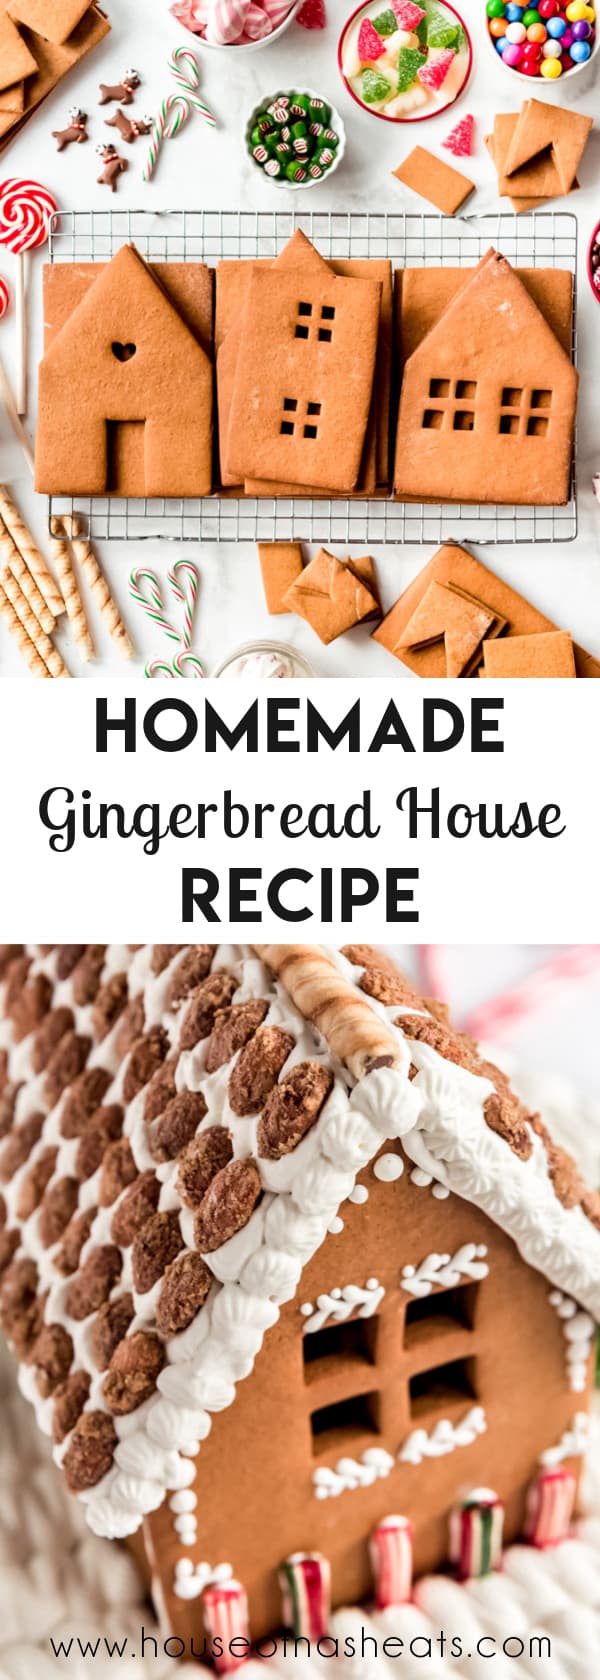
How to Make a Gingerbread House
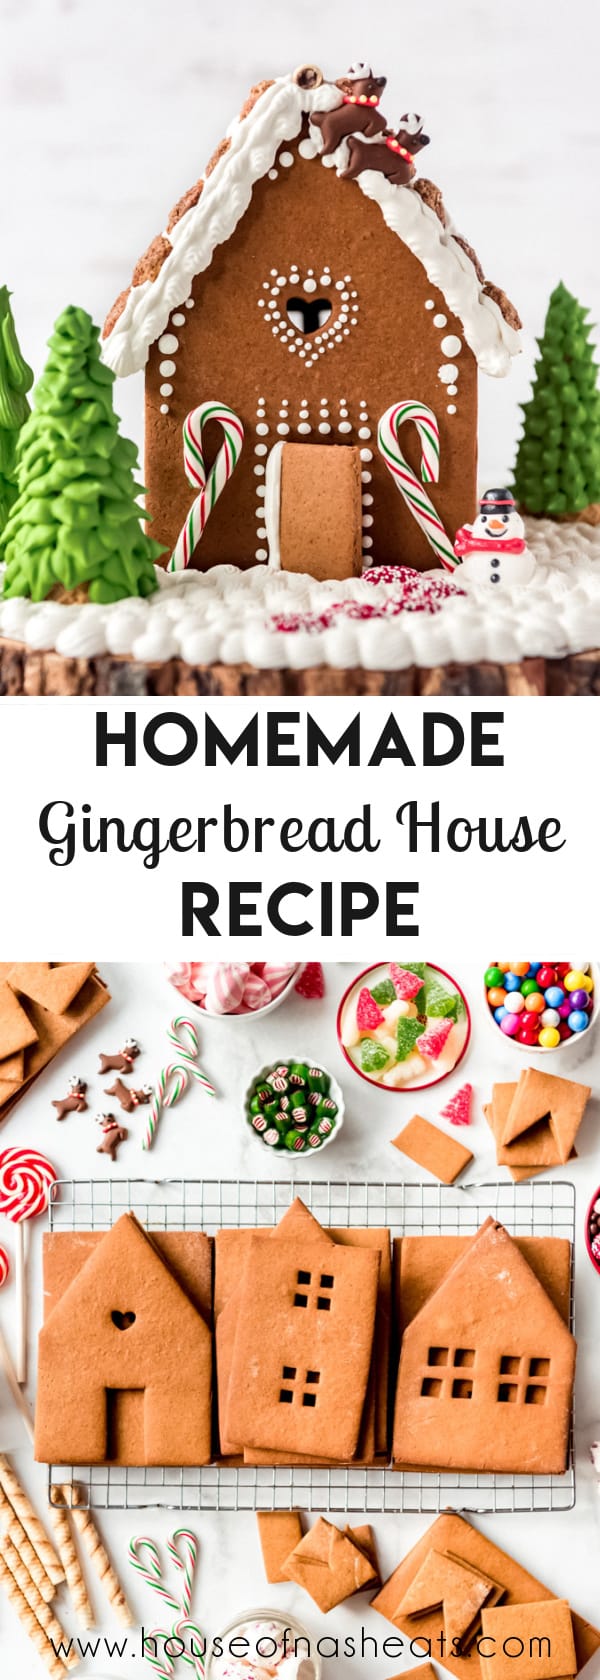
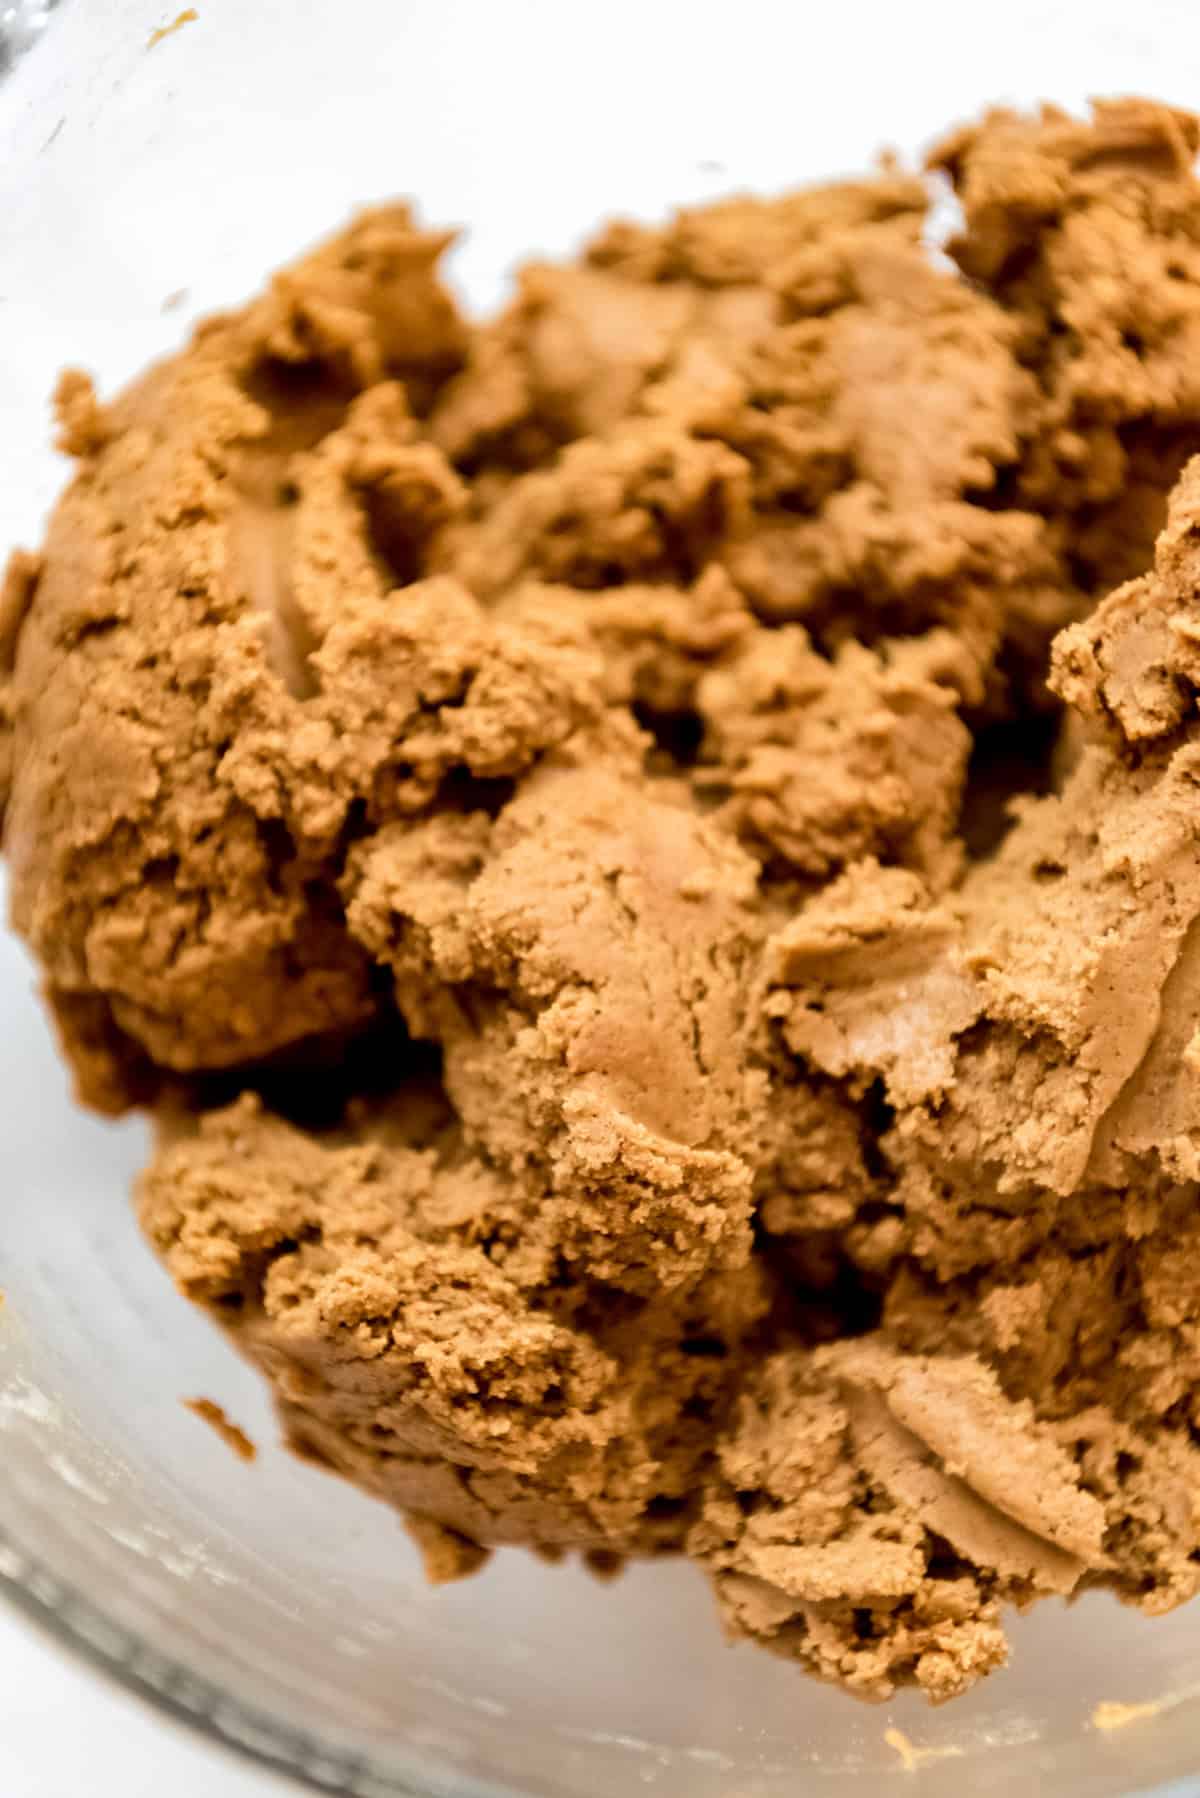
I recommend making the gingerbread a day or two in advance so that you can relax and enjoy putting the gingerbread house together later. Attempting the gingerbread, icing, and construction all on the same day can be challenging.
Making sugar cone trees for gingerbread houses
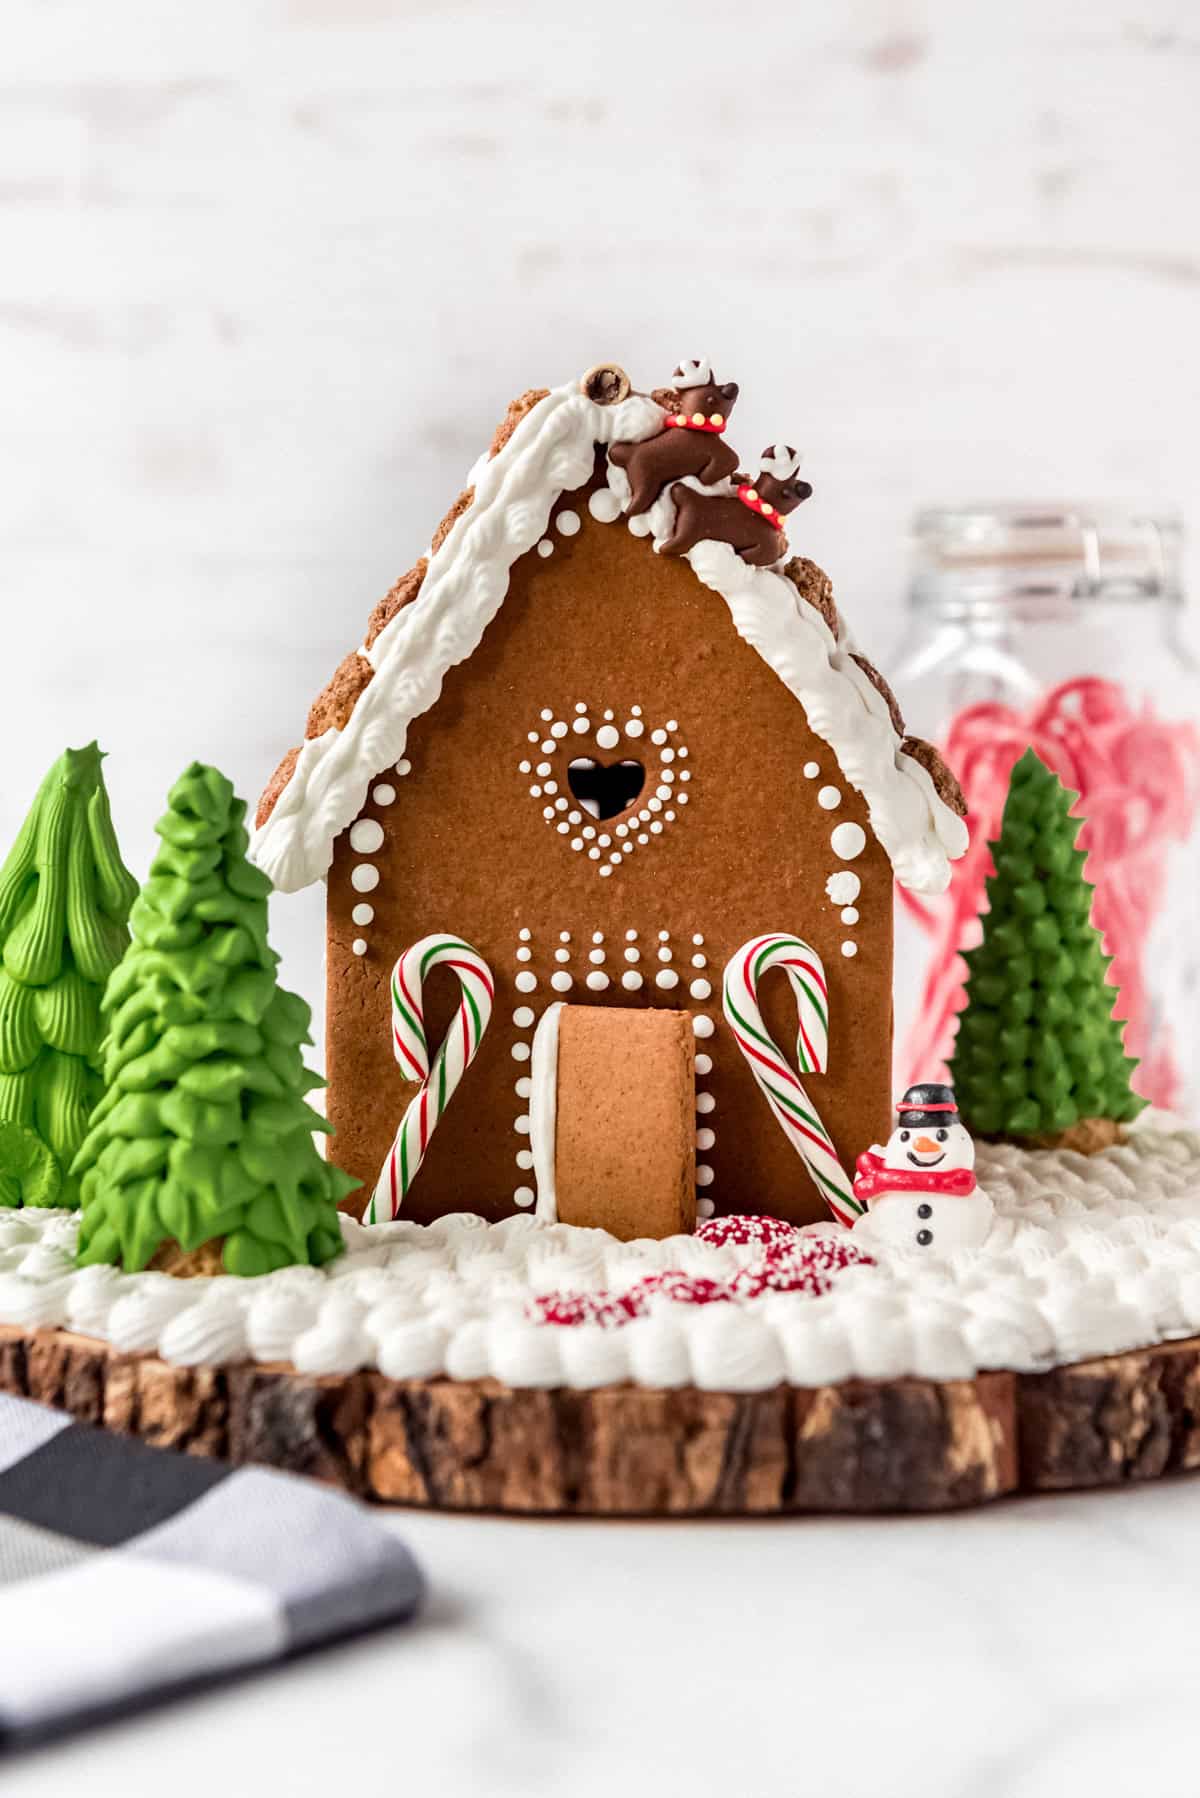
I think the trees add so much to the overall look of the gingerbread houses! At Halloween I made spooky black licorice trees to go around our houses, but this time I used sugar cones and some of my royal icing that I tinted green to make sugar cone Christmas trees! I used the Ateco 352 leaf tip and Ateco 32 star tip to create the different types of branches and leaves on these trees. I recommend starting a little above the base of the overturned sugar cone and working your way up to the top to cover it with icing. I was able to hold it on the inside with my fingers and just twist my wrist to work around the cone. The thicker icing will take a while to dry all the way, so be careful handling these for a bit so you don’t destroy your decorating work. I left our trees plain, but you could add sprinkles while the icing is still wet, if you want. I only did one height for our trees, but you could stack multiple cones to vary the height of your trees. You might also want to ice them with white royal icing for a snowy tree. Or roll them in shredded coconut for a totally different effect!
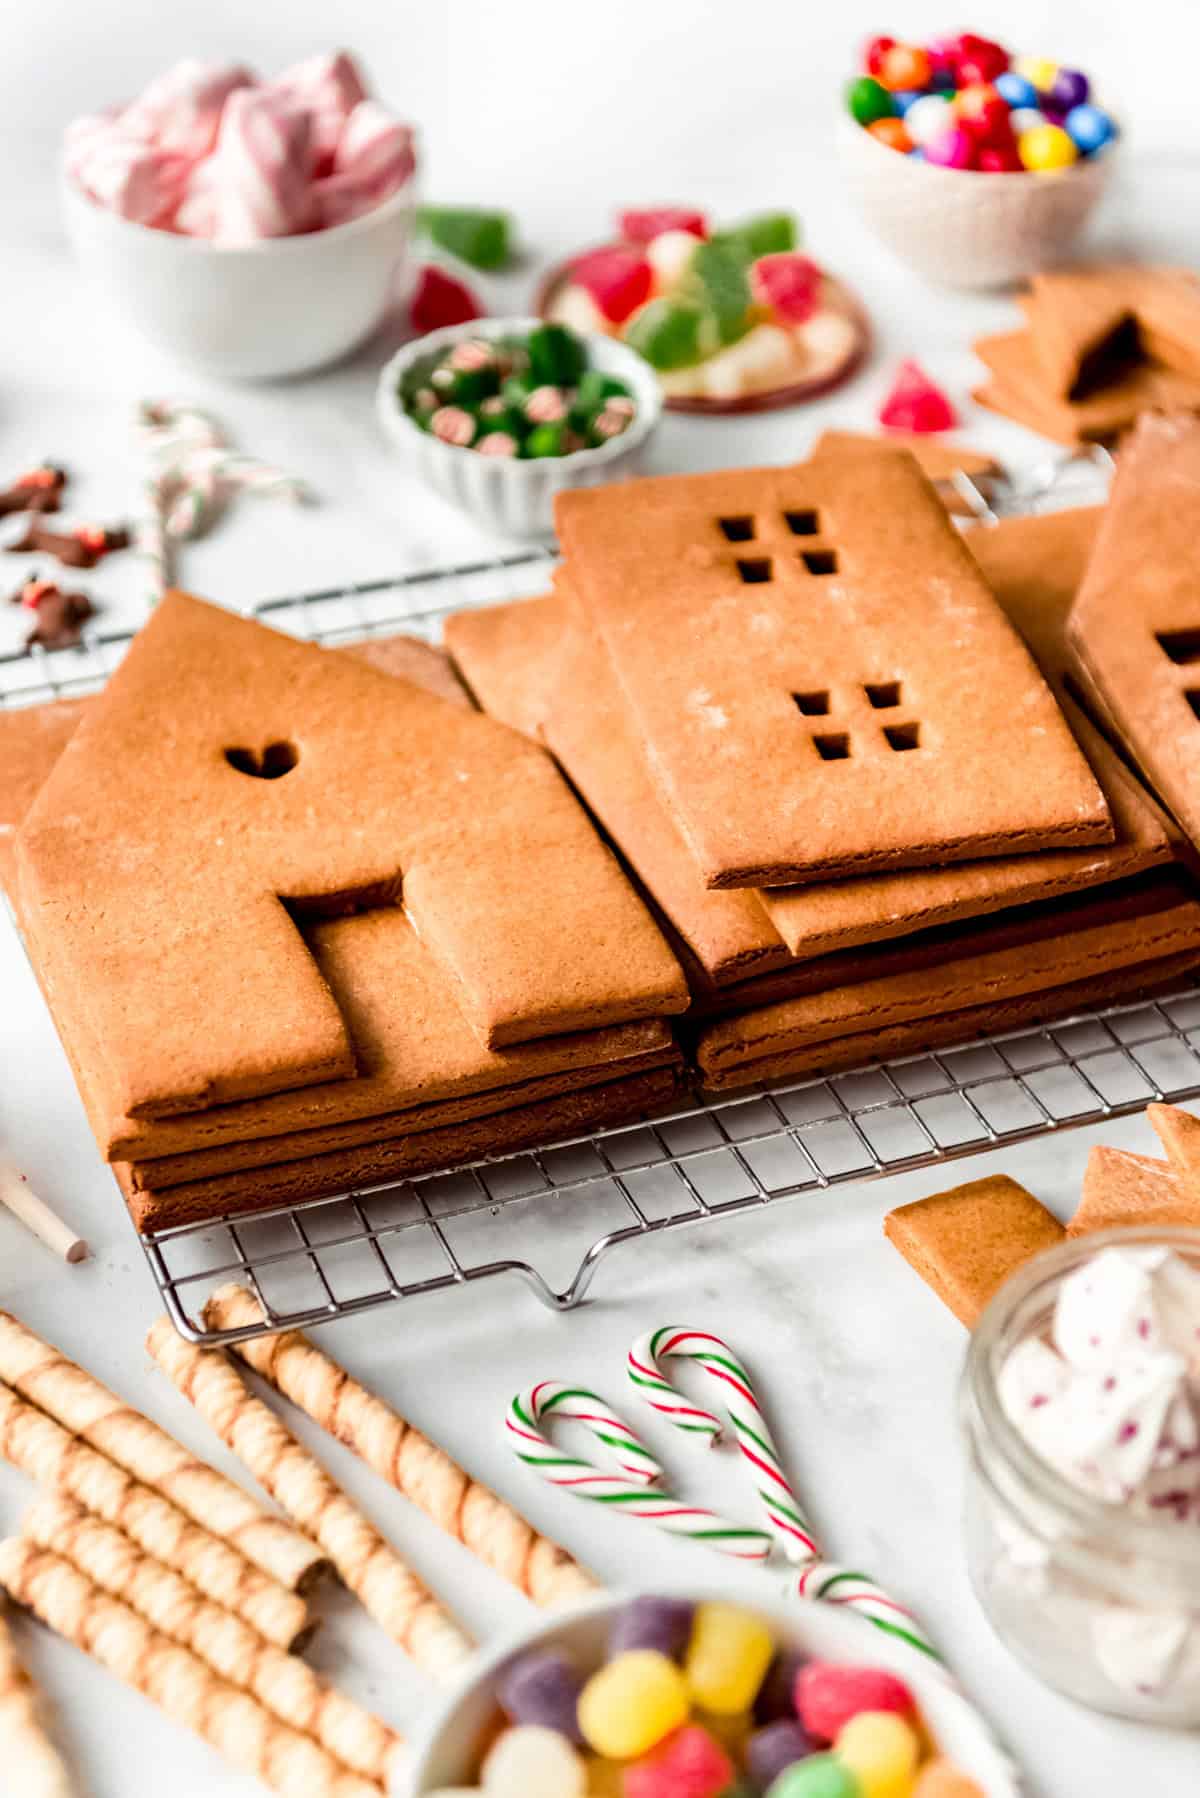
Making windows in gingerbread houses
Little shaped fondant cutters (<–affiliate link) are perfect for punching out windows and other shapes in your gingerbread before baking. They come in all kinds of shapes and sizes like squares, hearts, and circles. But you can also free hand the windows using a small, sharp knife.
Finishing the look of your gingerbread house
I have found over the years that the one step that always makes the biggest difference in giving my gingerbread house a clean, professional look, is to cover the base with royal icing rather than leave the aluminum foil exposed. It hides crumbs, sprinkles, drips of frosting, etc. and makes the finished project look so nice! I just pipe zigzags with the Ateco 32 piping tip as my final step so I don’t risk dropping any sprinkles or anything on the pristine “snow” before it has a chance to set all the way.
Gingerbread House Decorating Tips
Repairs: If your pieces break, which can happen every now and then (especially if you drop them), you can always glue them back together with royal icing and cover up the flaws with candy! When all else fails, use the glue gun: If your house isn’t holding together, you could always break out the glue gun and just glue the thing together. I know it’s cheating and gingerbread house purists will be aghast that I would suggest such a thing, but it’s better than stressing over a gingerbread house that won’t come together. Consider decorating BEFORE assembling: Feel free to use your piping skills by decorating the walls with royal icing prior to assembling the house. Windows and other designs look so beautiful on gingerbread houses, but are crazy hard to pipe on vertical walls. If the designs are intricate, let them dry and harden overnight before assembling the house and finishing the design. If the designs aren’t too detailed, you might be able to get away with decorating your pieces and assembling 20-30 minutes later, which is what I did here.
How long will gingerbread houses last?
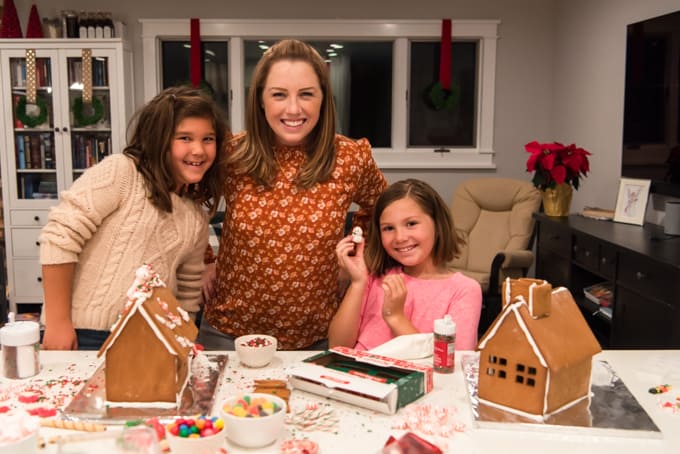
We have kept our gingerbread houses as long as a month, but that’s it. Towards the end, we had a roof piece or two fall off, which I just stuck back on with hot glue, but for the most part these should hold together through the holiday season. Then just dispose of it and make a new one next year! Here are the houses my girls and I made this year! I would LOVE to see your gingerbread house creations! If you make one, please send me a pic or tag me on Instagram so I can see!
More Christmas Recipes
Christmas Tree Crepes Peppermint Ice Cream Sugared Cranberries Peppermint Bark Cheesecake Churro Toffee (Disneyland Copycat Recipe)
Christmas Stovetop Potpourri
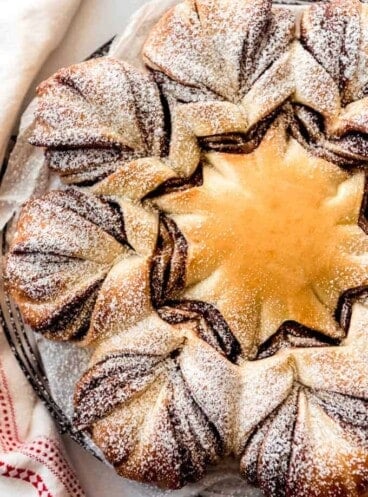
Christmas Star Bread
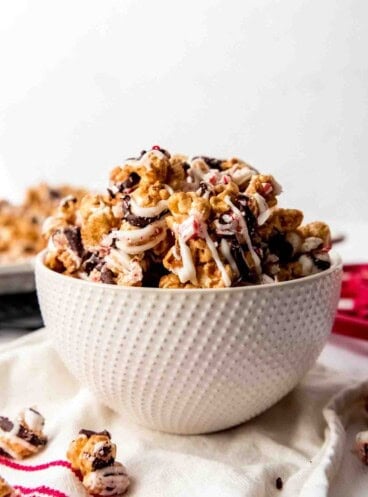
Peppermint Bark Caramel Corn
Let me know what you thought with a comment and rating below. You can also take a picture and tag me on Instagram @houseofnasheats or share it on the Pinterest pin so I can see.