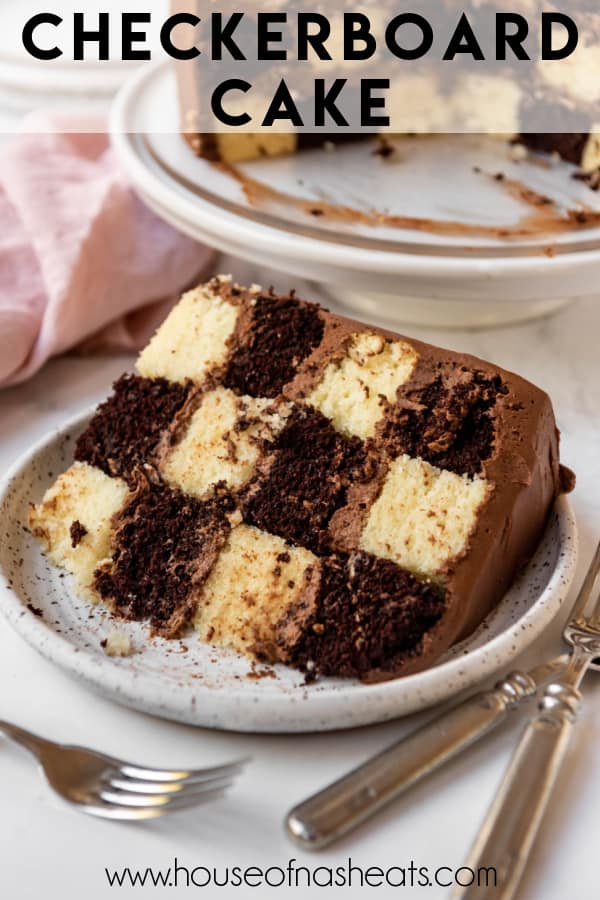
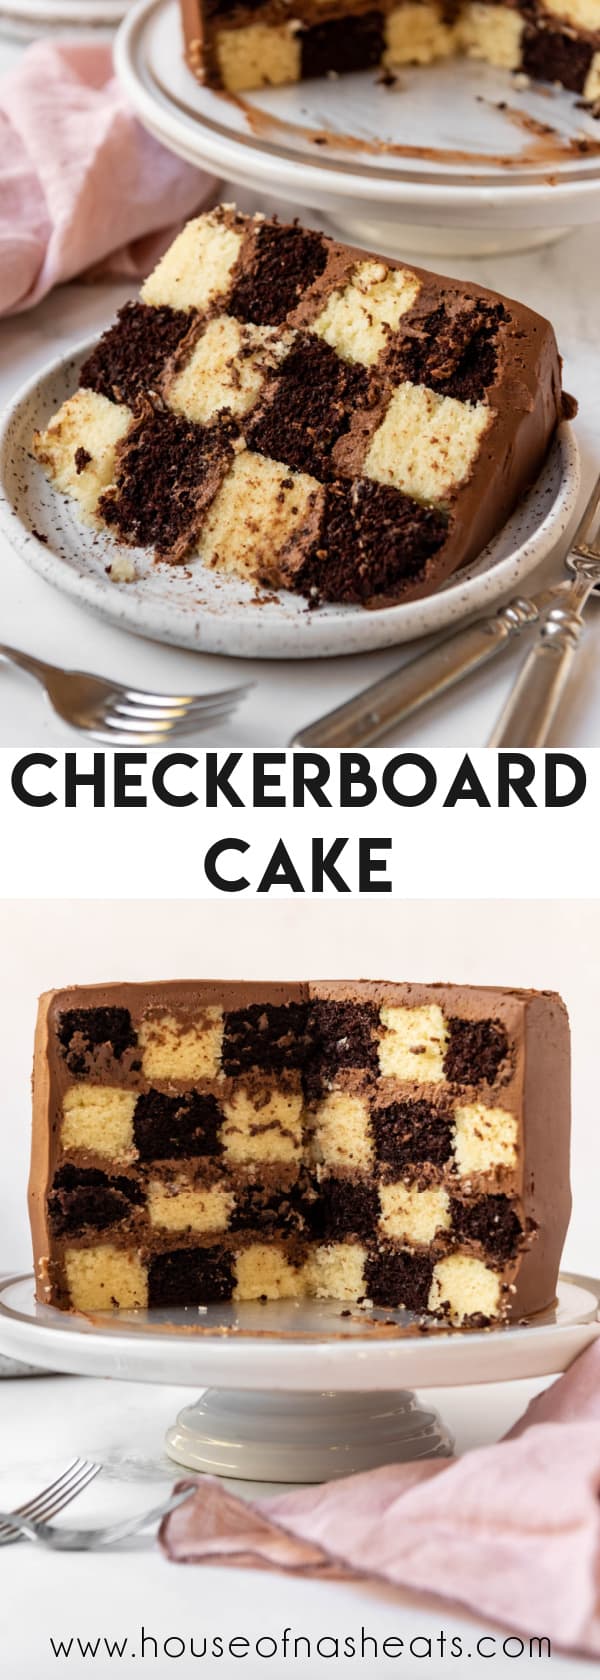
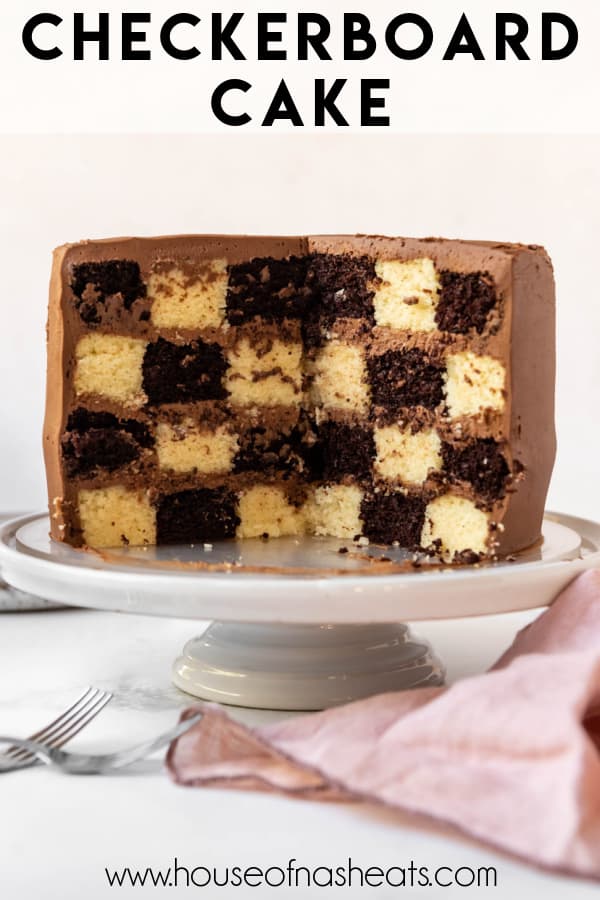
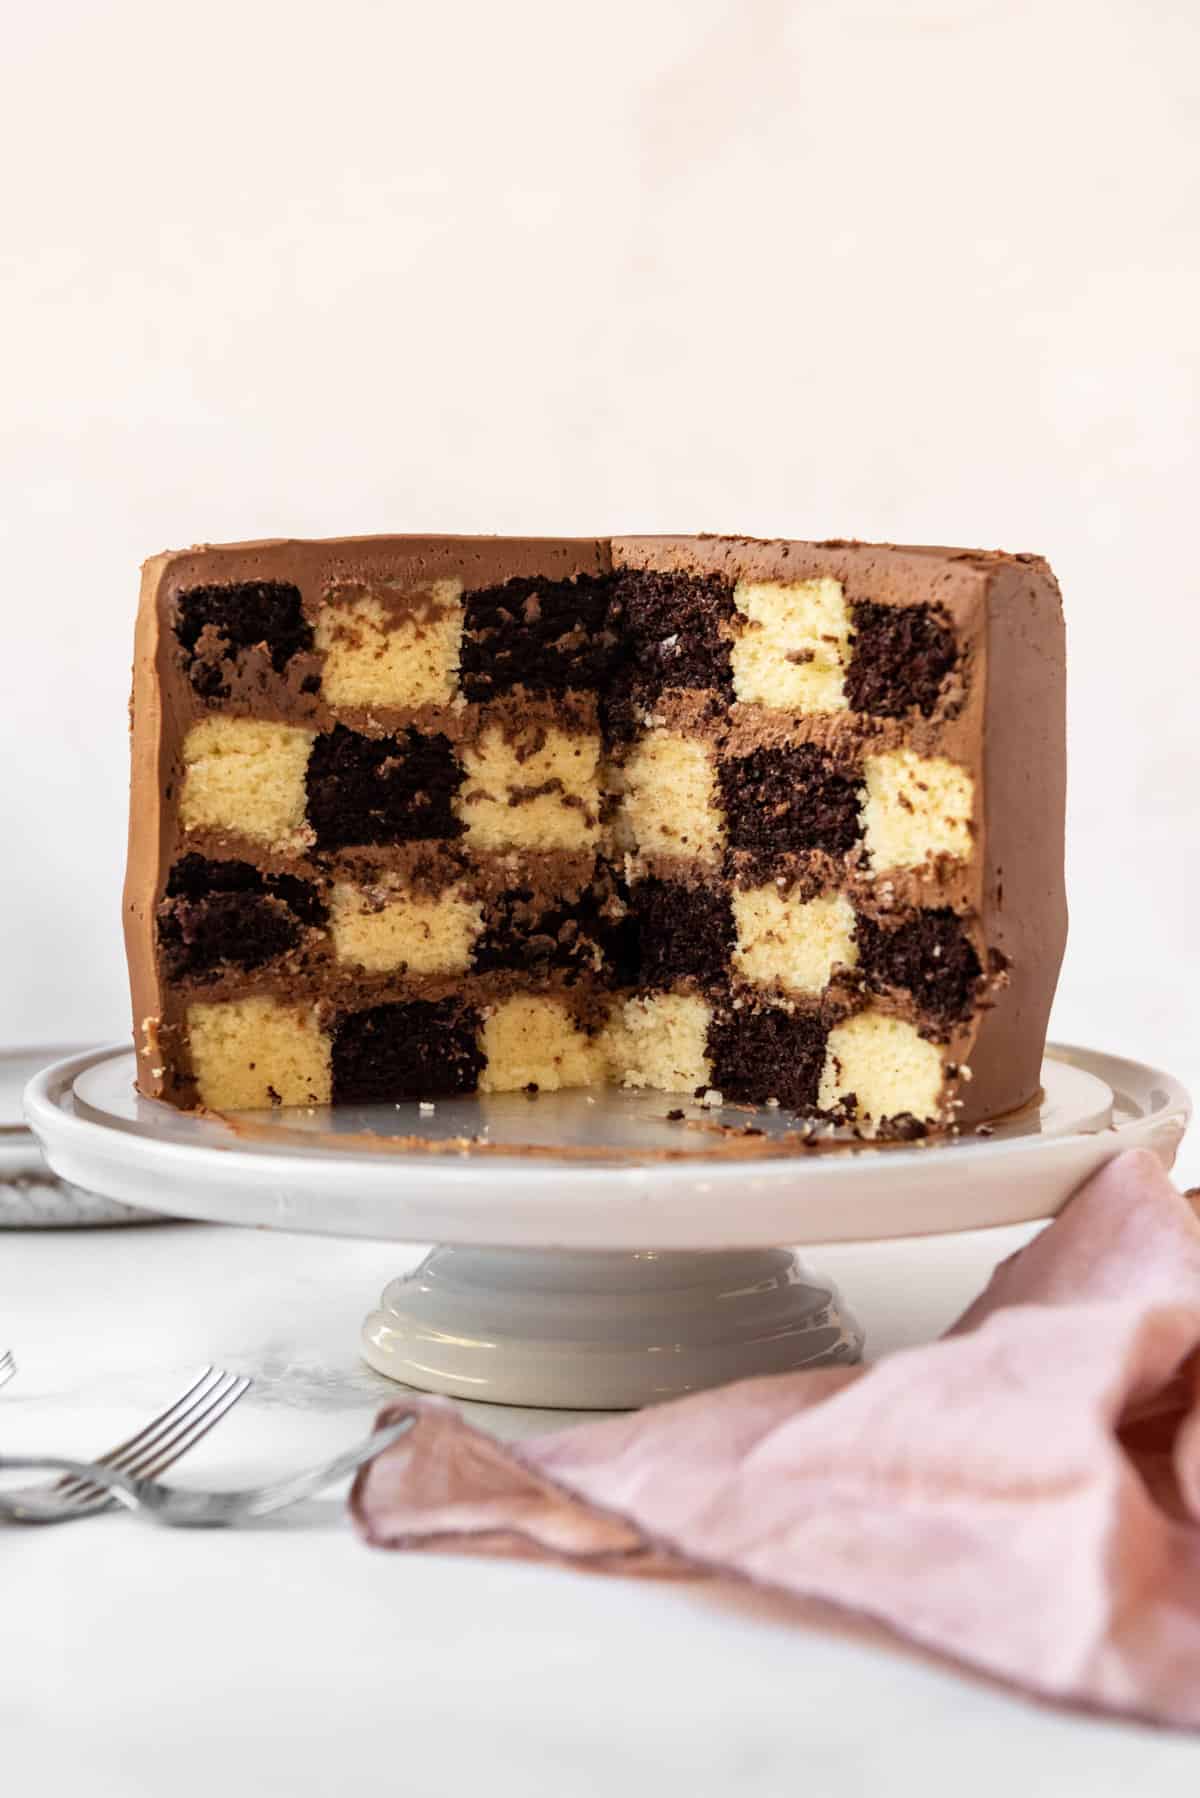
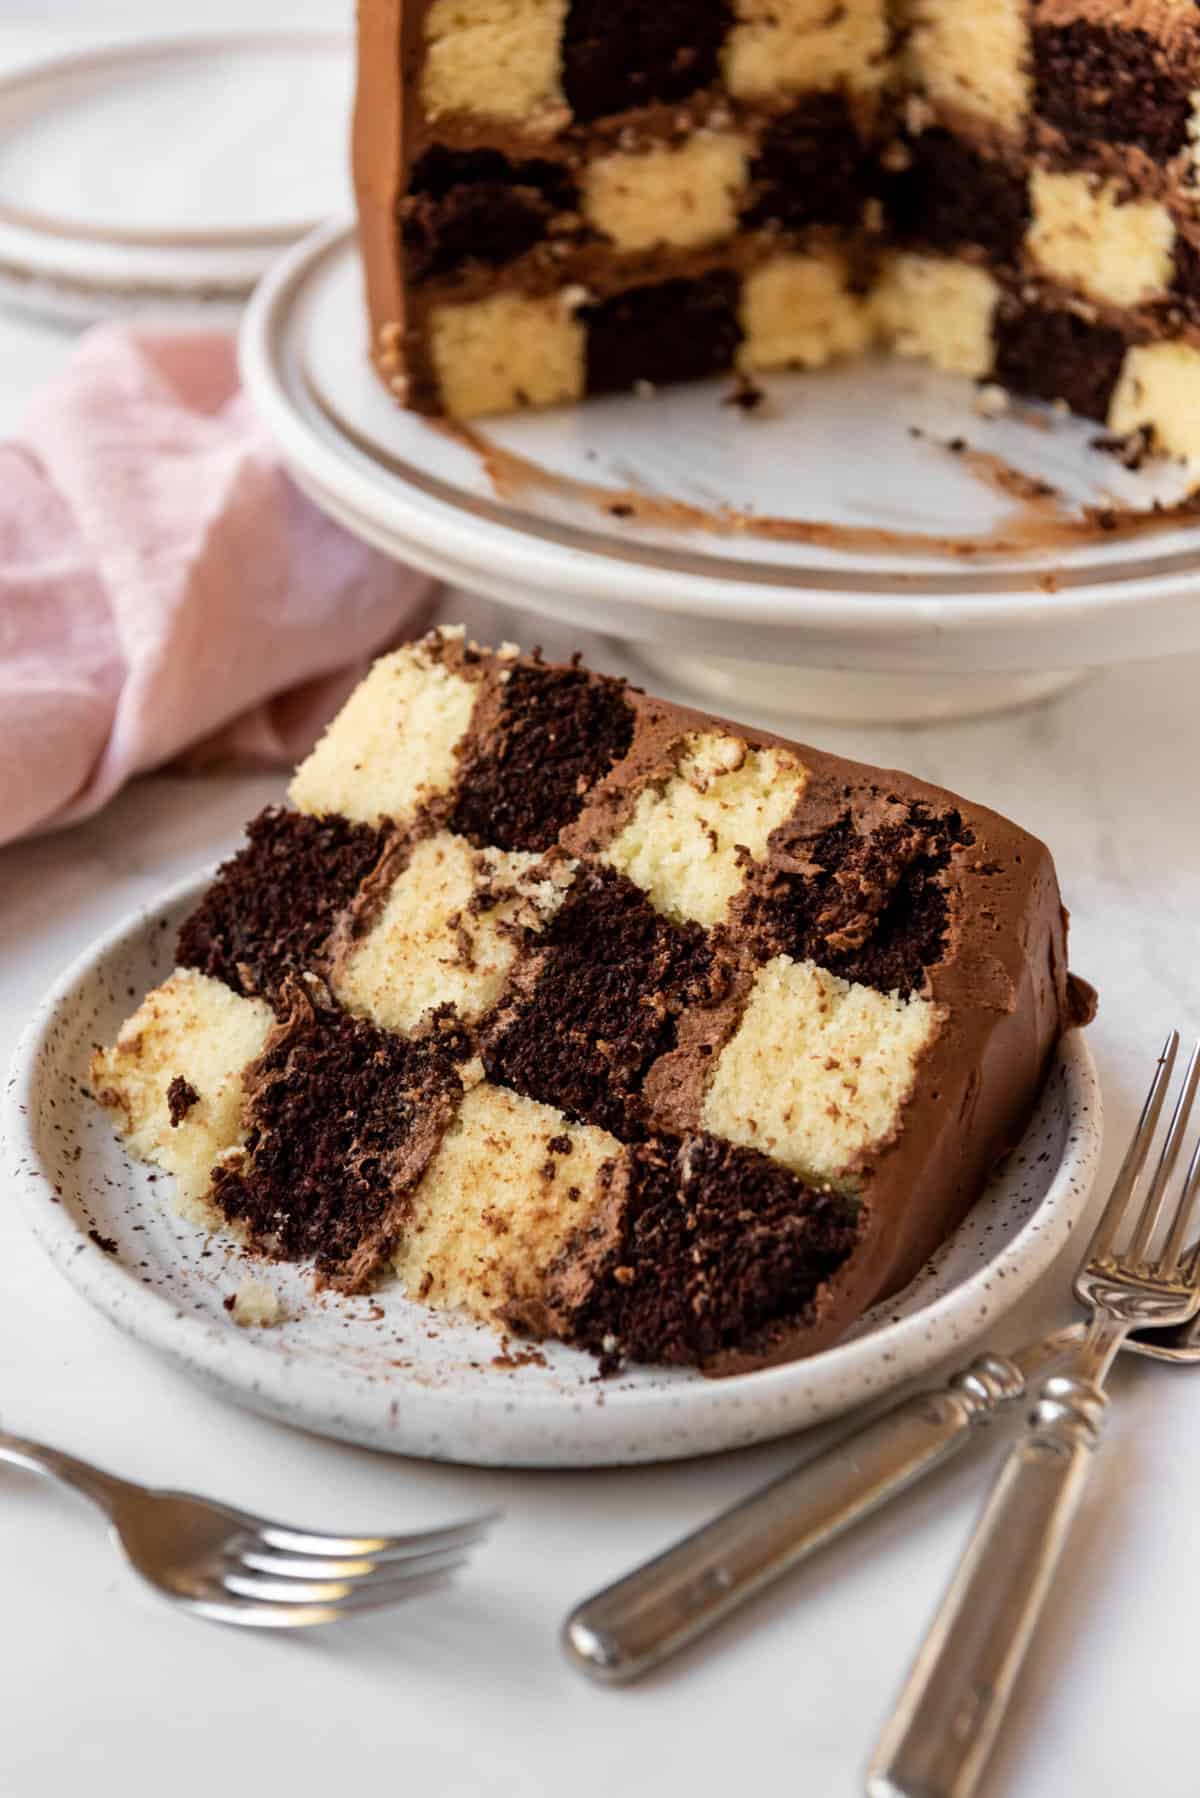
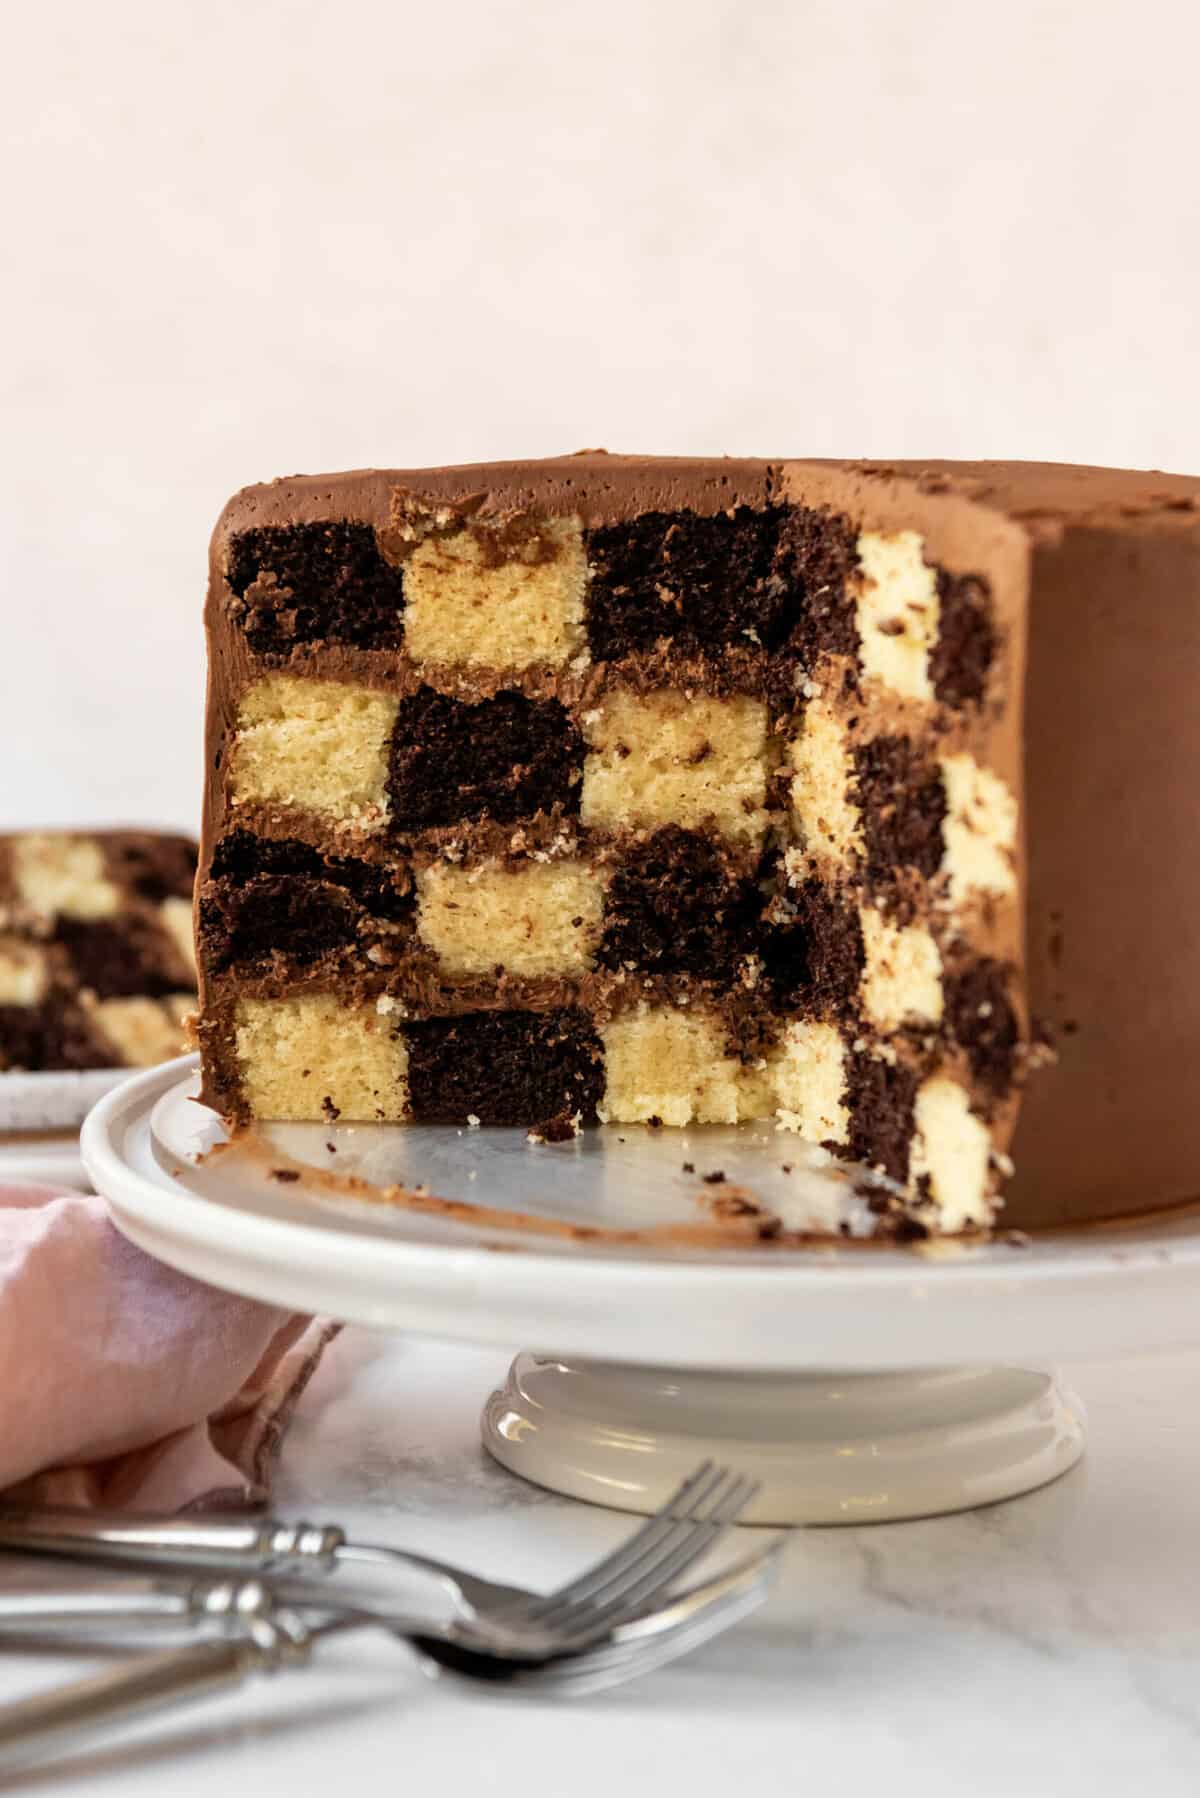
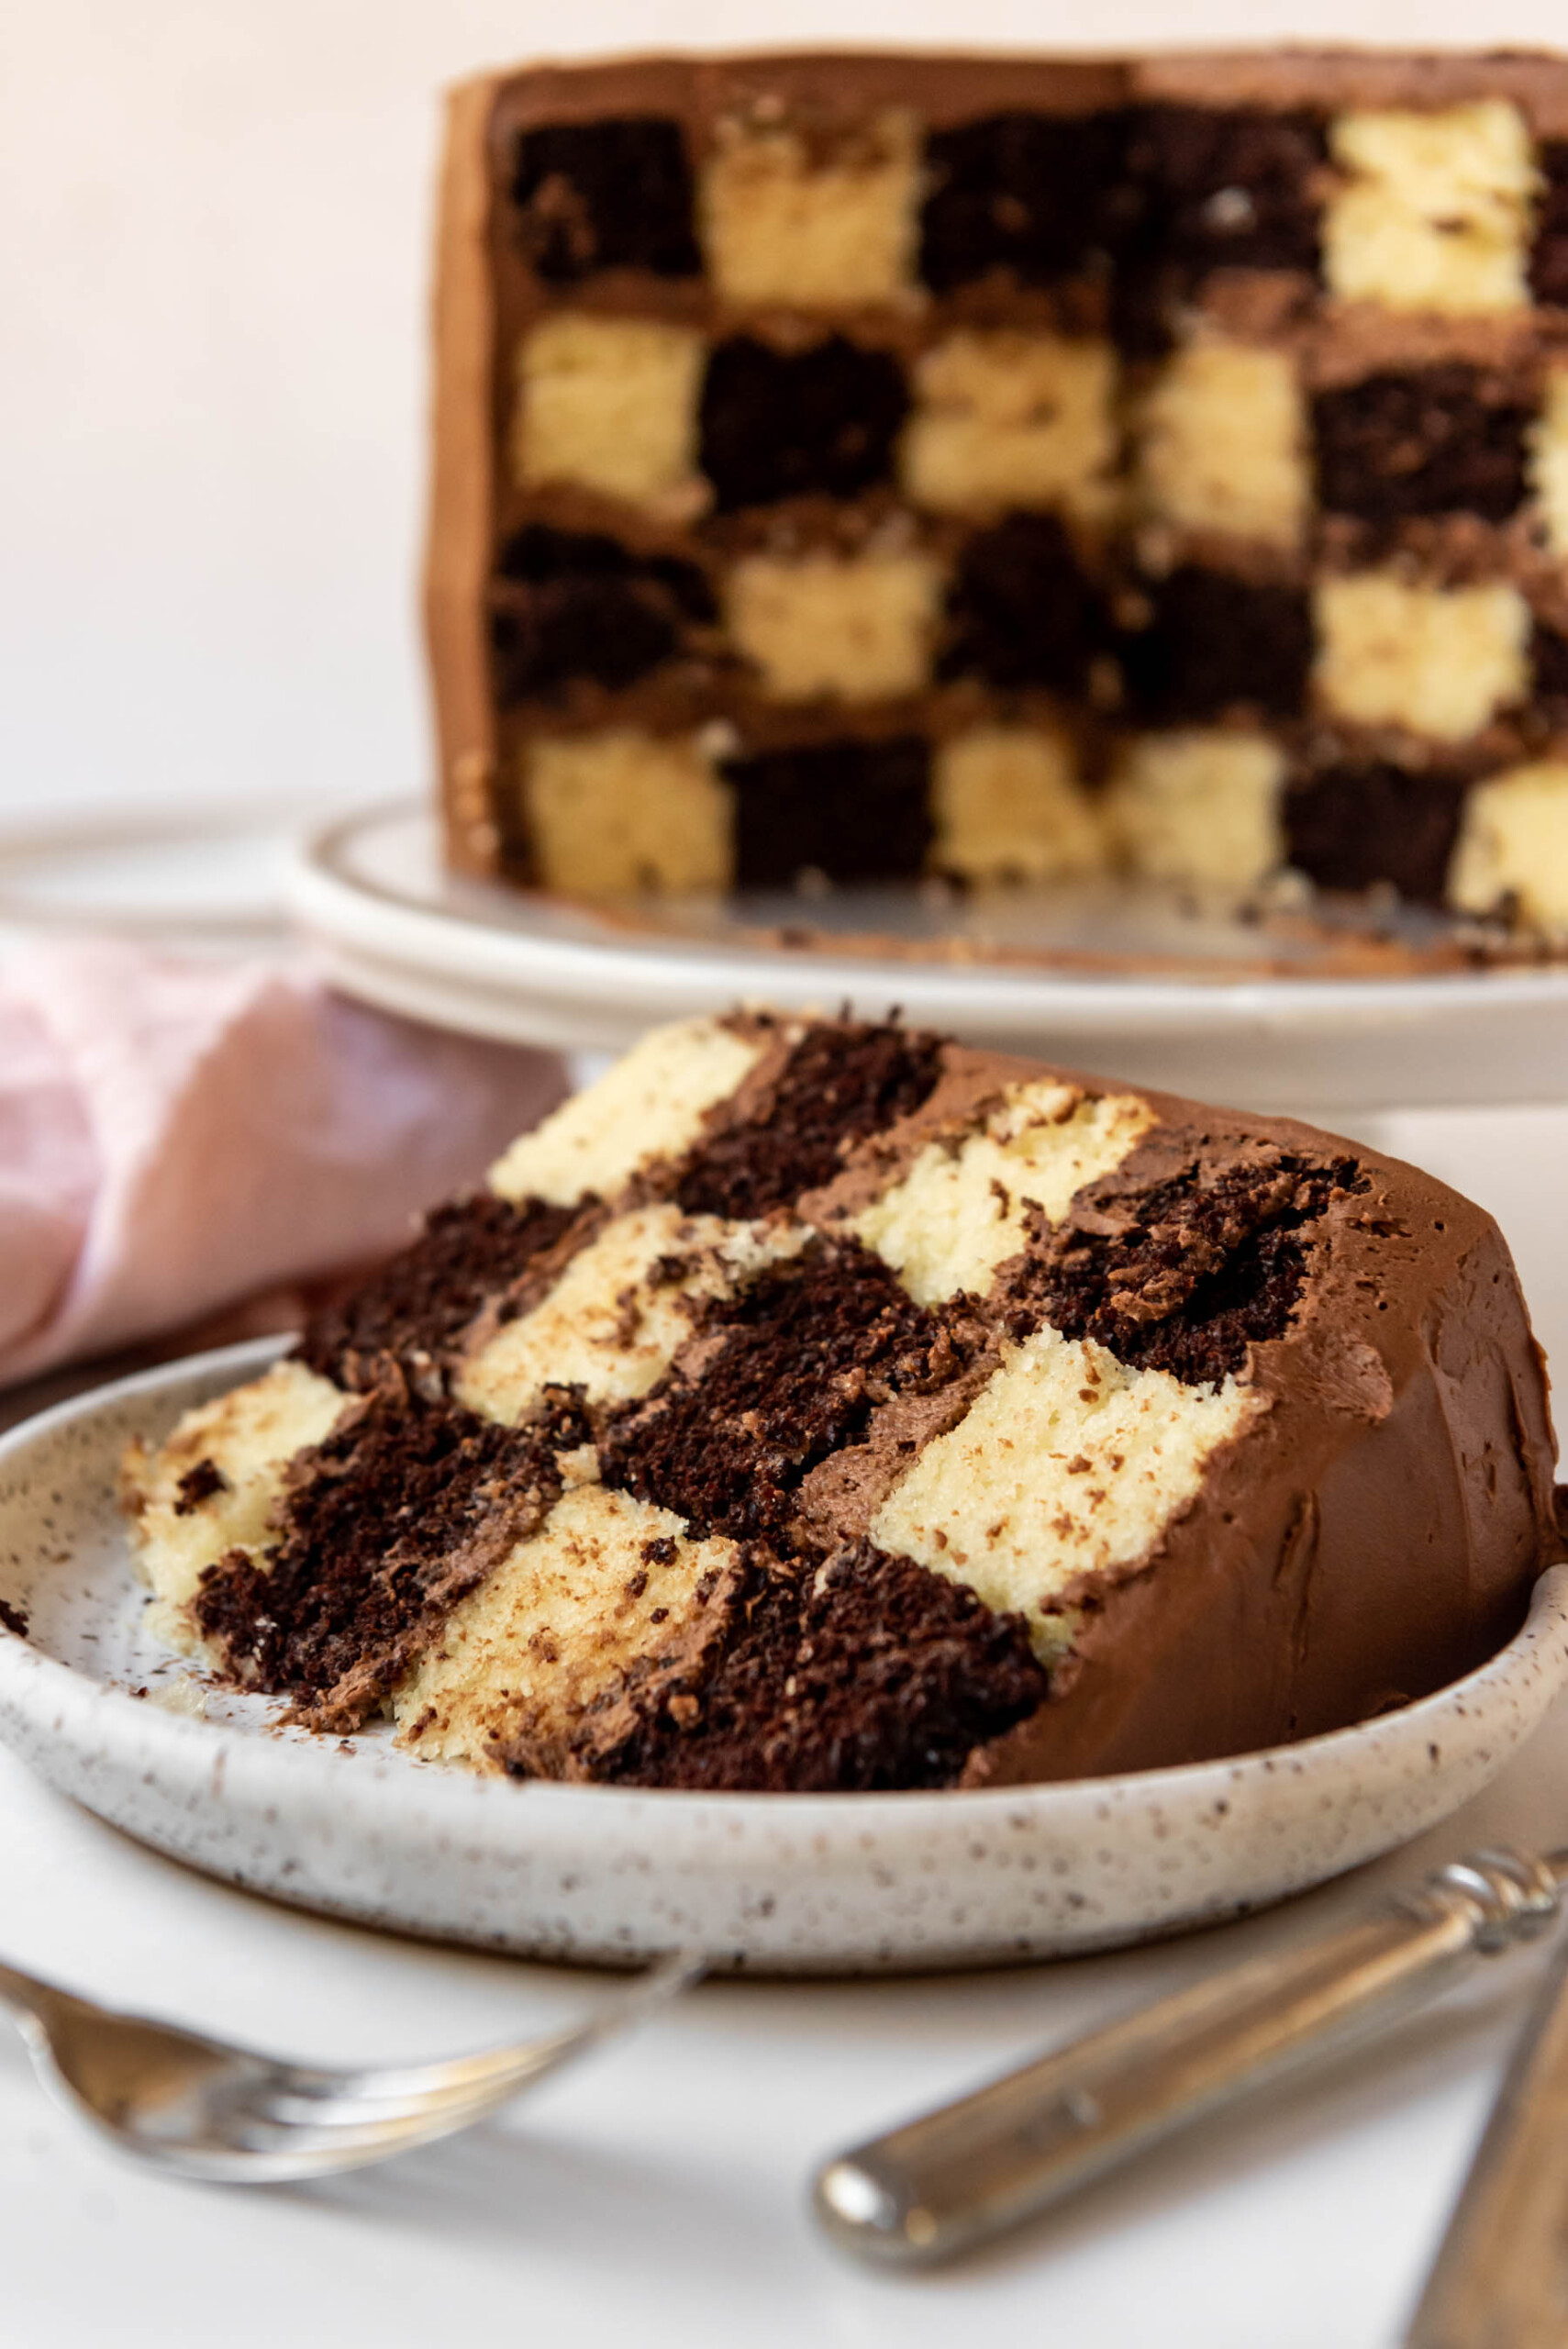
When I asked our boardgame-loving youngest daughter what she wanted for her 9th birthday, she requested a checkers themed party. So naturally I had to make her a cake with a checkerboard design to go with the theme! She was so excited for this cake and I was thrilled with her reaction when we sliced into it for the reveal. Fair warning that this makes a giant birthday party cake. It’s perfect for sharing with friends, or you can also freeze individual slices to enjoy later. You are essentially making two different cake batters and baking them in 9-inch cake pans to make what would otherwise be a tricky math situation into an easy-to-follow method for a checkerboard layer cake. It’s four layers or vanilla and chocolate deliciousness that looks complicated and over-the-top, but is actually way easier to pull off than you might think.
What You’ll Need
Scroll down to the recipe card below this post for ingredient quantities and full instructions.
All-purpose flourSugar – You’ll need both granulated sugar for the cake layers and powdered sugar for the frosting.Eggs – These should be brought to room temperature for best results.Cocoa powder – We used regular unsweetened natural cocoa powder for this recipe which is just one of my favorite chocolate cake recipes made in round pans.Oil – Vegetable oil or canola oil will result in super moist, delicious cake layers.Salted butter – I always use salted butter in all of my baking unless otherwise instructed.Baking sodaBaking powderSaltVanilla extract – I love using my homemade vanilla extract.Buttermilk – This adds a rich tanginess and moisture to the chocolate cake recipe.MilkHeavy cream – This is for the frosting to get a smooth, creamy consistency although milk can be substituted if needed.
Equipment Needed
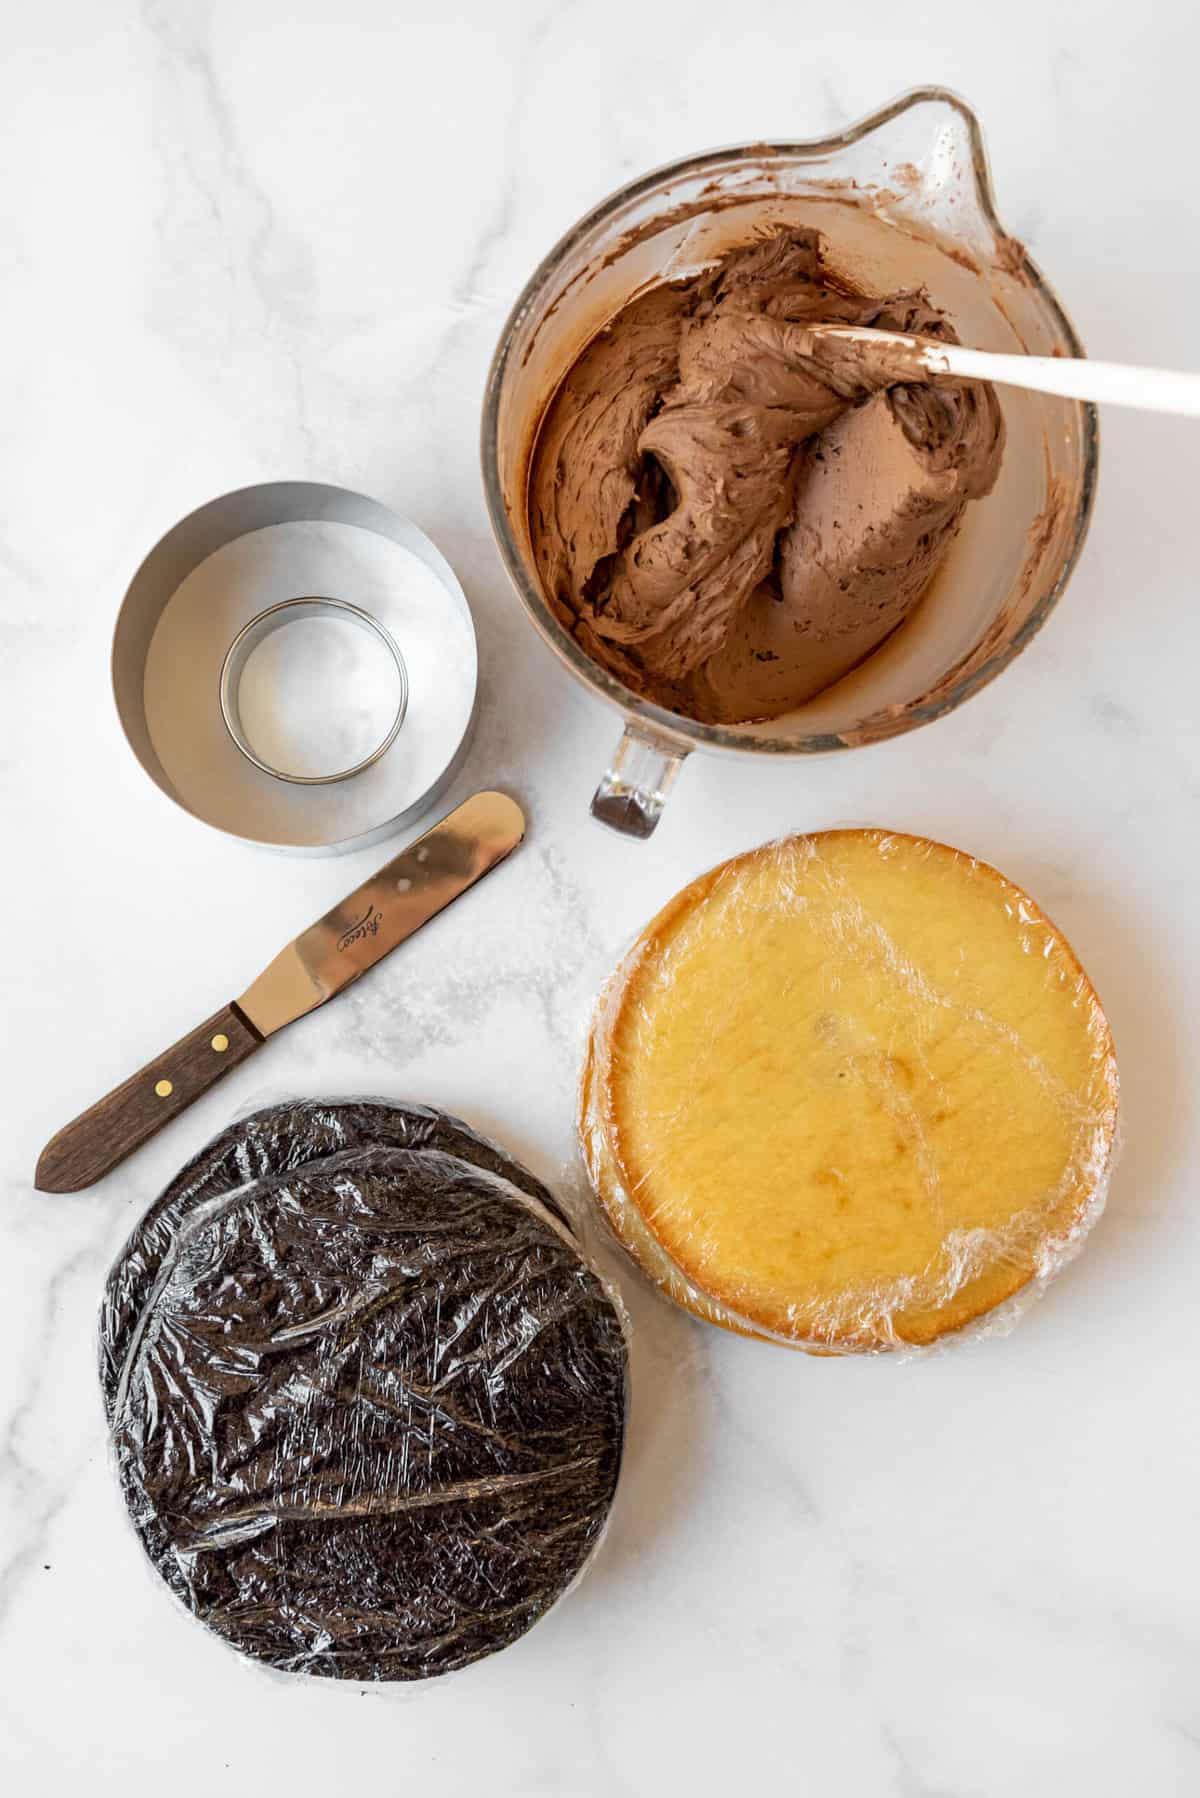
9-inch cake pansCake leveler6-inch round cake or cookie cutter3-inch round cookie cutterMixing bowlsSpatula
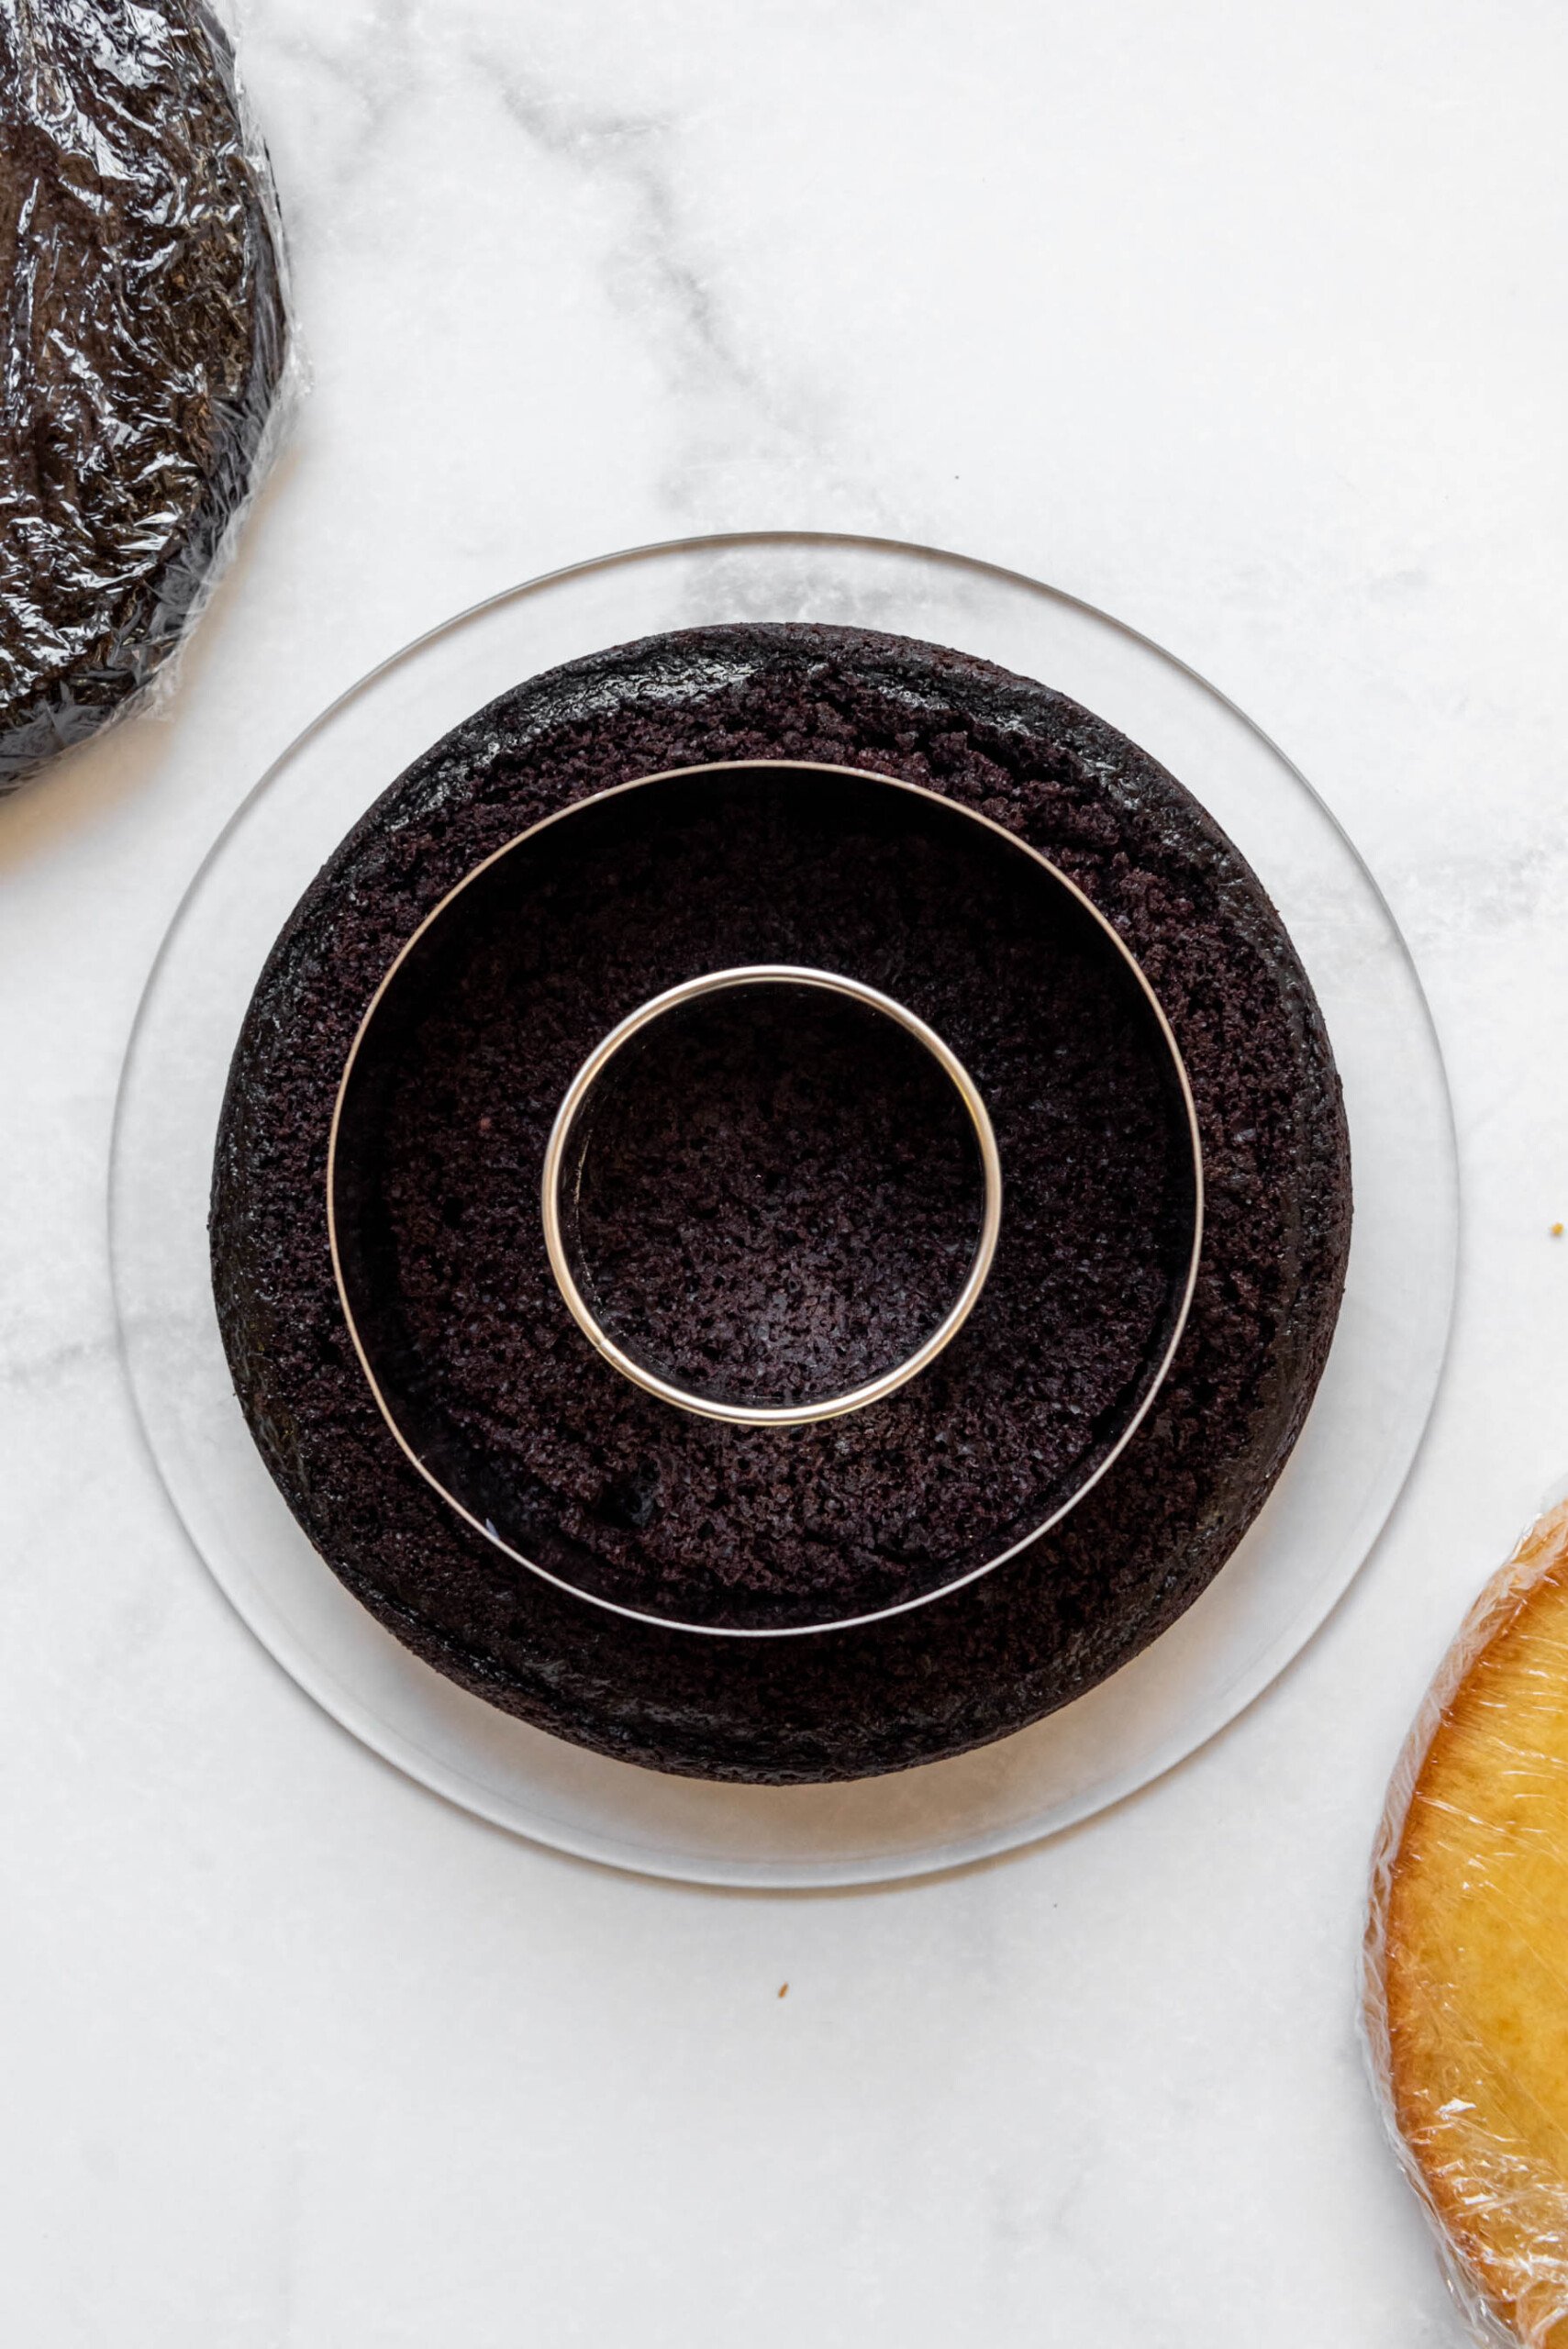
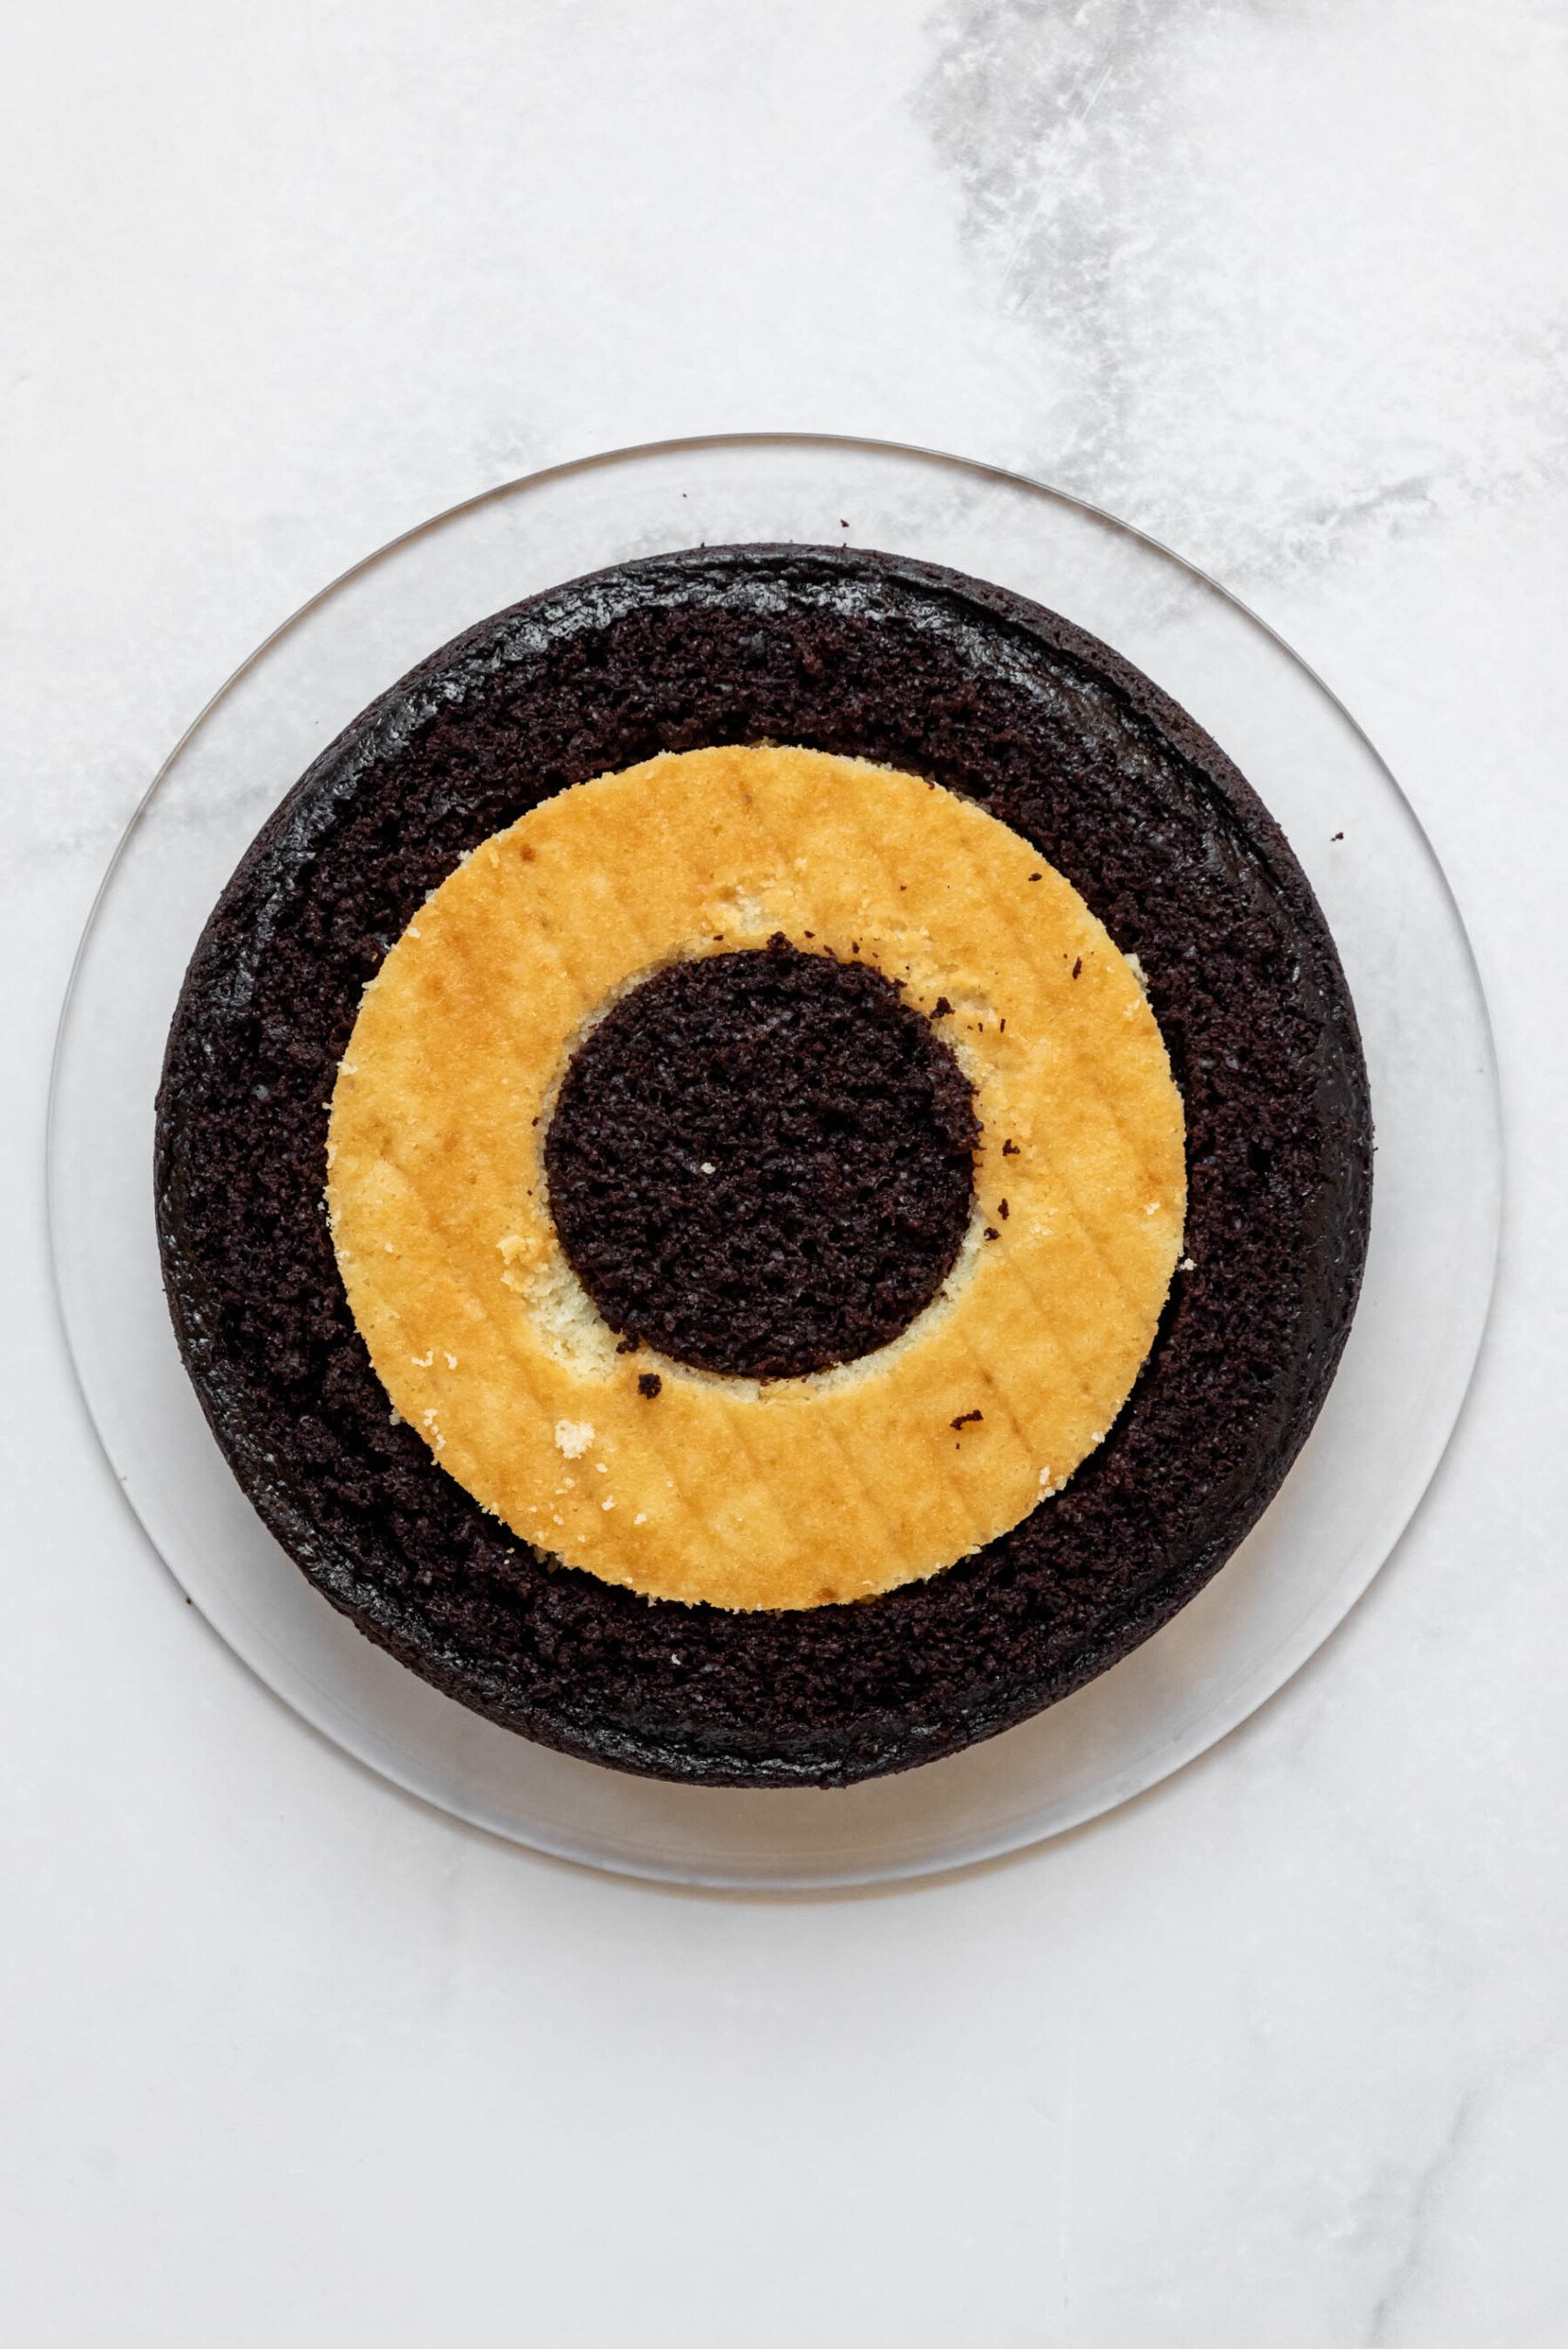
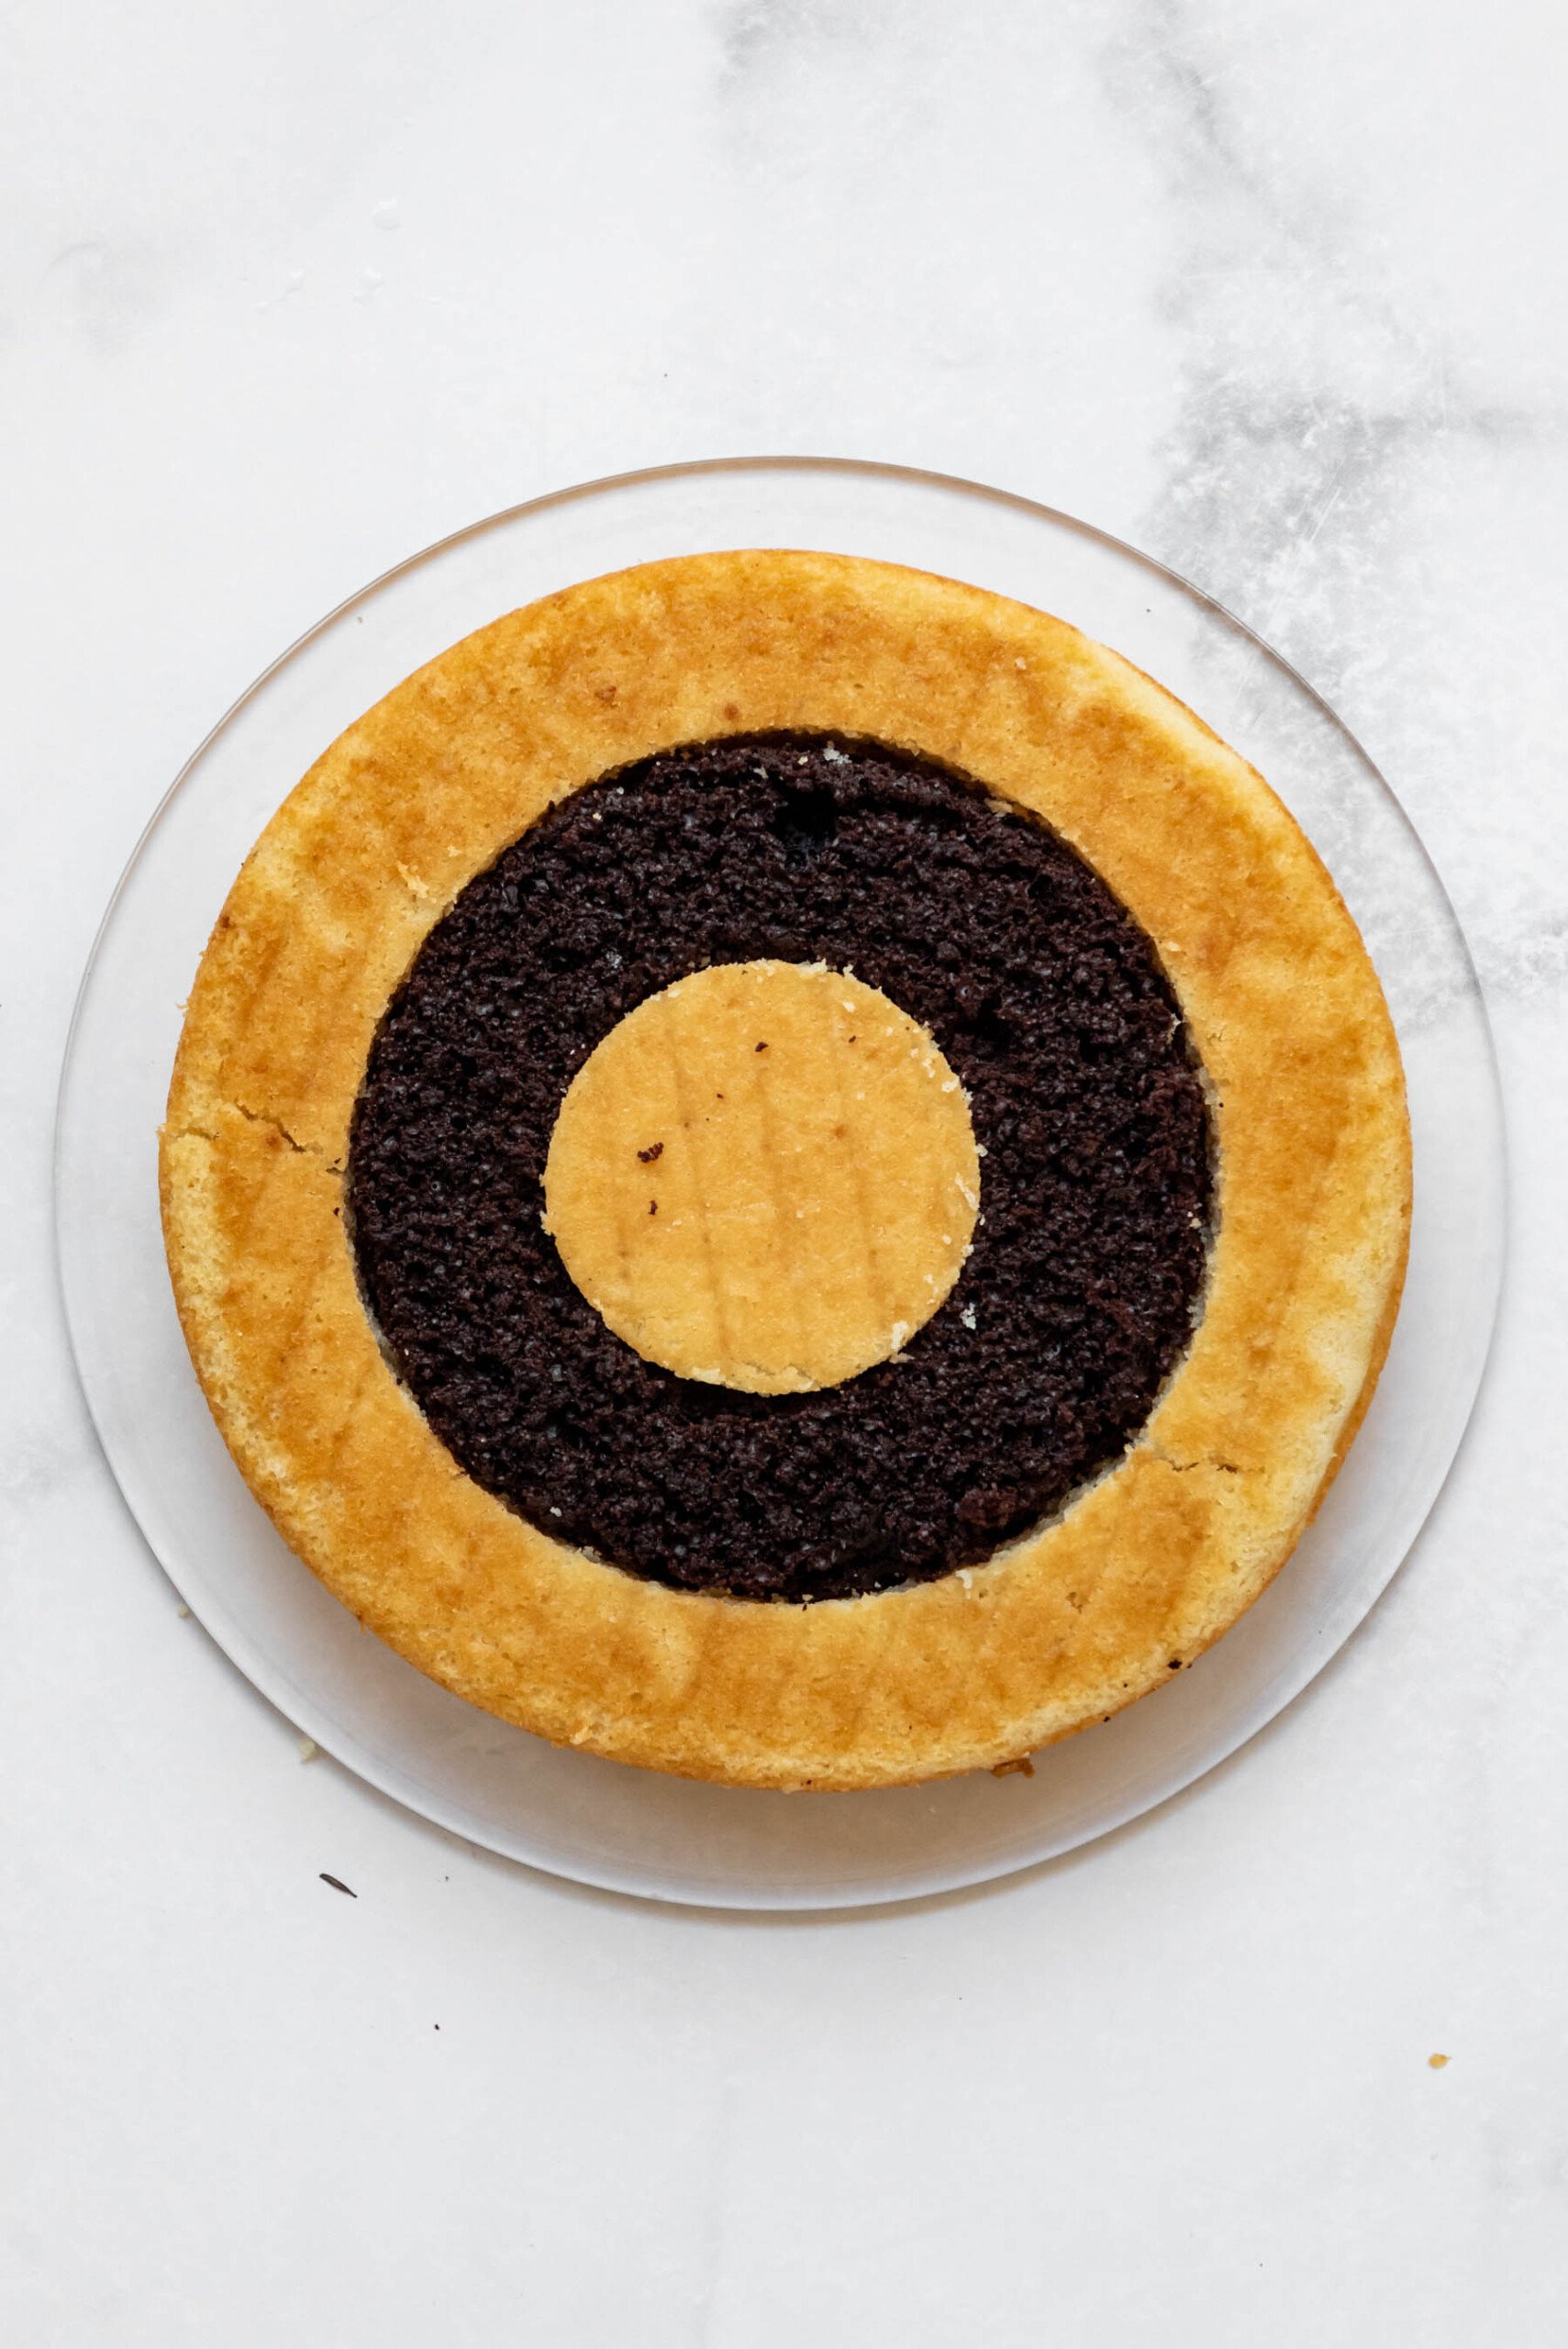
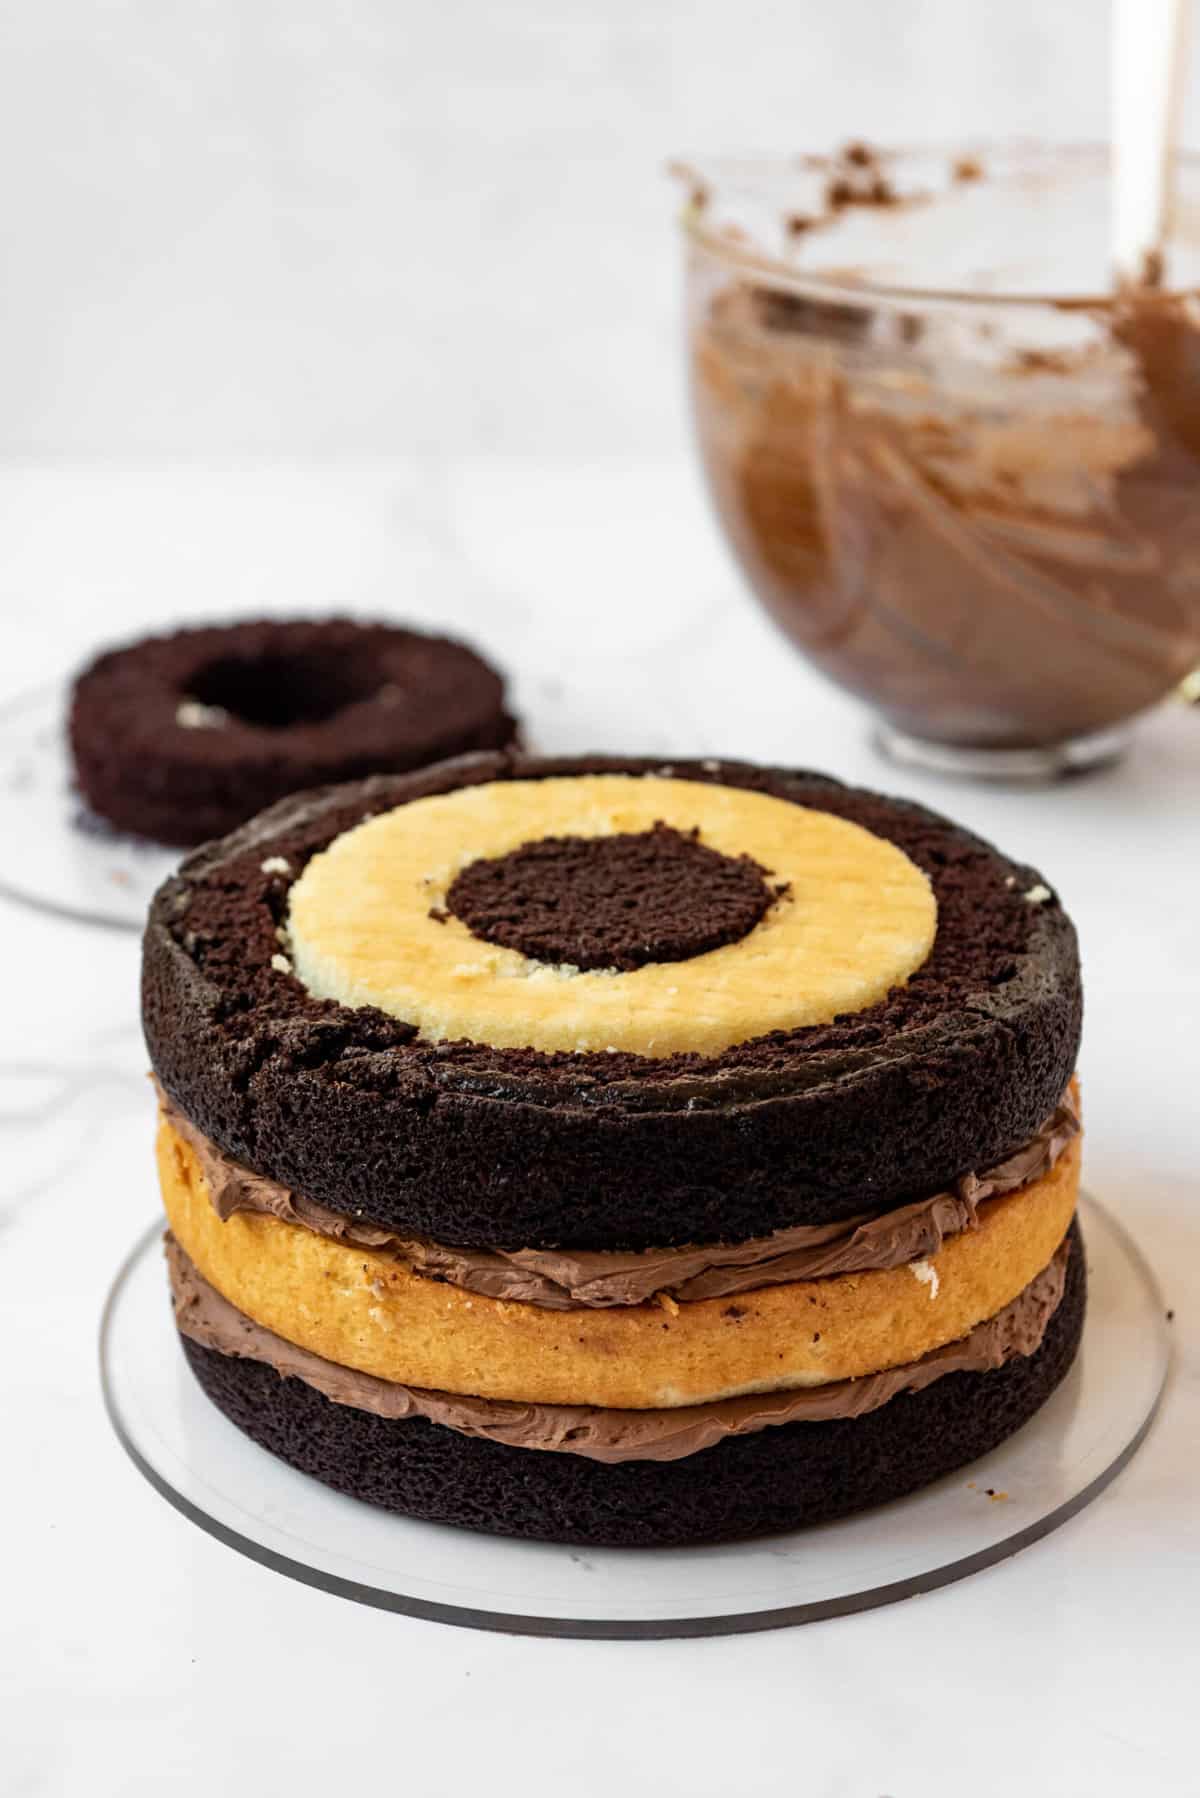
How to Make a Checkerboard Cake
Tips for Success
Give yourself time. You can make and bake the cakes a day or two ahead, then assemble the entire cake the day ahead or day of when you have time rather than attempting to make the whole thing in one day. If you are freezing cake layers, let them cool completely, then wrap each layer tightly in plastic wrap and stack cakes in the freezer to freeze for up to 2 months. Let the cakes thaw partially before cutting circles of cake and assembling as directed.Use room temperature ingredients. You will get the best results if you use room temperature butter, eggs, and dairy for baking these cake layers. Not only will they mix together and bake more evenly for a more moist cake, but you will also have less doming on top of the layers so they are pretty flat to begin with and don’t need much leveling before stacking the cake.Don’t overmeasure, overmix, or overbake. These three are the biggest culprits when it comes to dry cake. While not completely necessary, if you have a reliable kitchen scale, I recommend using it to weigh your ingredients rather than relying on measuring cups. Also, don’t go crazy beating your cake batter once you combine the wet and dry ingredients or overbake the cakes as both of these common mistakes will cause the cake to dry out and not have a nice tender crumb. Use a crumb coat and freezer technique for frosting. Because you are cutting apart and then reassembling your cake layers, they won’t be quite as structurally sound as other cakes, which makes a crumb coat particularly important here. Also, freezing the crumb coat helps set the cake so it is sturdier and less prone to tearing when you add the final layer of frosting. Don’t skip!
Storage & Freezing Instructions
Storing: Keep any uneaten cake well-covered with plastic wrap or in an airtight container on the container for 3 to 4 days. You can refrigerate the cake if you want it to last a little bit longer, but you should let it come all the way to room temperature before eating it or it will taste stale. Freezing: You can also freeze individual cake slices so you can enjoy a piece of checkerboard cake any time you feel like it! Wrap them well in plastic wrap, then store in an airtight container in the freezer for up to 2 months. Thaw on the counter for a few hours before enjoying.
More Cake Recipes
Southern Caramel CakeVintage Cherry CakeDevil’s Food Cake with Chocolate FrostingMomofuku Milk Bar Birthday CakeAunt Becky’s Black Forest Cake
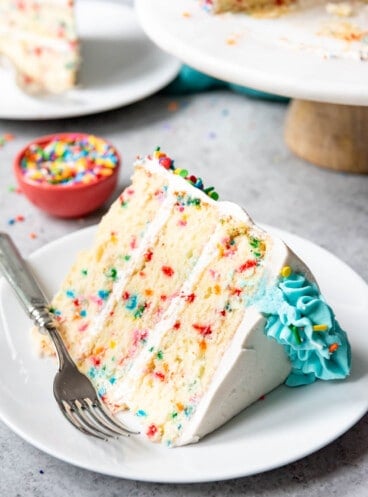
Homemade Funfetti Cake
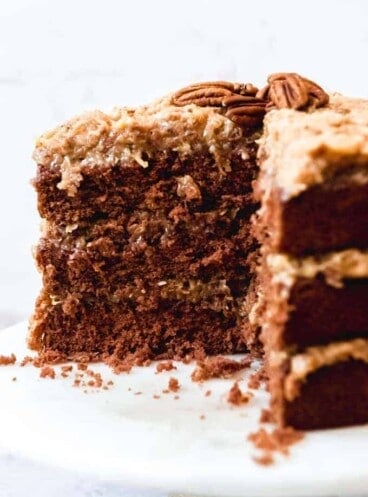
German Chocolate Cake
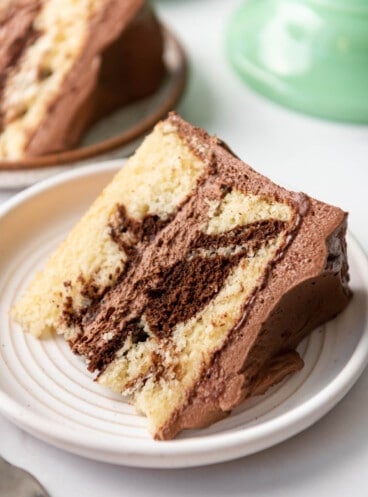
Marble Cake
Let me know what you thought with a comment and rating below. You can also take a picture and tag me on Instagram @houseofnasheats or share it on the Pinterest pin so I can see.