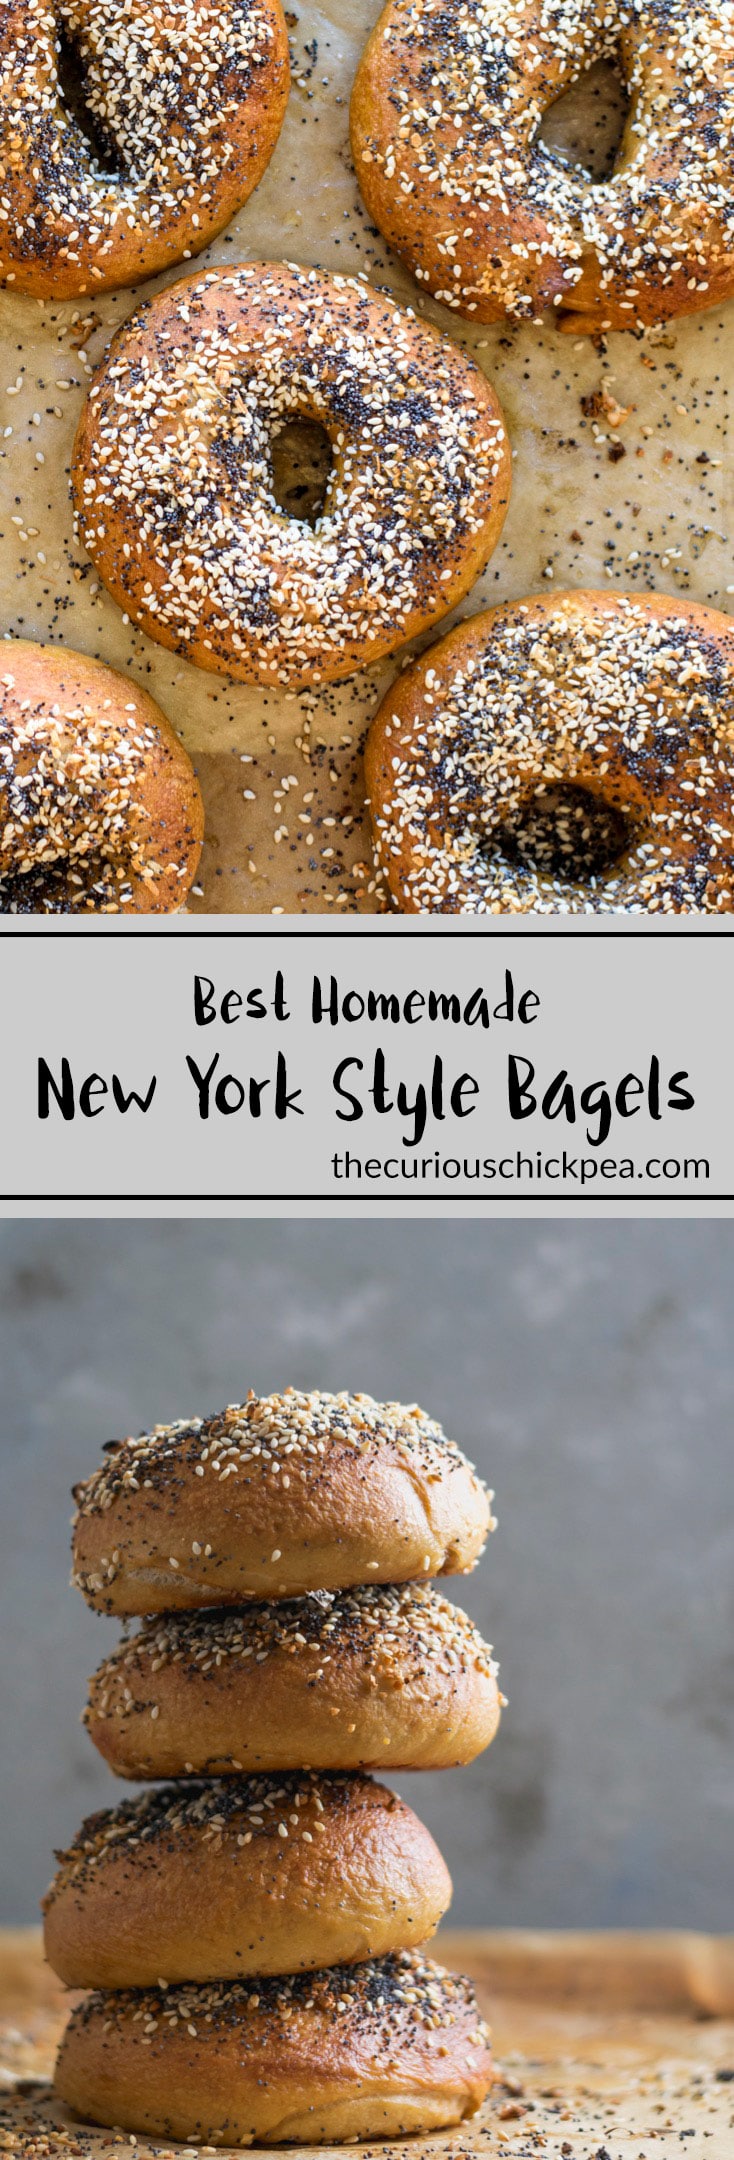
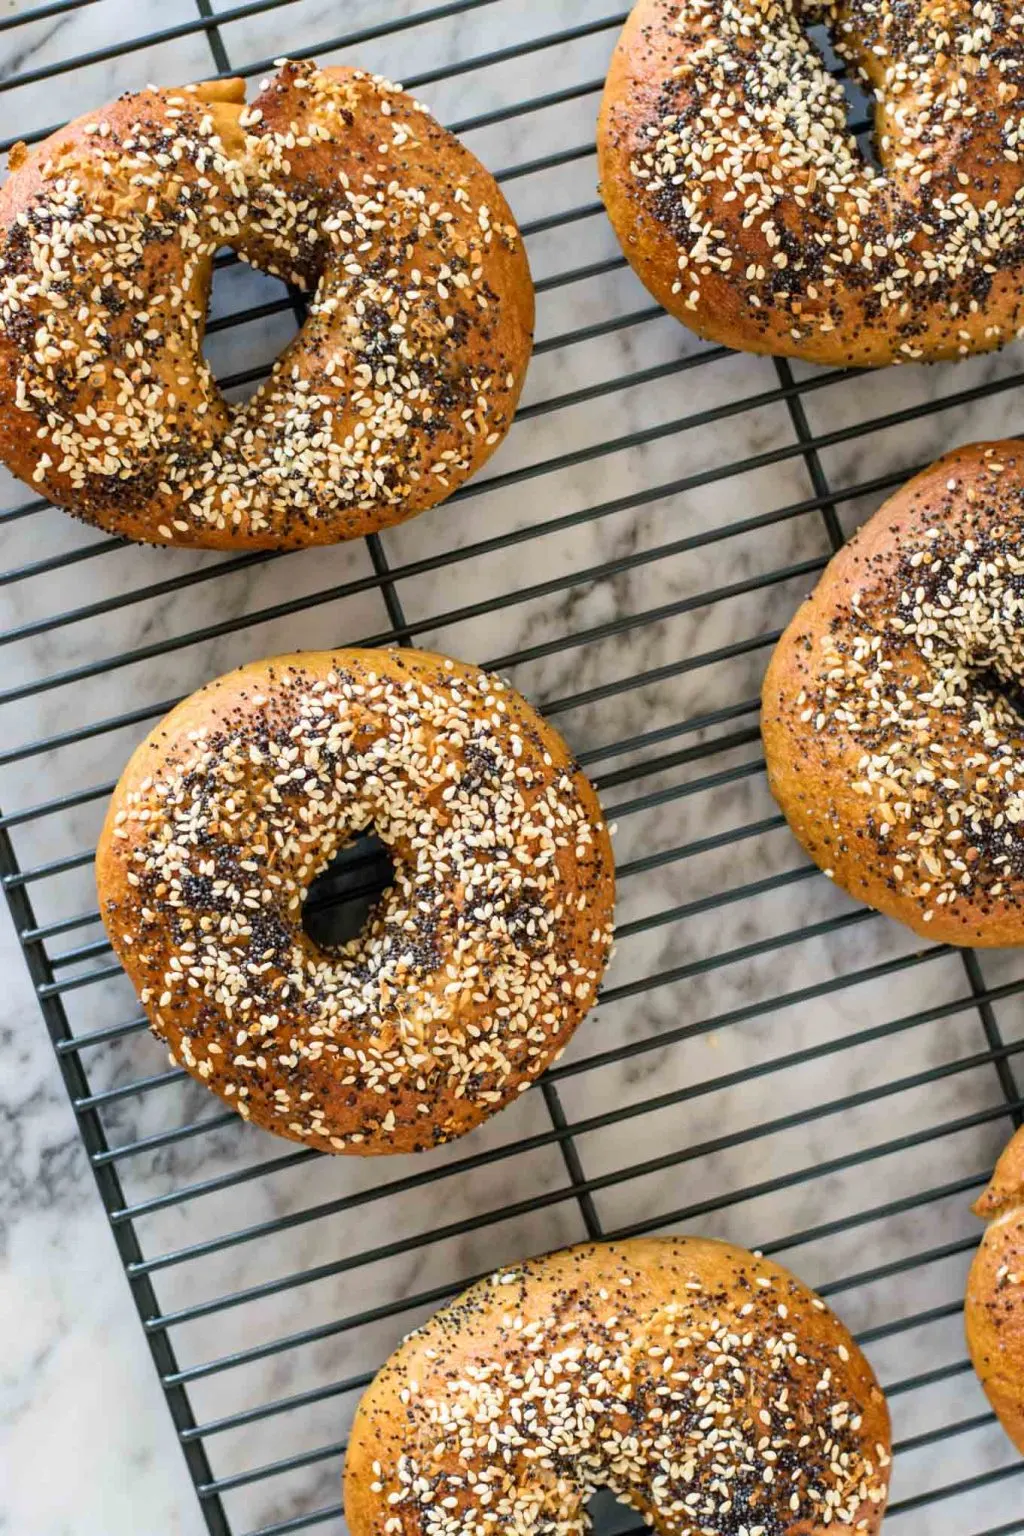
What makes bread a bagel? Is it the shape? The texture? Where they come from? Yes, yes, and no. Let’s start with the last question: I emphatically believe that you can make or get a damn good bagel anywhere in the world… provided you can source the correct ingredients that is.
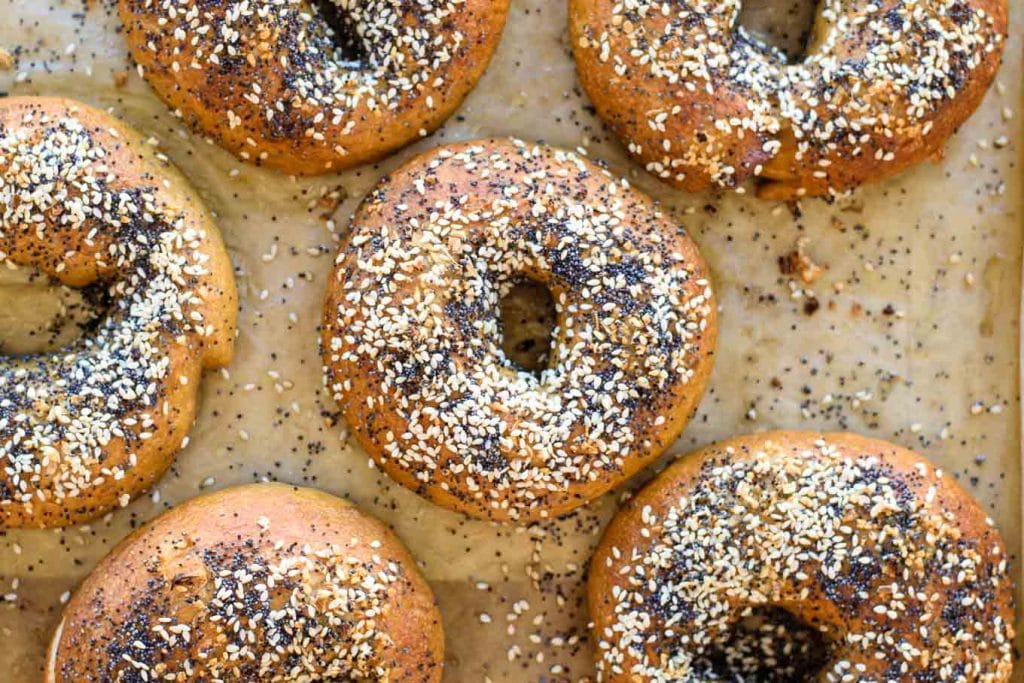
Now a disclaimer – I’m not from NYC, nor have I spent a crazy amount of time there (but I have eaten NY style bagels). But, I’m excellent at research, both book research and hands on experimenting. And a lack of good locally available bagels has led me to do a lot of bagel baking over the years. And these bagels have been tested on people from NY. Plus, the recipe is adapted from Peter Reinhart, and would he steer us wrong? No. As for the first two questions: the shape and texture of a bagel are related, you wouldn’t be able to get that quintessential bagel texture without the hole in the center. The hole allows for the entire bagel to have a chewy crust, without would lead to a soft and tender center.
What a bagel comes down to is (1) flour: bagels should be made with a super high protein white flour. For most of us at home, that means bread flour (I believe it’s called strong flour in the UK), which has a protein content ranging from 11.5 – 13.5%. In bagel shops they use a high-gluten flour that has an even higher protein content than bread flour. High protein flours do a couple of things: they make a denser, chewier bread than all purpose flour can (which has a protein content ranging from 10-12%) and they absorb more water. As a note, my preferred brand of flour is King Arthur Flour and their bread flour is 12.7% protein, while their all purpose is 11.7% protein. If you’ve been following me you know I’m into my bread baking, and I find it makes a huge difference that you use high quality and consistent flour. I also really like Bob’s Red Mill flour (which has a bread flour with 13.8% protein and an all purpose flour with 11.4% protein), it’s just not as readily found at my local grocery stores. Now as you can imagine, using flour with a different protein content can affect how much water is needed to get the correct hydration of the dough. This is why it’s important to work with the dough at least a little by hand (and practice helps you develop a feel for the dough!). This comes to the second item (2) water content: the hydration of dough can vasty affect the final product. If you don’t use enough water, the dough will harder to develop and more difficult to shape (specifically it will not want to smooth out or have the ends connect and you’ll end up with some lumps in your final product) and might not get the same rise/inner crumb texture. If you use too much water, the dough can be difficult to shape as it’s too sticky and slack, it can more easily over proof, and you’ll most likely end up with a flatter bagel. Bagels are a low-hydration dough, this means that they use a lot less water than a lot of traditional breads. This include my overnight artisan walnut bread which has 80% hydration (hydration = mass of water / mass of flour x 100). This recipe clocks in at 55% hydration. As you can see, that alone would result in extremely different dough and final product.
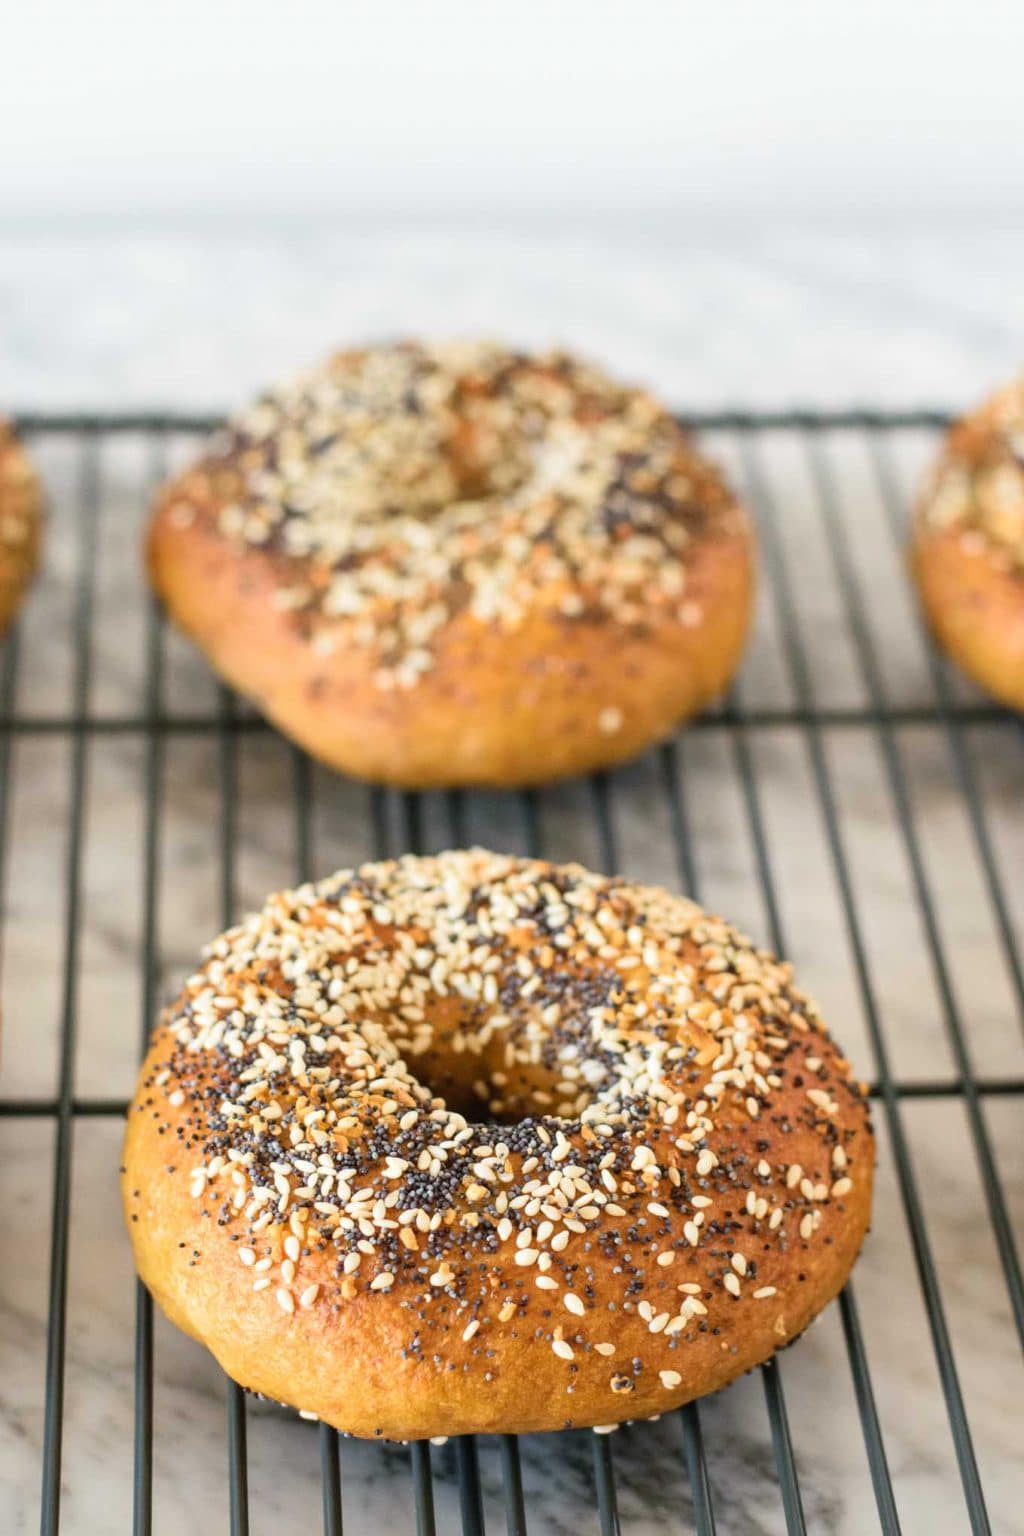
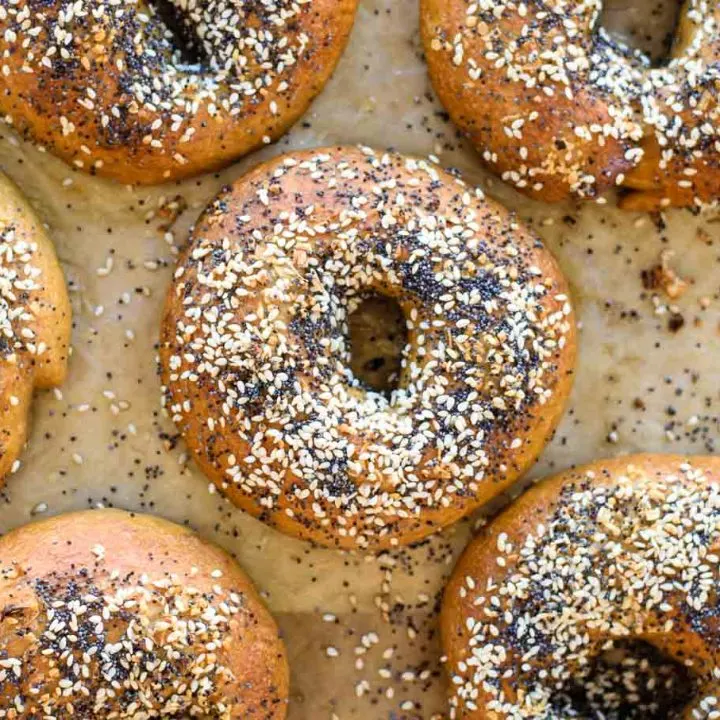
The third thing I want to focus on in bagel making is (3) barley malt. Barley malt syrup is the unrefined sugar from sprouted barley and gives bagels a lot of their flavor. I use it in two places in the recipe, some in the dough, for which you can use either the syrup (which I’ve had good luck finding at natural foods grocery stores) or diastatic malt powder (which you can order online or possibly find at a specialty baking store). I also use the barley malt syrup in the poaching solution, which gives some extra color and a lot of flavor to the dough. If you really can’t find barley malt syrup you can substitute agave nectar in a pinch, but you won’t end up with that bagel-flavor. In this situation, my preference would be to order some diastatic malt powder online to use in the dough and substitute agave in poaching liquid. Which brings us to possibly the most important part of bagel making, (4) boiling the dough before baking. This step is essential to a proper bagel, and the skipping of this step is what is wrong with most mass produced bagels out there (they’re typically steamed as it’s easier to automize and therefore faster/cheaper). Boiling the fully proofed dough creates that thick and chewy crust all around the outside of the bagel (that includes the inner ring of course). It seals in the moisture inside the center of the bagel and expands the dough, making it nice and puffy, while it gelatinizes the starches on the surface of the dough for that shiny and chewy exterior. I like a good 60 second boil on each side, but if you want a denser bagel go for as short as a 30 second boil per side. Last but not least we should consider (5) the slow fermentation of the dough. The shaped dough is proofed in the fridge overnight (at minimum) for maximal flavor. Refrigerating the dough retards the fermentation, meaning the yeast slows down it’s proliferation. This process increases the flavorful compounds produced by the yeast for a better tasting end product.
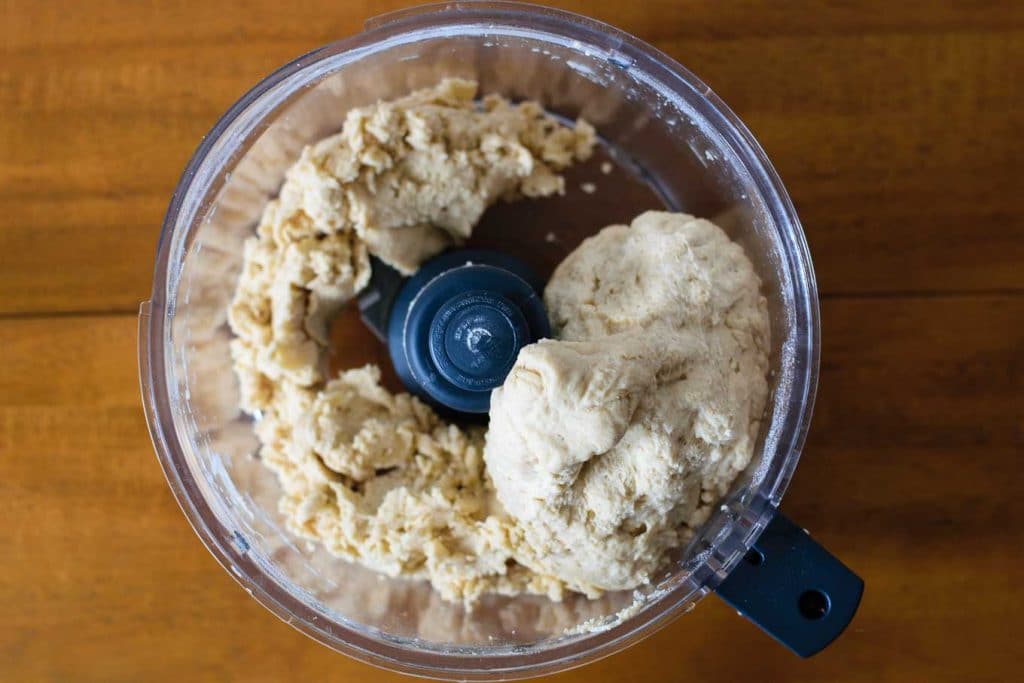
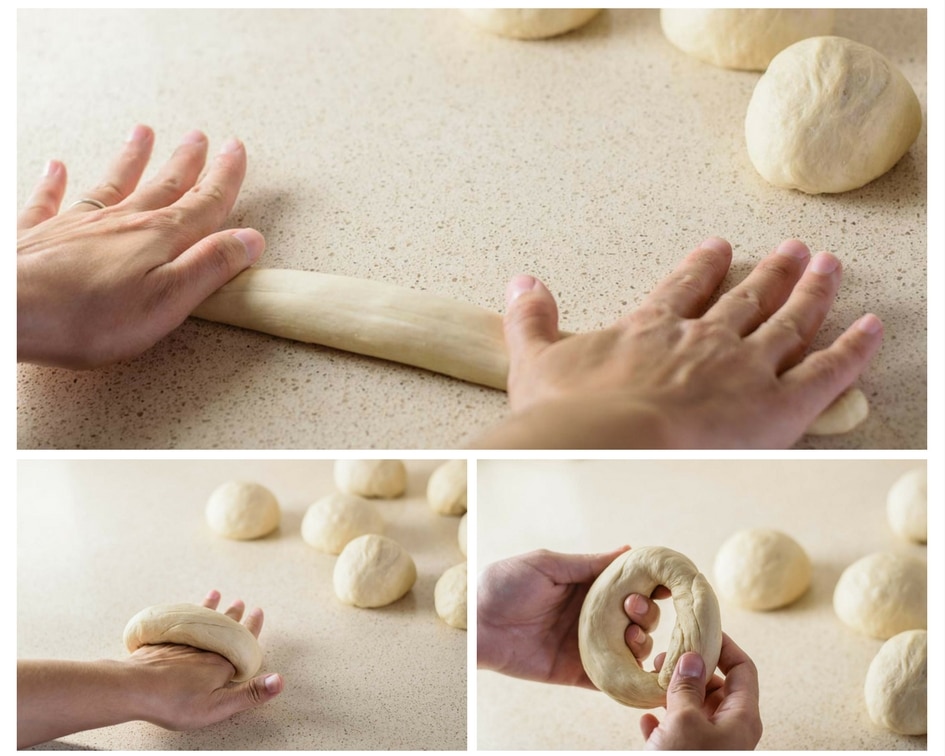
The basic method is to mix your ingredients together and knead (either in a food processor, stand mixer, or by hand) until you have a supple and stiff dough that is barely tacky to the touch. Spend one minute at the end working the dough on the counter by hand to adjust with water or flour as necessary to achieve this texture. Let rise for 45 minutes to 1 hour to double in size, then divide and shape the dough into bagels. Refrigerate overnight or up to 48 hours. Boil the bagels, then bake them at a high temperature. As far as shaping your bagels go, you have two options: the first is the traditional method of rolling the dough into a rope, then twisting the ends around your hand to overlap, then roll them under your palm to seal them together. The second option is easier, form a ball from the dough, poke your finger through the center, then stick a couple fingers or a thumb from each hand and rotate it in a circle, gently stretching the dough out as you do so.
I hope that my long bagel-making essay is helpful to all the bagel baker-wannabes out there. I find understanding the process helps a lot with how successful my baking is! I hope you guys enjoy your bagels as much as we do! If you try the recipe, or have any questions about it, let me know! Leave a comment and/or rate the recipe below, tag me on Instagram (or #thecuriouschickpea), or share with me on Facebook! Good luck in your baking endeavors! <3
Notes:
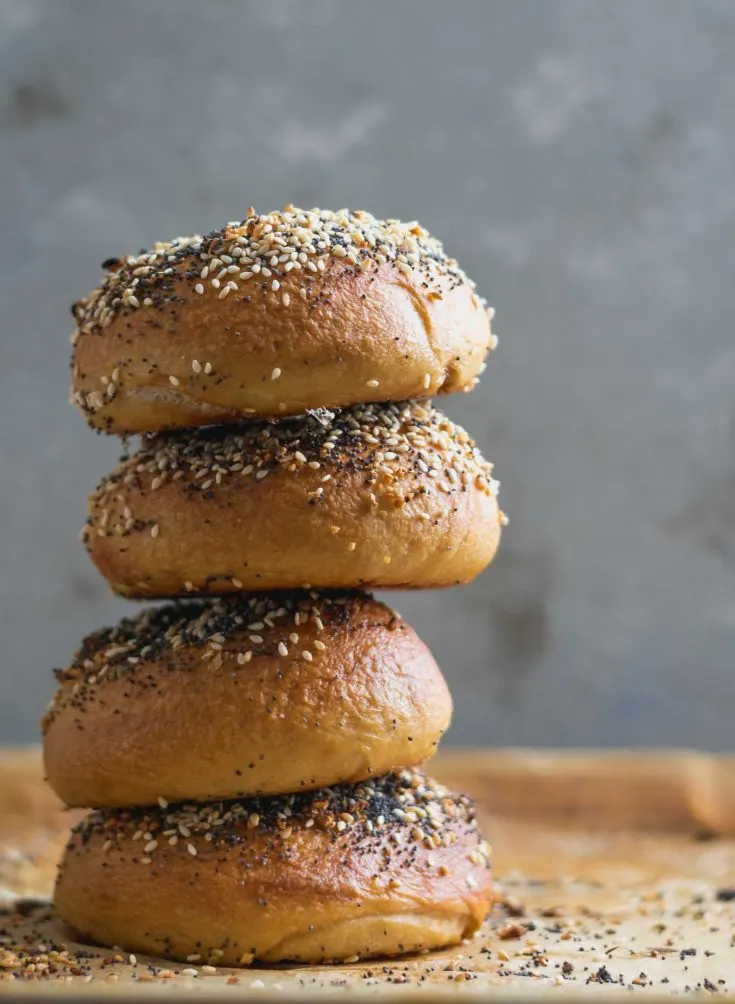
If you’re serious about the science and the why behind making bagels, read the whole post, I get into a lot of helpful details and probably answer most of your questions! You can top your bagels with whatever you’d like, I’m providing the method for everything bagels, but it’s easy to do all poppy seed or sesame seed or onion or garlic, or whatever. They’re also really good with my roasted jalapeño cheese hint hint I’ve provided instructions for making the dough with a food processor, a stand mixer, or completely by hand. It’s up to you! I’ve done it all, though I find the stand mixer easiest for effort & clean up. You can double the recipe if you want more bagels (I often do this), but if you’re using a food processor or a smaller stand mixer you’ll want to do it in two back-to-back batches.
*recipe adapted from Peter Reinhart’s Artisan Breads Every Day