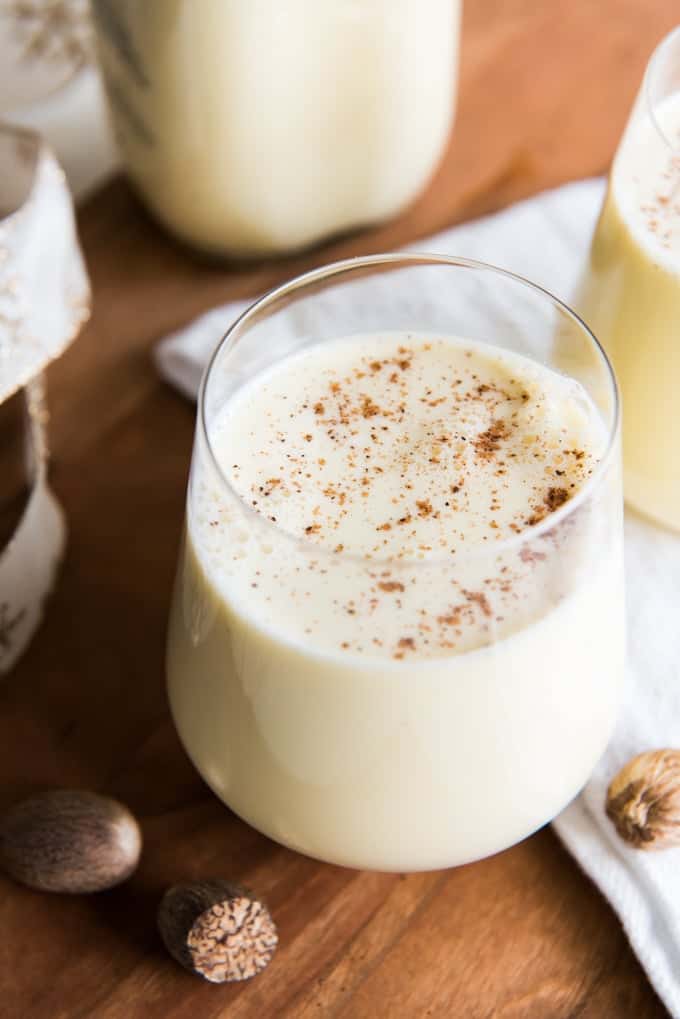
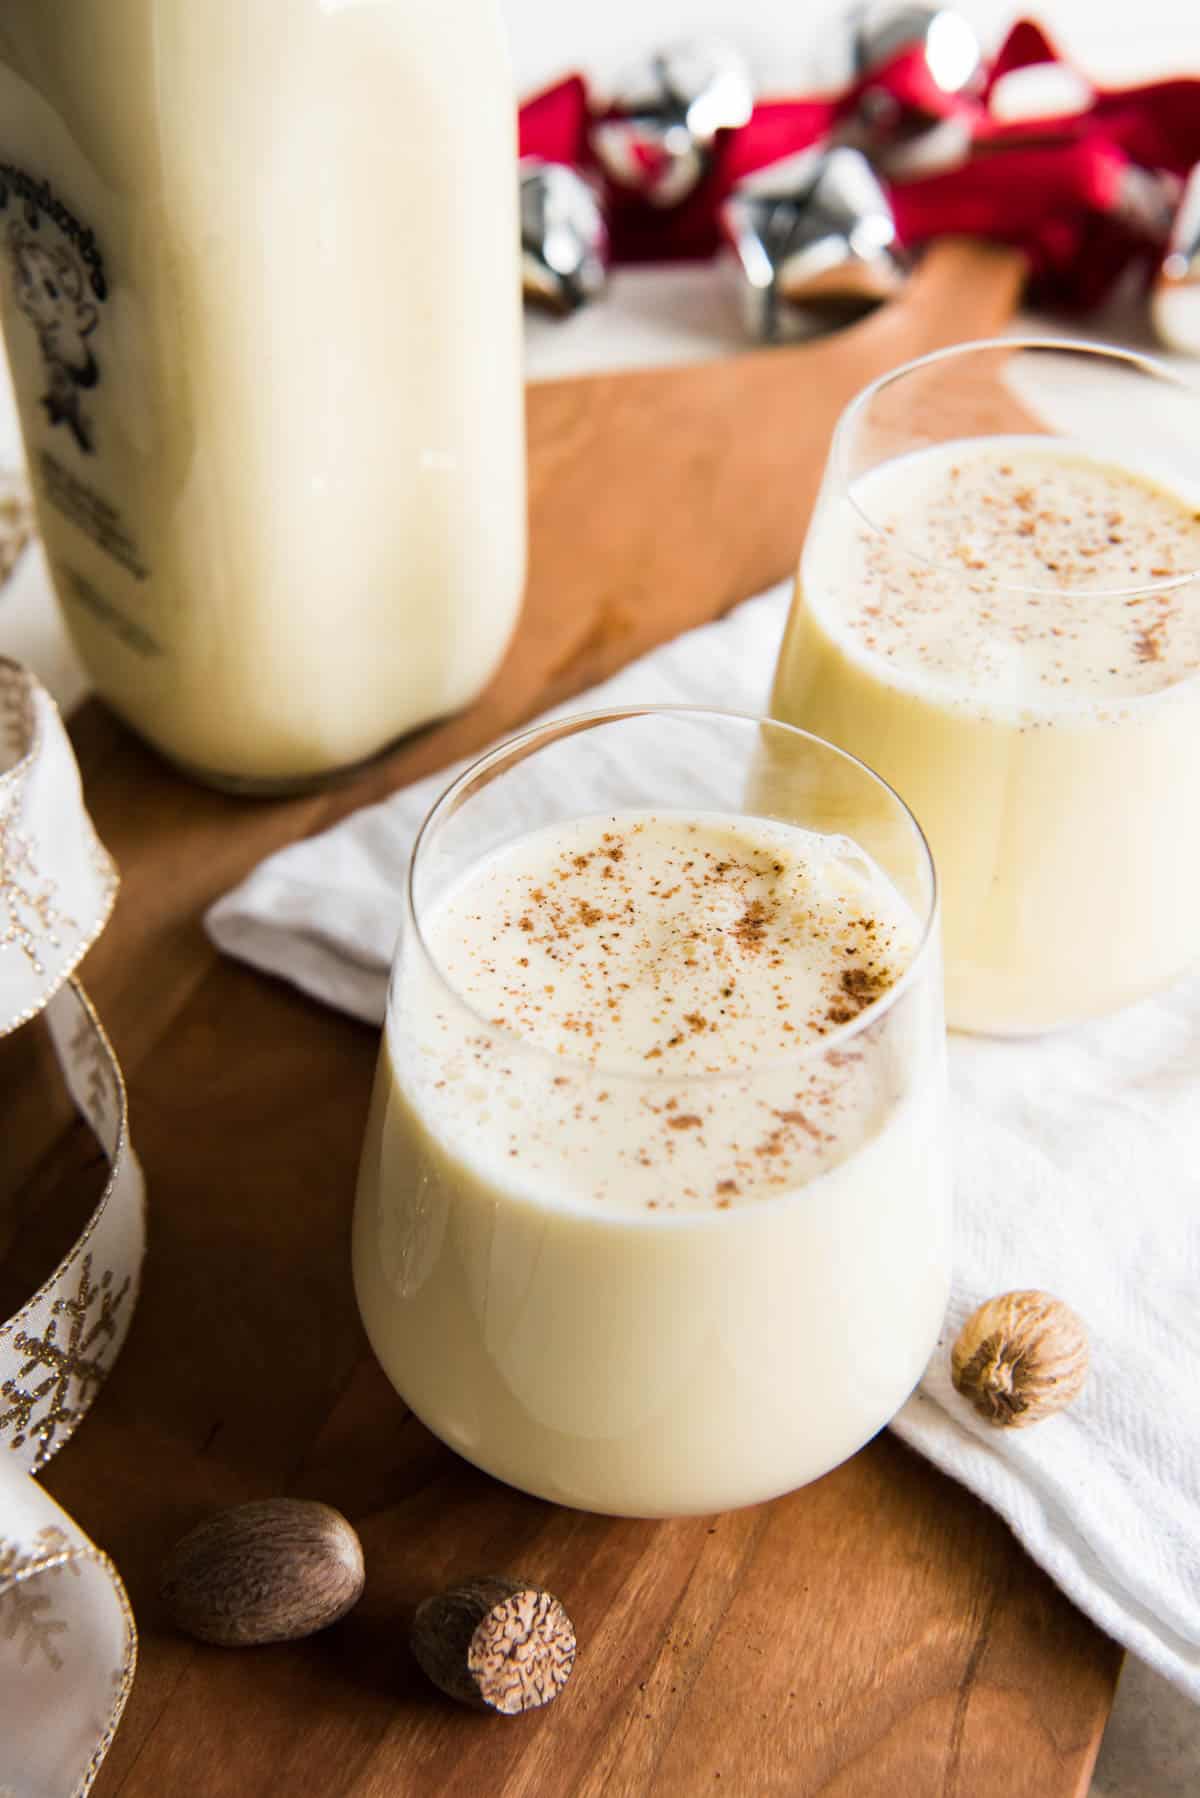
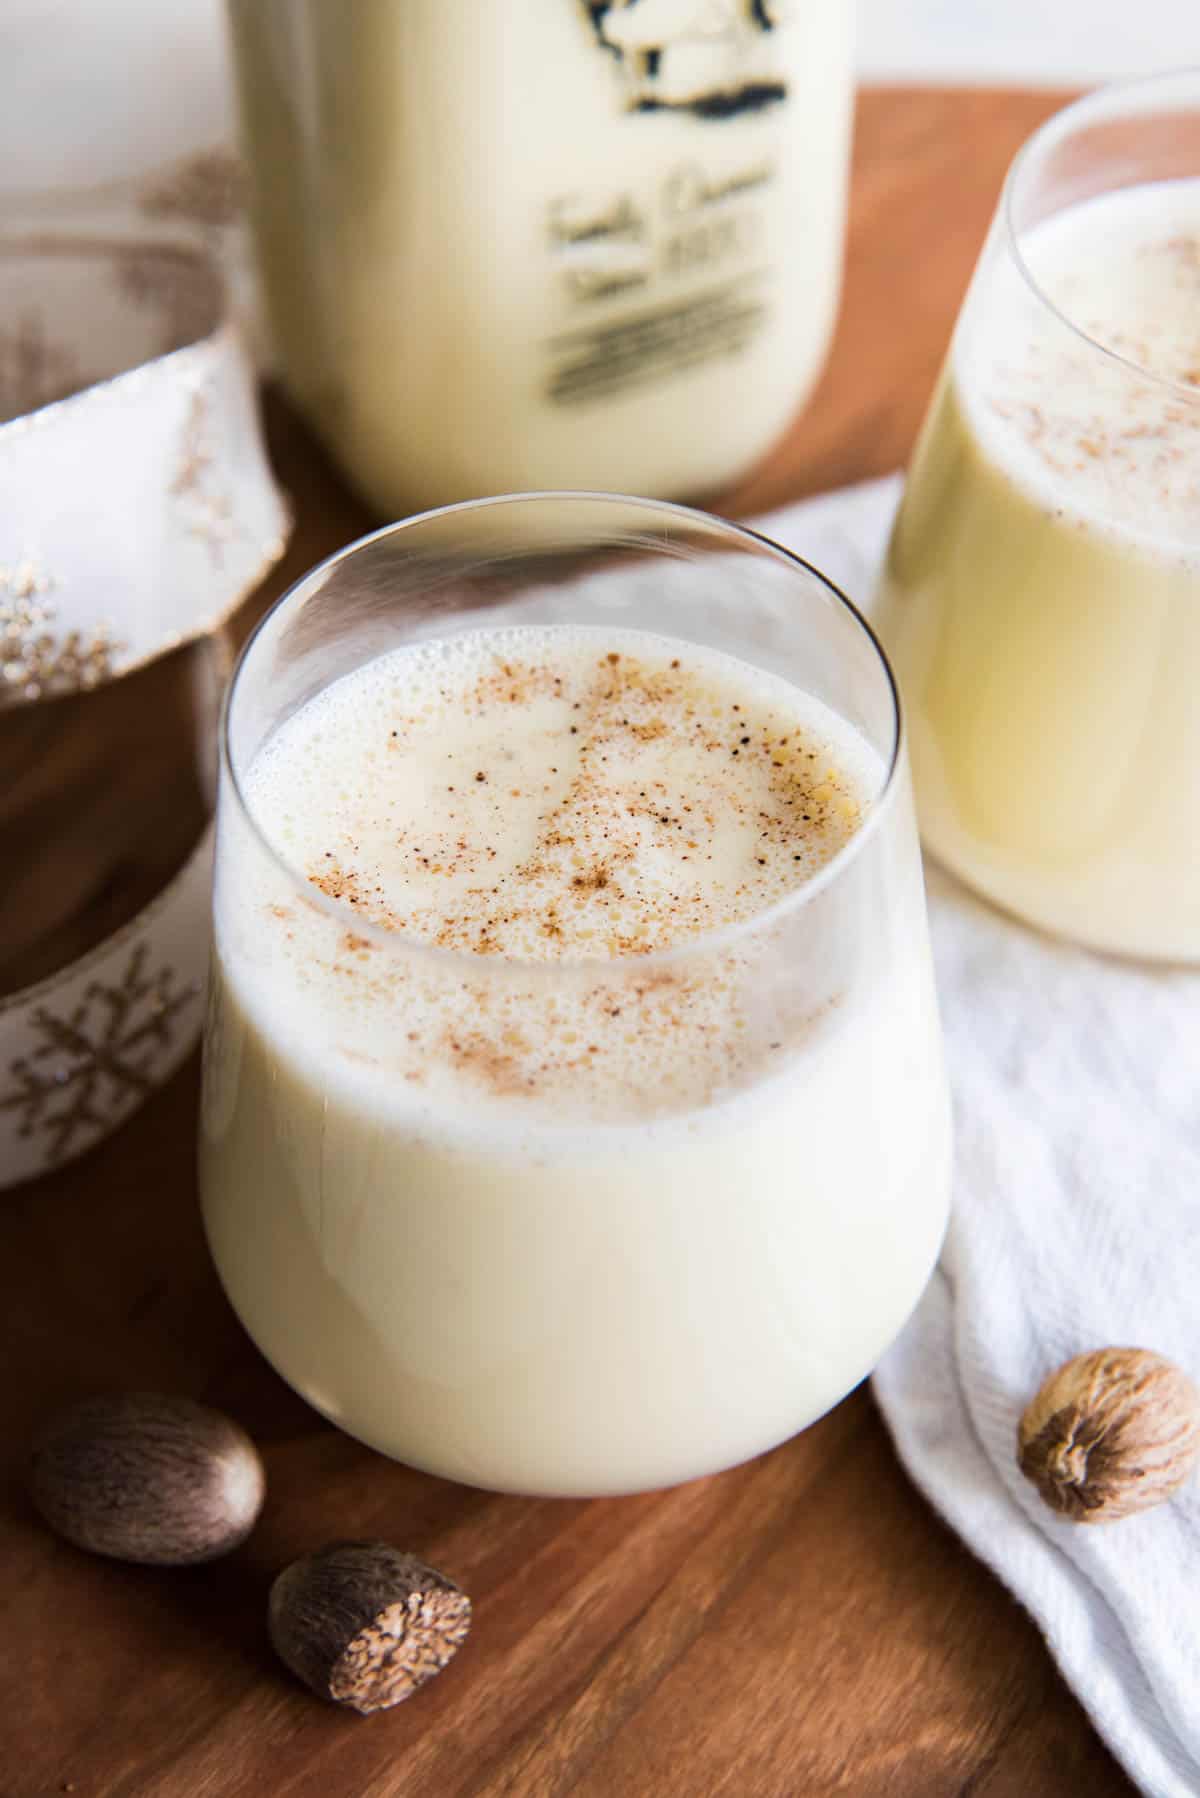
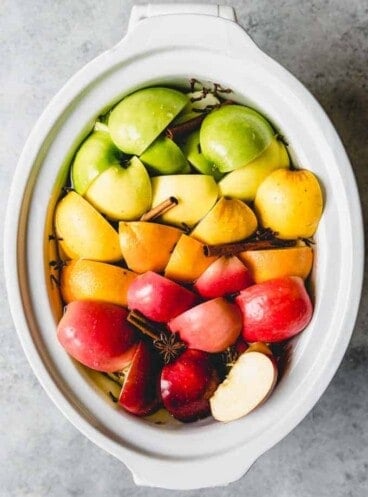
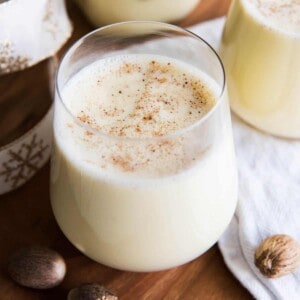
This recipe is alcohol-free, meaning that everyone can get in on the festive cheer! You can always add some alcohol into the mix if you desire, but this is the BEST homemade eggnog recipe without alcohol that I’ve ever made. I’ve never been a fan of eggnog from the grocery store, as it tends to be sweeter, thicker, and richer than homemade eggnog, but to the point where it’s just too much. There also seems to be a bit of a chemical aftertaste, which is just not welcome. On the other hand, homemade eggnog is light and creamy, with a hint of nutmeg making it super festive and warming. It’s so good that I am positive it will convert even the biggest eggnog doubter to a festive eggnog lover. My husband, who previously wouldn’t have touched the stuff, but now is the reason I make a double batch! We love seasonal beverages around here. Some of our other holiday favorites are Slow Cooker Homemade Apple Cider, Homemade White Hot Chocolate, or Homemade Hot Chocolate Mix!
The History of Eggnog
Eggnog most likely started out as a drink called posset in England in the middle ages. It evolved over time but was essentially a combination of milk, eggs, and alcohol. The ingredients for the historically traditional eggnog recipe were available to the poorer classes who had milk and eggs, and could generally get access to cheap rum. The drink was often used to make celebratory toasts to good health and prosperity on special occasions. When it reached the Americas in the 1700s it became associated with the Christmas holidays, and so the festive spiced drink tradition was born! Eggnog, and its precursors, were invented long before refrigeration, likely as a means of preserving some of the milk and eggs that were plentiful during the summertime. This meant they could be consumed during the lean months of winter when milk and egg production slowed down and those ingredients were scarce. Alcohol was added as a powerful preservative and sterilizer, killing almost all the bacteria that will cause food to spoil. It was also in America that rum became associated with eggnog, thanks to rum being a product of the Carribbean, and much less expensive in the colonies than other alcohol that would have been shipped from Europe. So people could make their own homemade version of eggnog using lots of fresh eggs, milk, and cream, add some alcohol, and then let it sit for months before drinking it! By the Victorian period (1837-1901), eggnog had largely replaced punch in America as the drink of choice during the holidays. It was also one of the few alcoholic drinks that were considered socially acceptable for ladies to drink in public. This article from TIME has a brief history of eggnog, along with a famously heavy-on-the-alcohol eggnog recipe written by none other than George Washington that was included in the “Old Farmer’s Almanac”:
Modern Approach to Traditional Eggnog
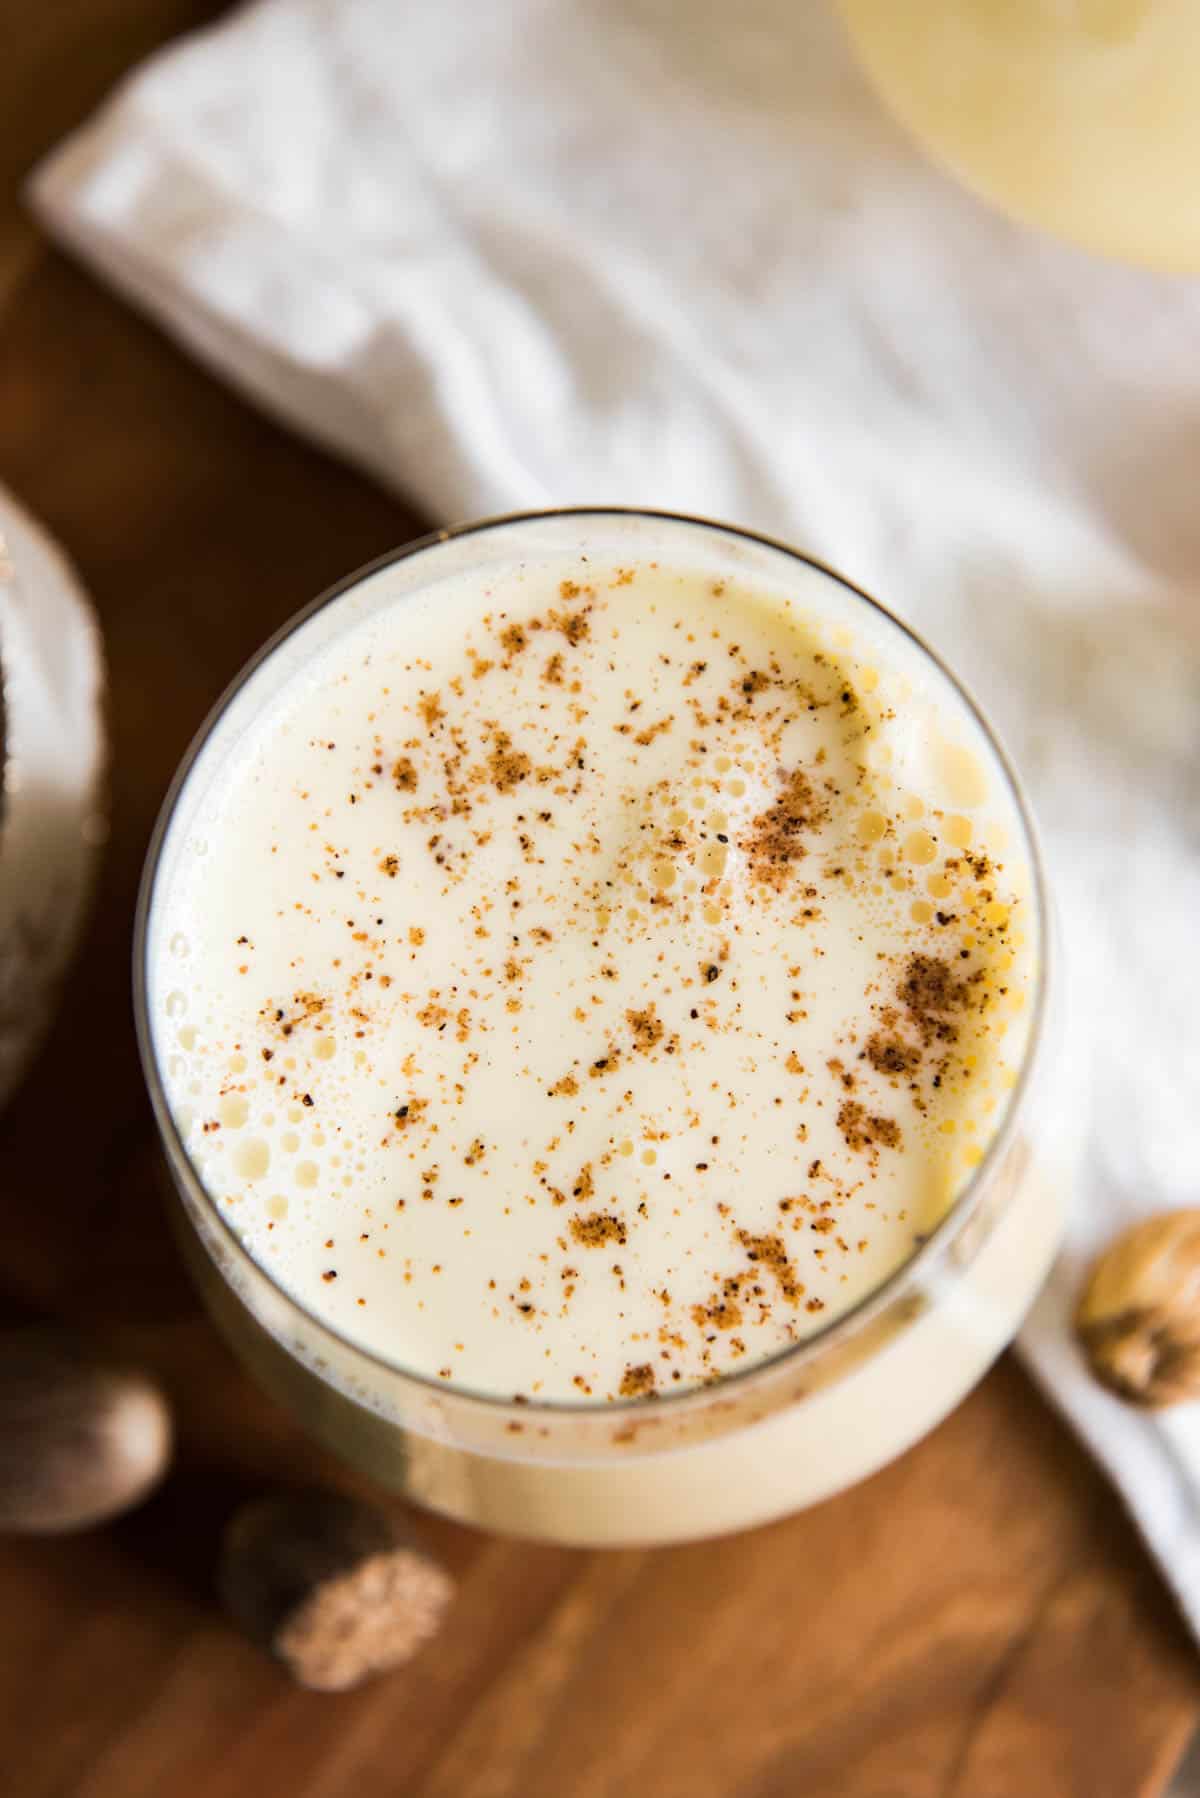
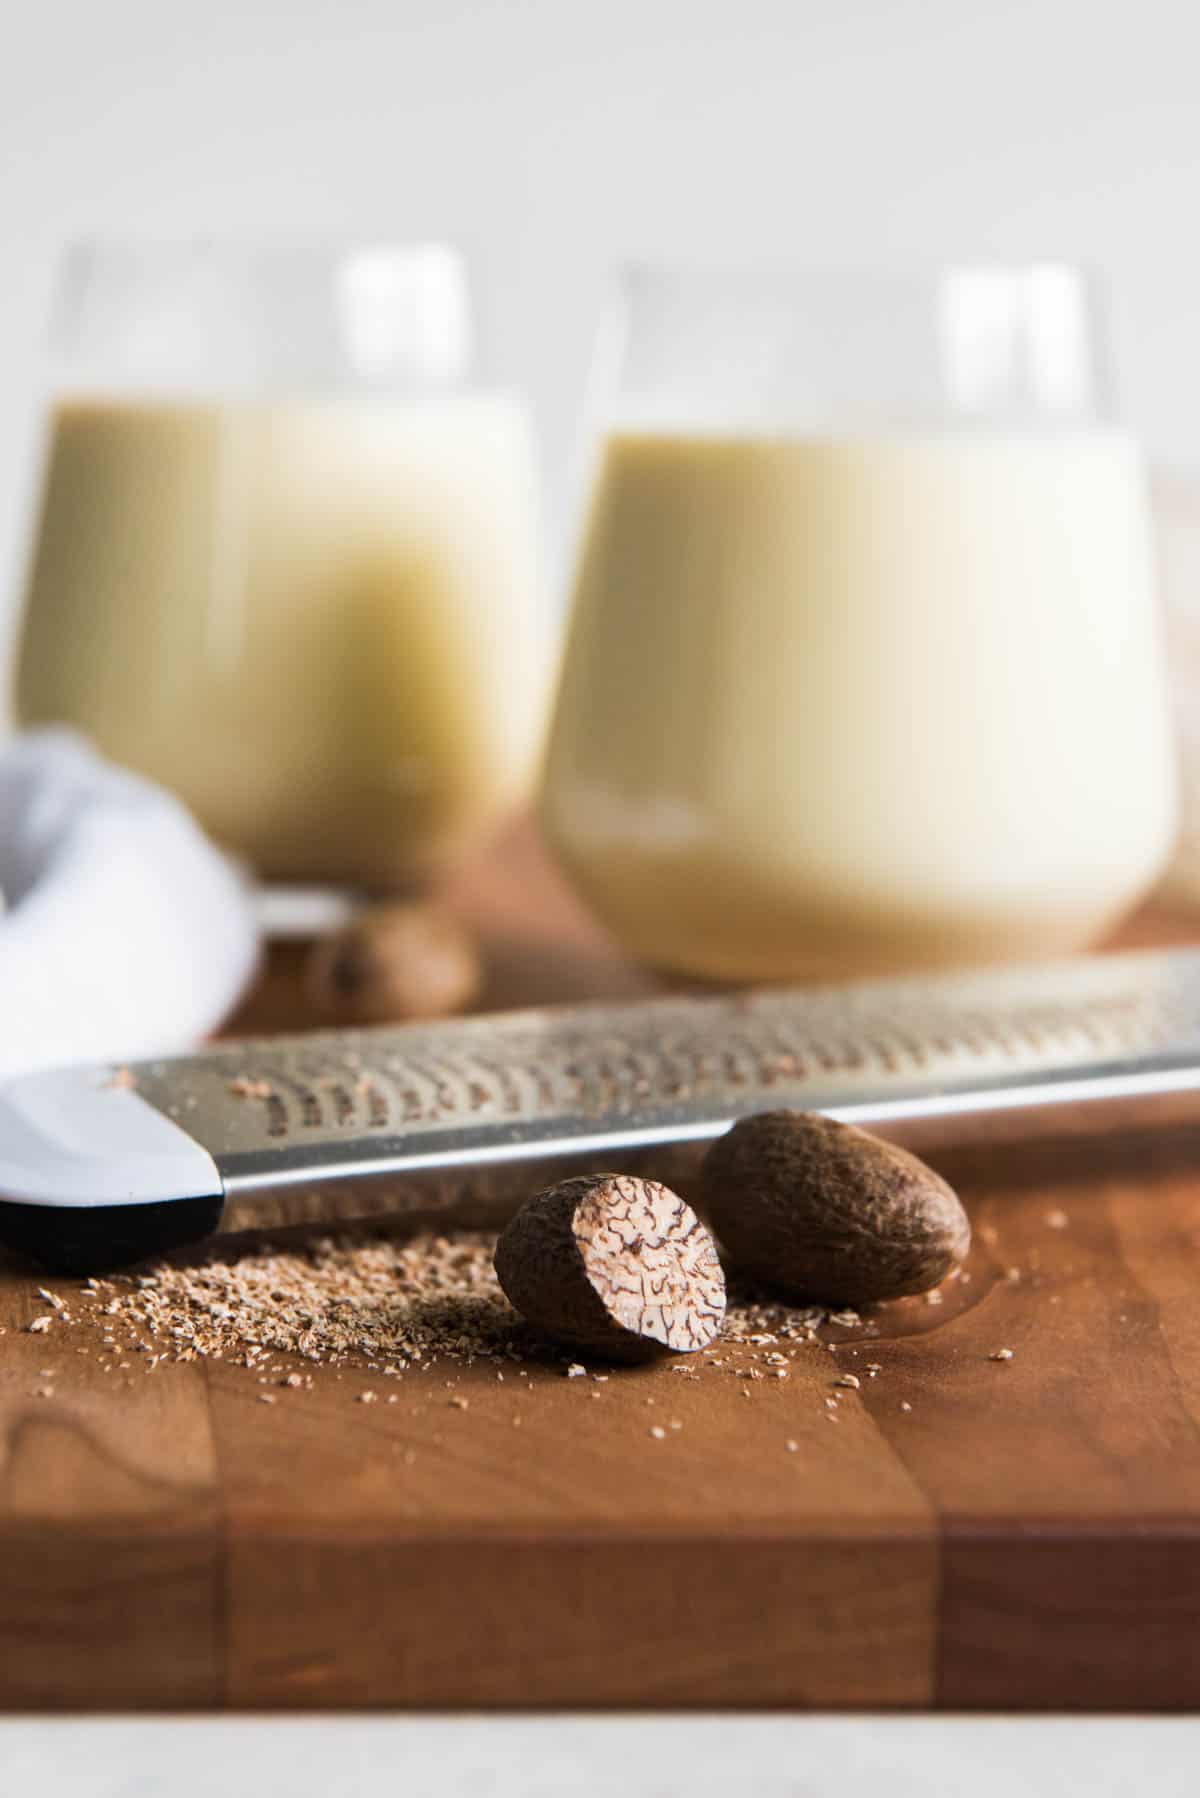
Firstly, I’m recommending that you heat the milk and cream, then use the mixture to temper the egg yolks. It’s not so much cooking the eggs as heating them just enough to kill bacteria to reduce the risk of salmonella, around 160 degrees Fahrenheit. You would in all likelihood be fine without heating the mixture. Yet, when I was recipe testing, I actually preferred the batches of eggnog where I had heated the eggs. I think the heat improved both the flavor and the texture, so it’s worth taking the extra minute or so to do this. Secondly, I recommend adding a little rum extract to the eggnog, as this recipe doesn’t actually contain rum. I feel like the rum extract gives this eggnog that little extra somethin’ somethin’ without adding any booze. You basically get the classic eggnog flavor without the alcohol! My third tip is to use freshly grated nutmeg. Having tried batches with both regular ground nutmeg and whole nutmeg that I grated, the freshly grated nutmeg makes such a difference! You can find whole nutmeg in the spice aisle next to all the regular spices. Lastly, while you are probably going to want to drink the eggnog right away, if you can wait and let it sit in the fridge overnight, it will help to develop the flavor and texture and taste even better somehow. Historically, eggnog was aged for weeks or even months before consumption. So, letting your eggnog have a bit of time (up to 1 week) for the flavors to meld together will just add to its authenticity. If you don’t have the time to wait, then it will still taste delicious on the day you make it.
Final Notes on Making Delicious Homemade Eggnog
If you really want an authentic eggnog-making experience, go ahead and skip the cooking and tempering process and just beat the egg yolks and sugar together before adding the remaining ingredients. I made a couple of batches this way and it does taste very good, but I did ultimately prefer the cooked version. However, if you are worried about raw eggs, you could look for pasteurized eggs, which the USDA says are safe for consumption without cooking. Additionally, you can beat the otherwise unused egg whites into a froth and fold them into the mixed eggnog as a final step. Alternatively, you can use the egg whites to make this Old-Fashioned Divinity Candy to enjoy with your eggnog, or to give as gifts to friends and family for the holidays!
What You’ll Need
Scroll down to the recipe card below this post for ingredient quantities and full instructions.
Egg Yolks – You need a dozen for this recipe. Find out what you can do with the discarded egg whites here! Sugar – Granulated white sugar is best. Milk – 2% milk is good, but you can use whatever milk you have on hand. Cream – Use heavy cream for the creamiest texture and flavor. Nutmeg – Use freshly grated nutmeg instead of pre-ground nutmeg if you can, it has the best flavor of the two. Salt – To bring out all the flavors nicely. Vanilla Extract – Adds a subtle warmth to the drink. Rum Extract – Gives the traditional
How To Make Homemade Eggnog
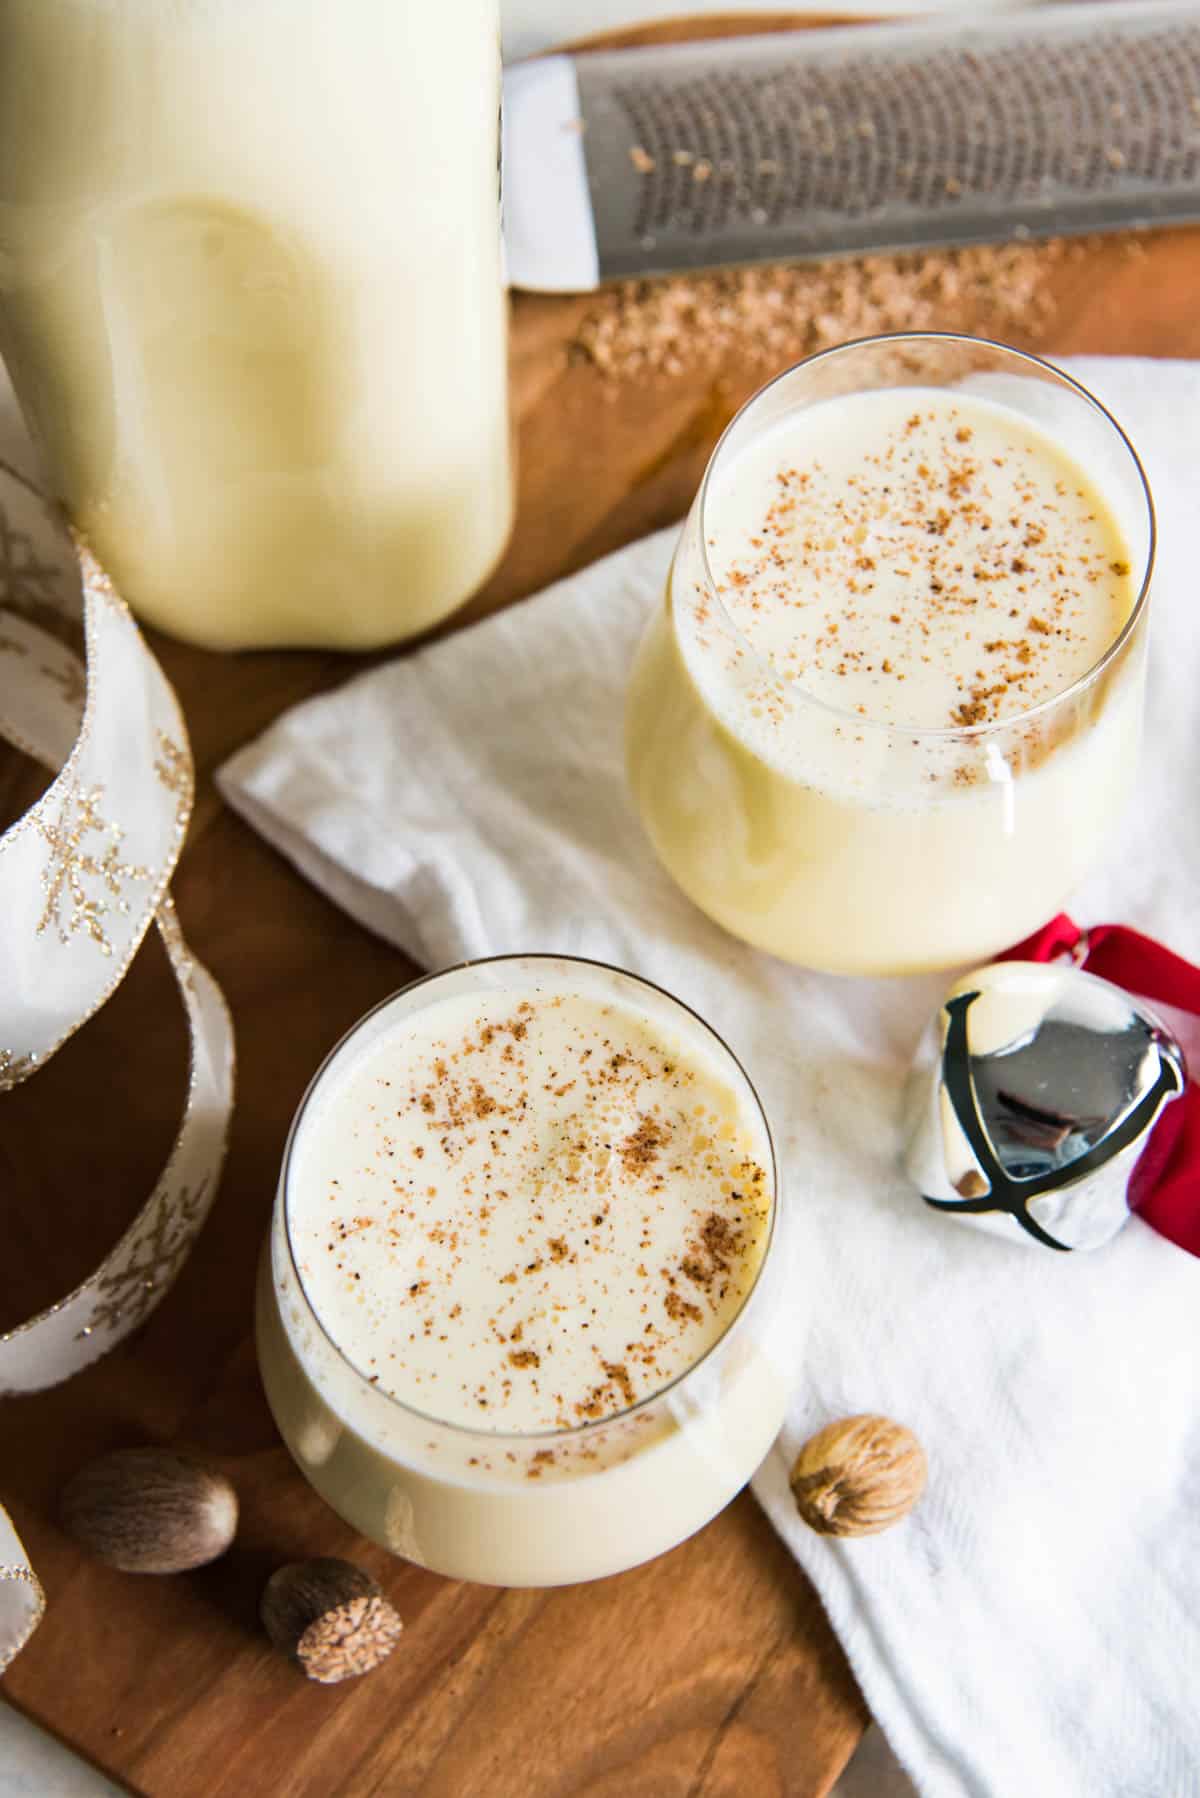
Mix egg yolks and sugar. Whisk egg yolks together with the sugar in a mixing bowl until creamy and a light color. Combine milk, cream, nutmeg, and salt. In a large saucepan, combine the milk, cream, nutmeg and salt and heat over medium heat until it starts to simmer, with bubbles forming around the edges, but do not bring to a boil. Combine the two mixes. Slowly whisk ½ cup of the hot liquid into the eggs and sugar to temper the eggs. Repeat this process until about ⅓ of the hot liquid has been mixed into the eggs. Put new mix back in the pan. Add the tempered egg yolk liquid back into the pan with the remaining milk and cream and heat until it reaches 160 degrees F or just starts to coat the back of a wooden spoon. Add vanilla and rum extracts. Remove from heat and stir in the vanilla and rum extracts. Put in a bowl and refrigerate before serving. Transfer to a bowl and cover tightly with plastic wrap, then chill completely in the fridge until ready to serve. Best served the next day once the eggnog has had time to age slightly.
Substitutions and Variations
Add ½ teaspoon of ground cinnamon or a cinnamon stick to the hot milk mixture for added festive spice. Infuse the milk with cloves (and nutmeg or cinnamon) before heating it up. For a classic fall flavor, add ½ teaspoon of pumpkin spice mix to the milk. Top your eggnog with whipped cream and a sprinkle of cinnamon for an extra special finish. For boozy eggnog: If you want to add alcohol, the most popular types in eggnog are brandy, bourbon, rum or whisky. For this recipe quantity, start with ¼ cup for the entire batch and add more depending on how strong you want it.
More Holiday Recipes
Homemade White Hot Chocolate European-Style Hot Chocolate Chocolate-Dipped Almond Biscotti Apple Cider Wassail
This post was originally published in November, 2017. The content was updated in October, 2022.
Soft & Chewy Gingerbread Men Cookies
Slow Cooker Homemade Apple Cider
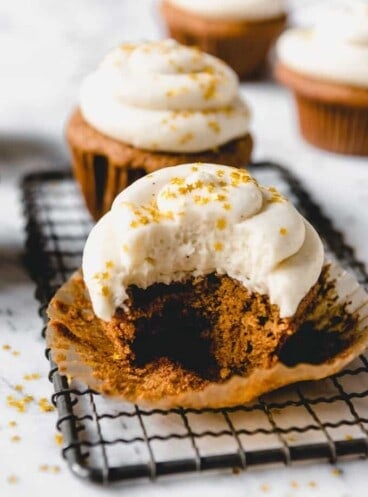
Gingerbread Cupcakes with Eggnog Buttercream
Let me know what you thought with a comment and rating below. You can also take a picture and tag me on Instagram @houseofnasheats or share it on the Pinterest pin so I can see.