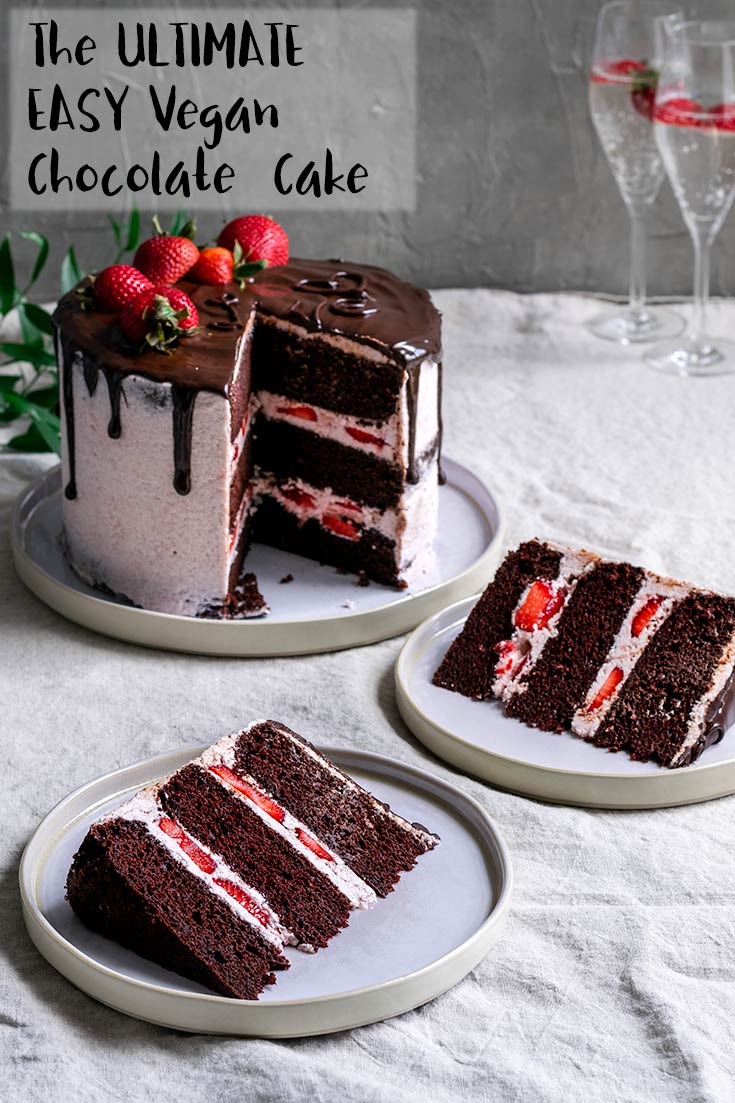
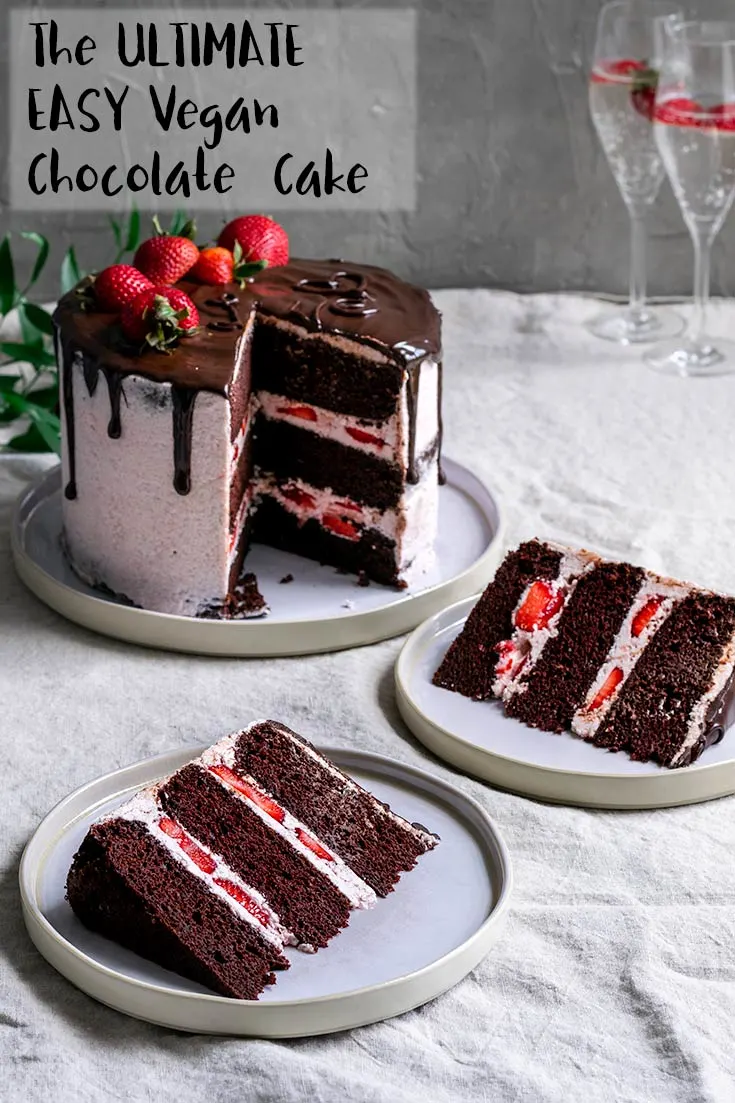
We’re talking going from cravings for chocolate cake to baked and at least partially cooled cake in under an hour. With pantry friendly ingredients! And it needs to be ultra chocolatey. This recipe is the ultimate easy vegan chocolate cake. And let me tell ya, you need it. Even if you’re not vegan, you still need this recipe! I think most of us know someone who is vegan, or have friends or family with dairy or egg allergies/sensitivities. Plus do we really need to contribute to the whole issue of male chick culling (warning: it’s pretty disturbing) just to eat cake? I’m going to go with no. Eggless cakes have existed since at least World War I. They were known as crazy cakes or wacky cakes or depression cake, and leavened using baking soda and vinegar. Chocolate is the preferred crazy cake flavor, as you want the strong flavor to mask the taste of baking soda and vinegar in your final cake. Now, there’s nothing wrong with your basic chocolate crazy cake. I’ve enjoyed them since childhood! But we vegans have gotten a bit more sophisticated over time, and I’m glad! Ok, so let me tell you about my cake. It’s fluffy and soft. Moist and tender. Richly chocolatey. And it makes the dreamiest layer cakes. This recipe was adapted from my vegan dessert hero Fran Costigan’s Chocolate Cake to Live For. And you guys, that chocolate cake recipe is amazing! But it’s also a bit fussy–it uses multiple flours, requires that you finely grind your sugar and sift your dry ingredients (which, to be fair, is never a bad idea), plus it uses 1/2 cup of maple syrup per 8 or 9″ cake, which can get pricey pretty fast. For my ultimate chocolate cake recipe I needed the rich flavor of that cake without all the fuss. And if you don’t mind my tooting my own horn, I think I nailed it.
The ingredients:
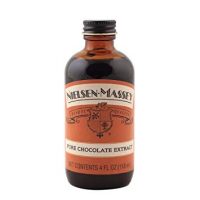
All purpose flour makes the perfect base for this cake. It’s pantry friendly and versatile. Able to make fluffy cakes and tender breads. Next comes the sugar. I use regular granulated sugar in my recipe. If you’re vegan, you’ll want to make sure your sugar is beet sugar or that it is labeled vegan. Or you can buy organic granulated cane sugar, as that is never processed with bones for bleaching. Sugar is an important ingredient in baked goods. It makes the sweets moist and tender. That being said, I use a little less sugar than your average recipe. Part of that is compensated for with a little bit of maple syrup. But, I also just don’t like my cakes to be so saccharine that it becomes overpowering once frosted. Most importantly perhaps is the Dutch-processed cocoa, or cocoa powder that’s been treated with alkali. This cocoa powder tastes richer than it’s unalkalized or ‘natural’ cocoa counterpart. It has a mellower yet deeper flavor and a darker color. In comparison, natural cocoa powder is a bit acidic in flavor. But which cocoa powder you use isn’t important just because of flavor. When it comes to baked goods, dutch processed and natural cocoa powder are not interchangeable. Alkalized cocoa powder requires baking powder in a recipe to react for leavening, as it it is not acidic enough to activate baking soda. Unlike baking soda, baking powder is activated in part by heat. I prefer the taste of dutch processed cocoa powder, so that is why I use it in my recipe. Make sure to check the label of your cocoa powder, it should say dutch-processed or processed with alkali. To leaven this cake, as we aren’t using eggs, I use a combination of baking powder and baking soda. Baking powder is used in conjunction with the alkalized cocoa powder. It’s mainly activated when the cake batter hits the hot oven. But I also use just a little bit of baking soda, which reacts to the splash of vinegar that’s added to the liquids. It gives the cake an extra boost of leavening for a nice airy finish. The last dry ingredient is one of the most important ones: salt. Desserts use generous amounts of salt (relatively speaking), as it enhances the sweetness. Next it’s time for the wet ingredients! First we add oil, and any neutral flavored oil will do–canola oil, safflower oil, you can even use a mild tasting olive oil! We’re able to cut back slightly on the oil in this recipe thanks to the maple syrup. The maple syrup makes such a rich tasting cake. It deepens the flavor of chocolate and just adds a little something extra. I found I was able to get the desired effect with just two tablespoons of maple syrup. And two tablespoons of maple syrup doesn’t break the bank thankfully, as I made 7 of these cakes in quick succession over the course of my recipe testing! Alright next comes the milk, and any plant milk should work. I made this cake with both oat milk and soy milk. But I would expect any of your nut milks to work nicely as well! Then we add the apple cider vinegar. The purpose of the vinegar in this recipe is not to clabber your milk and make a quick buttermilk, but to react with the baking soda in the dry ingredients. Because of this we add it in to the general wet ingredients and use the wet ingredients right away. Lastly we have our extracts: both vanilla and chocolate. Now, vanilla extract you’re probably used to using, but chocolate extract might be new to you. It’s not a necessary ingredient, I made sure to test the cake without it to confirm, but it takes your chocolate cakes to the next level.
The method:
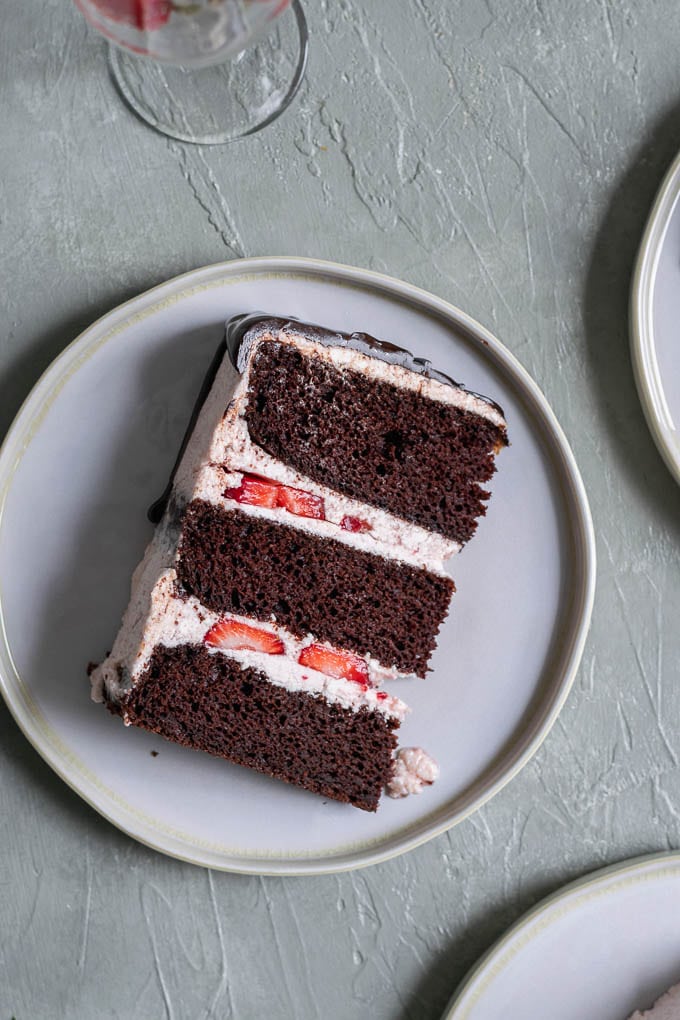
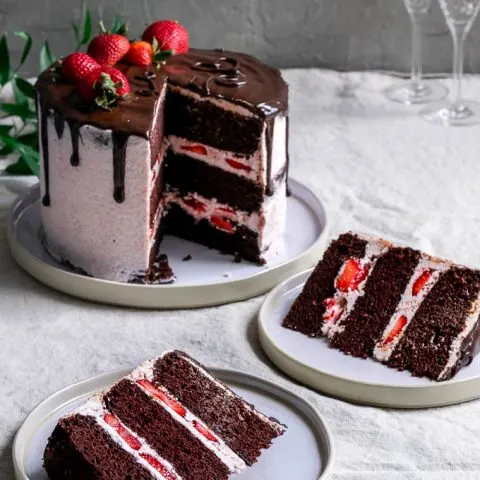
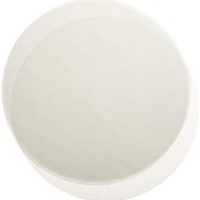
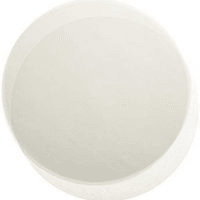
Making this chocolate cake is really simple. First, you want to get your oven preheating. Turn it to 350 ºF before starting anything else. You want it to be fully preheated by the time you’re mixing your wet ingredients together. Next, prepare your pan (or pans if you’re doubling or tripling the recipe). Spray the pan with a light coating of oil, then place a parchment paper round on the bottom of the pan. You can cut these out of your roll of parchment paper, but I like to buy these pre-cut 8″ round ones. Then set aside while you mix up your ingredients. You need a mixing bowl for the dry ingredients and another one for the wet. And then for equipment, an old fashioned wire whisk is all you need to make the perfect vegan cake. The dry ingredients get whisked in their mixing bowl until fluffy and well combined. Then the wet ingredients get whisked until smooth and slightly frothy. Add the wet ingredients to dry, getting every last bit out of the bowl with a spatula, then whisk until you have a smooth batter. Cleanup is really a breeze. Pour the cake batter into the pan (or divide it up between 2 pans if the recipe is doubled) and tap the pan on the counter about 3 times to release any big bubbles that have started to form with the reaction of the baking soda and the vinegar. Then stick the cake immediately into the oven, where it bakes for about 33 minutes. When fully baked the edges of the cake will pull away from the pan, and a tester will come out clean, or with a crumb or two attached. Cool the cake in the pan on a wire rack for 5 minutes, then place a rack on top of the pan and invert to release the cake. Peel the parchment off the bottom of the cake and then gently flip the cake to cool right side up. Let the cake cool completely before you even think about frosting. In fact, a room temperature cake isn’t good enough, you want to chill your cake in the fridge before frosting. To store your cake, place it on a cardboard round and then tightly wrap up in plastic wrap. Leave it in the fridge to chill. A cold cake is easier to frost because it forms less crumbs and it also is firmer in texture. This cake is frosted with a deliciously fluffy vegan strawberry Italian meringue buttercream which I highly recommend you check out! You can also make it with a plain Italian meringue buttercream if you aren’t feeling the strawberries. In the meantime you can go ahead and bake 1 or 2 or 3 of these chocolate cakes up and chill them in the fridge to get ready! I hope you guys enjoy this recipe! Let me know how it goes if you make this easy vegan chocolate cake! And don’t forget to tag your recreations @thecuriouschickpea and #thecuriouschickpea on Instagram! I love seeing your photos! Like what you see? Follow along on Instagram, Facebook, and Pinterest!
Note:
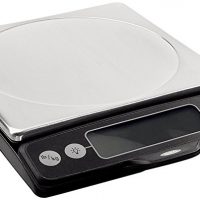
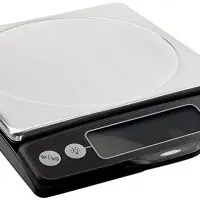
I recommend weighing your ingredients for best results. If you do not have a kitchen scale (this is the scale I use, but there are cheaper ones!) then you want to properly measure your flour. For my recipes this means whisk the flour, scoop, then level. Also note that I use American cups which at 240 mL per cup are slightly smaller than British cups.
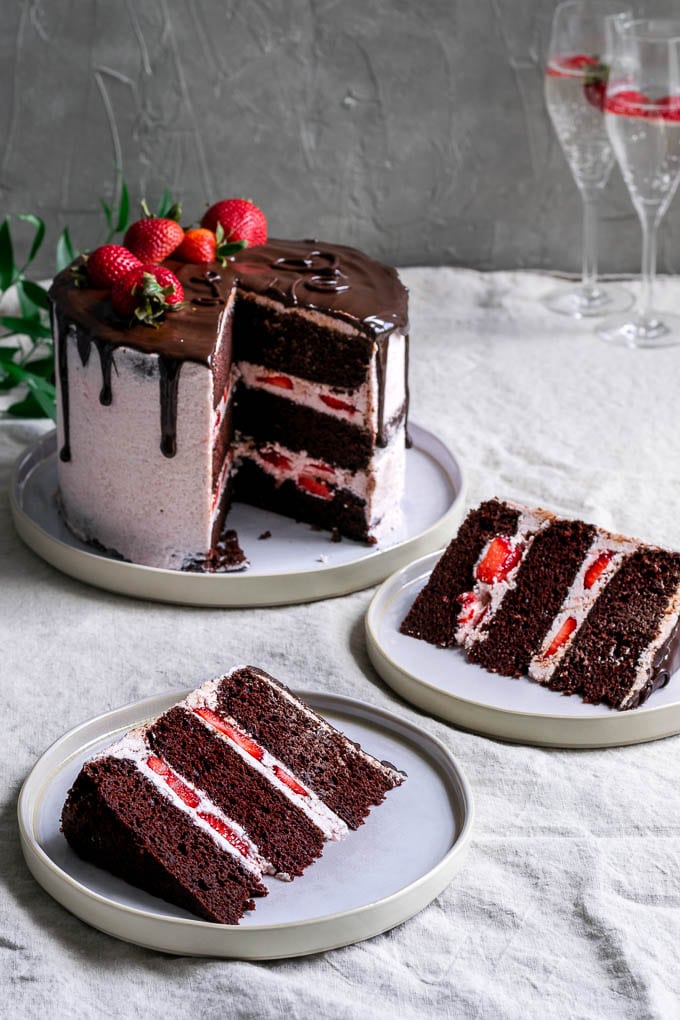
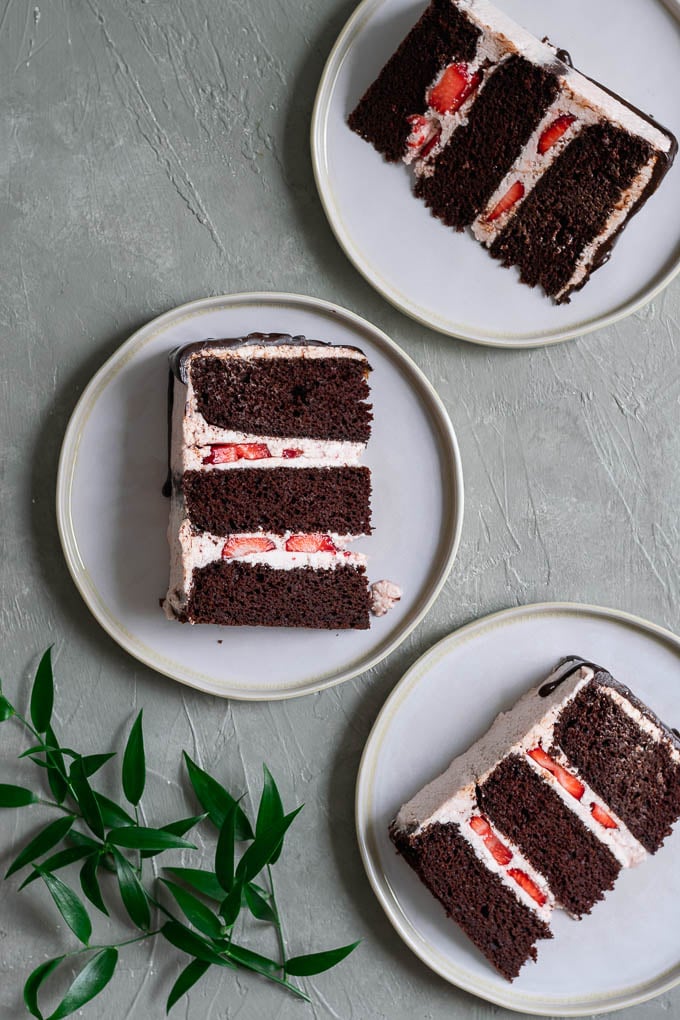
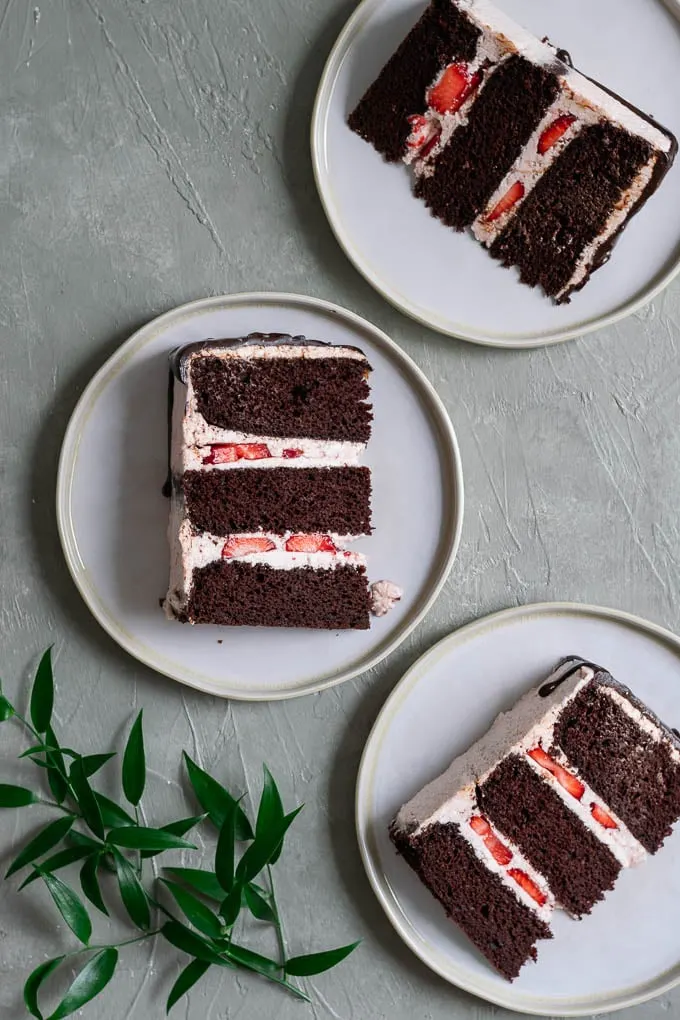
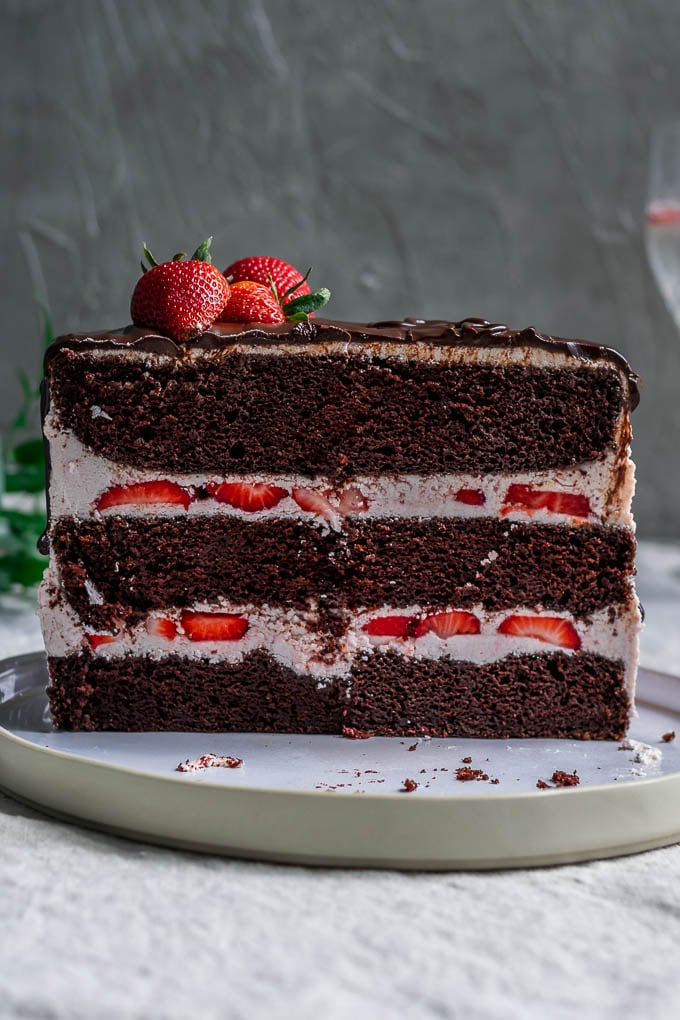
You can bake the cakes in a 9" pan, just decrease the baking time by about 3 minutes. The cake is frosted with a strawberry Italian meringue buttercream.
Wilton 8-Inch Cake Circle, 12-Pack OXO Good Grips Stainless Steel Food Scale with Pull-Out Display, 11-Pound Regency Wraps Parchment Paper Circles - 8" Nielsen-Massey Pure Chocolate Extract, with gift box, 4 ounces