I didn’t like sugar cookies with royal icing for years but that’s only because I had only ever tried ones that tasted like cardboard with an edible cement icing on top that was hard enough to break a tooth. But then my friend Tiffany entered my life with her delicious edible works of art and showed me that there was a way to have your cake (erm, cookie?) and eat it too. Tiffany made fancy sugar cookies for my oldest daughter’s birthday, but then she moved. So I finally had to figure out royal icing for sugar cookies on my own. But armed with this classic royal icing recipe and my favorite cut out sugar cookie recipe, I realized it’s much more doable than I previously thought!
Myths About Royal Icing
I had some pretty strong misconceptions going in to this endeavor. Such as:
You need to be an artist to create a beautiful sugar cookie decorated with royal icing. Totally not true. I mean, it’s not like I’m attempting intricate designs or heading to Cookie Con any time soon (yes, there is a convention for cookie artists!). But to make cute, easy cookie designs? You got this. Getting just the right consistency is practically impossible and one drop of water too much will cause your icing to run everywhere. False. Yes, thickness or fluidity is important when decorating sugar cookies with royal icing, but it can be demystified by knowing that the two main consistencies used are a thicker piping consistency (think the consistency of toothpaste or really soft cream cheese) and a thinner flood consistency (think the consistency of honey or shampoo).
What is Royal Icing?
Royal icing is a sweet, hard icing made from powdered sugar, egg whites or meringue powder, and flavorings like vanilla or a squeeze of lemon juice. It is used to decorate sugar cookies, gingerbread cookies, or a gingerbread house. Royal icing dries out completely and almost makes sugar cookies look too perfect. Ya know, if they are decorated by a pro with mad piping and flooding skills instead of somebody like me with a shaky hand and general lack of patience for precision and perfection when I just want to be cramming the dang cookies in my mouth already!.
What You’ll Need
Scroll down to the recipe card below this post for ingredient quantities and full instructions.
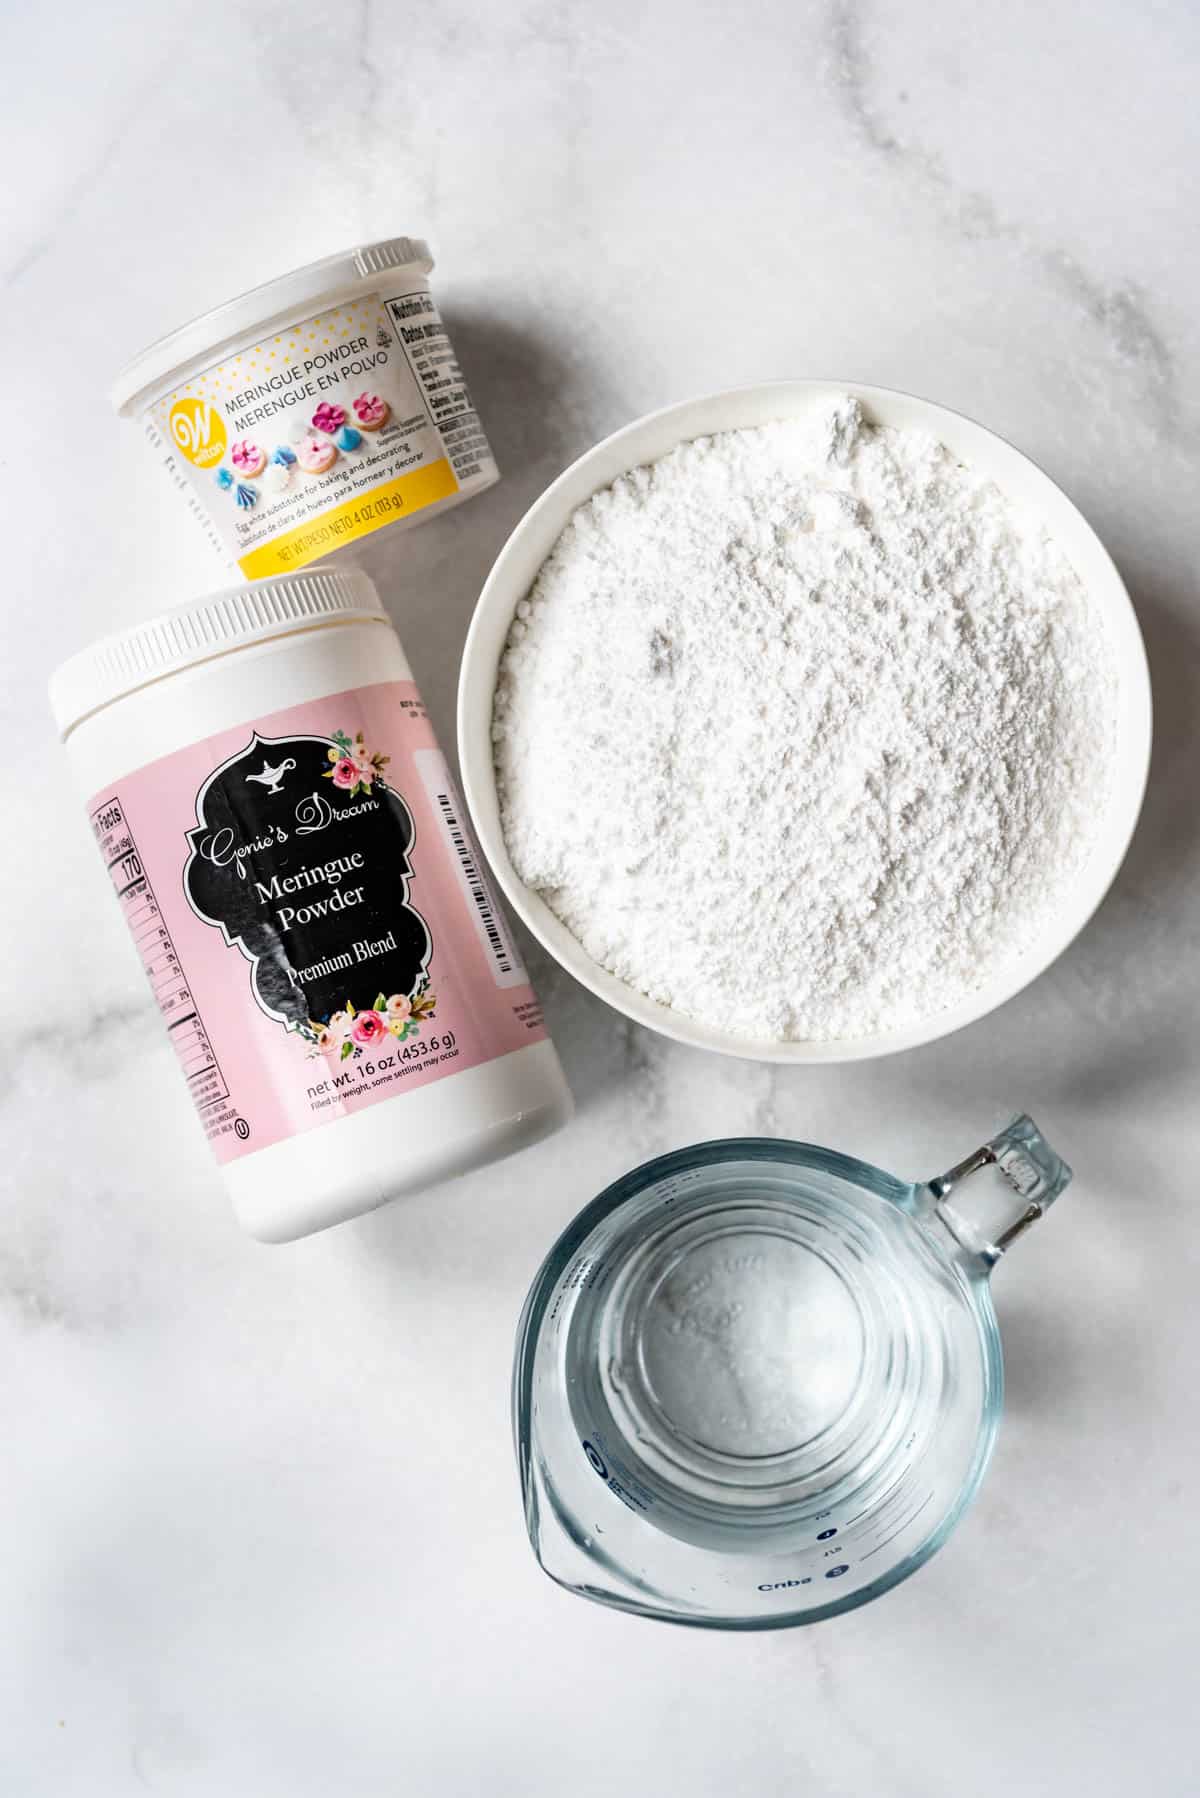
Meringue powder – This ingredient is easy to find at grocery stores, craft stores or you can order it online. My favorite brands are Wilton and Genie’s Dream. Powdered sugar – Also known as confectioners’ sugar, if it’s lumpy you might want to sift it first before mixing with the meringue powder and water. Water – For best results, use room temperature or slightly warm water. Optional flavorings – You can add vanilla extract, mint extract, almond extract, or other flavorings to your royal icing if you want.
How to Make Royal Icing
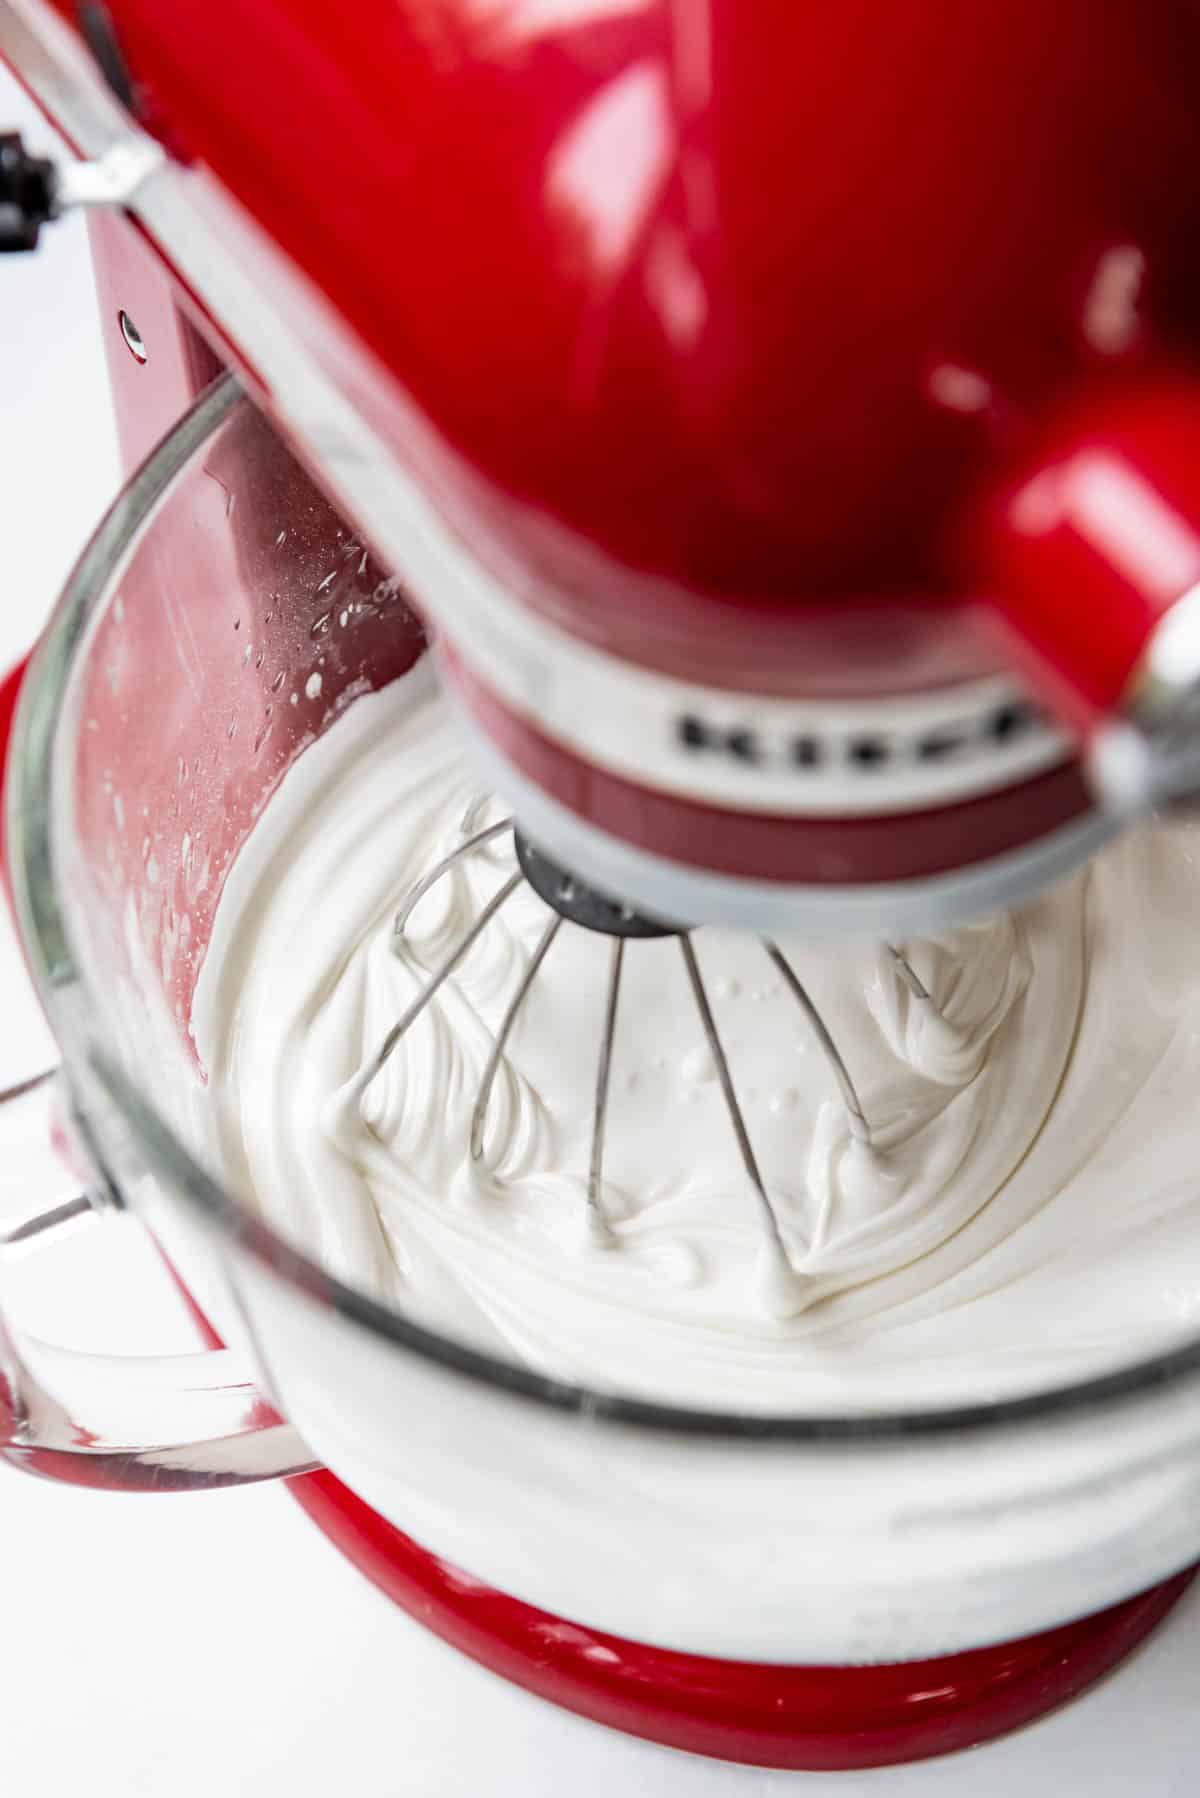
Add the powdered sugar and meringue powder to a large bowl and whisk them together. I like to use my KitchenAid stand mixer fitted with the whisk attachment but the paddle attachment or hand mixer will also work. Add the water and vanilla extract while the mixer is running on medium-low speed. Then increase to medium-high speed until it forms stiff peaks and the icing loses some of it’s glossiness, about 5 minutes. I don’t like using high speed because I feel like it adds too much air to the royal icing.
Thick vs. Thin Royal Icing
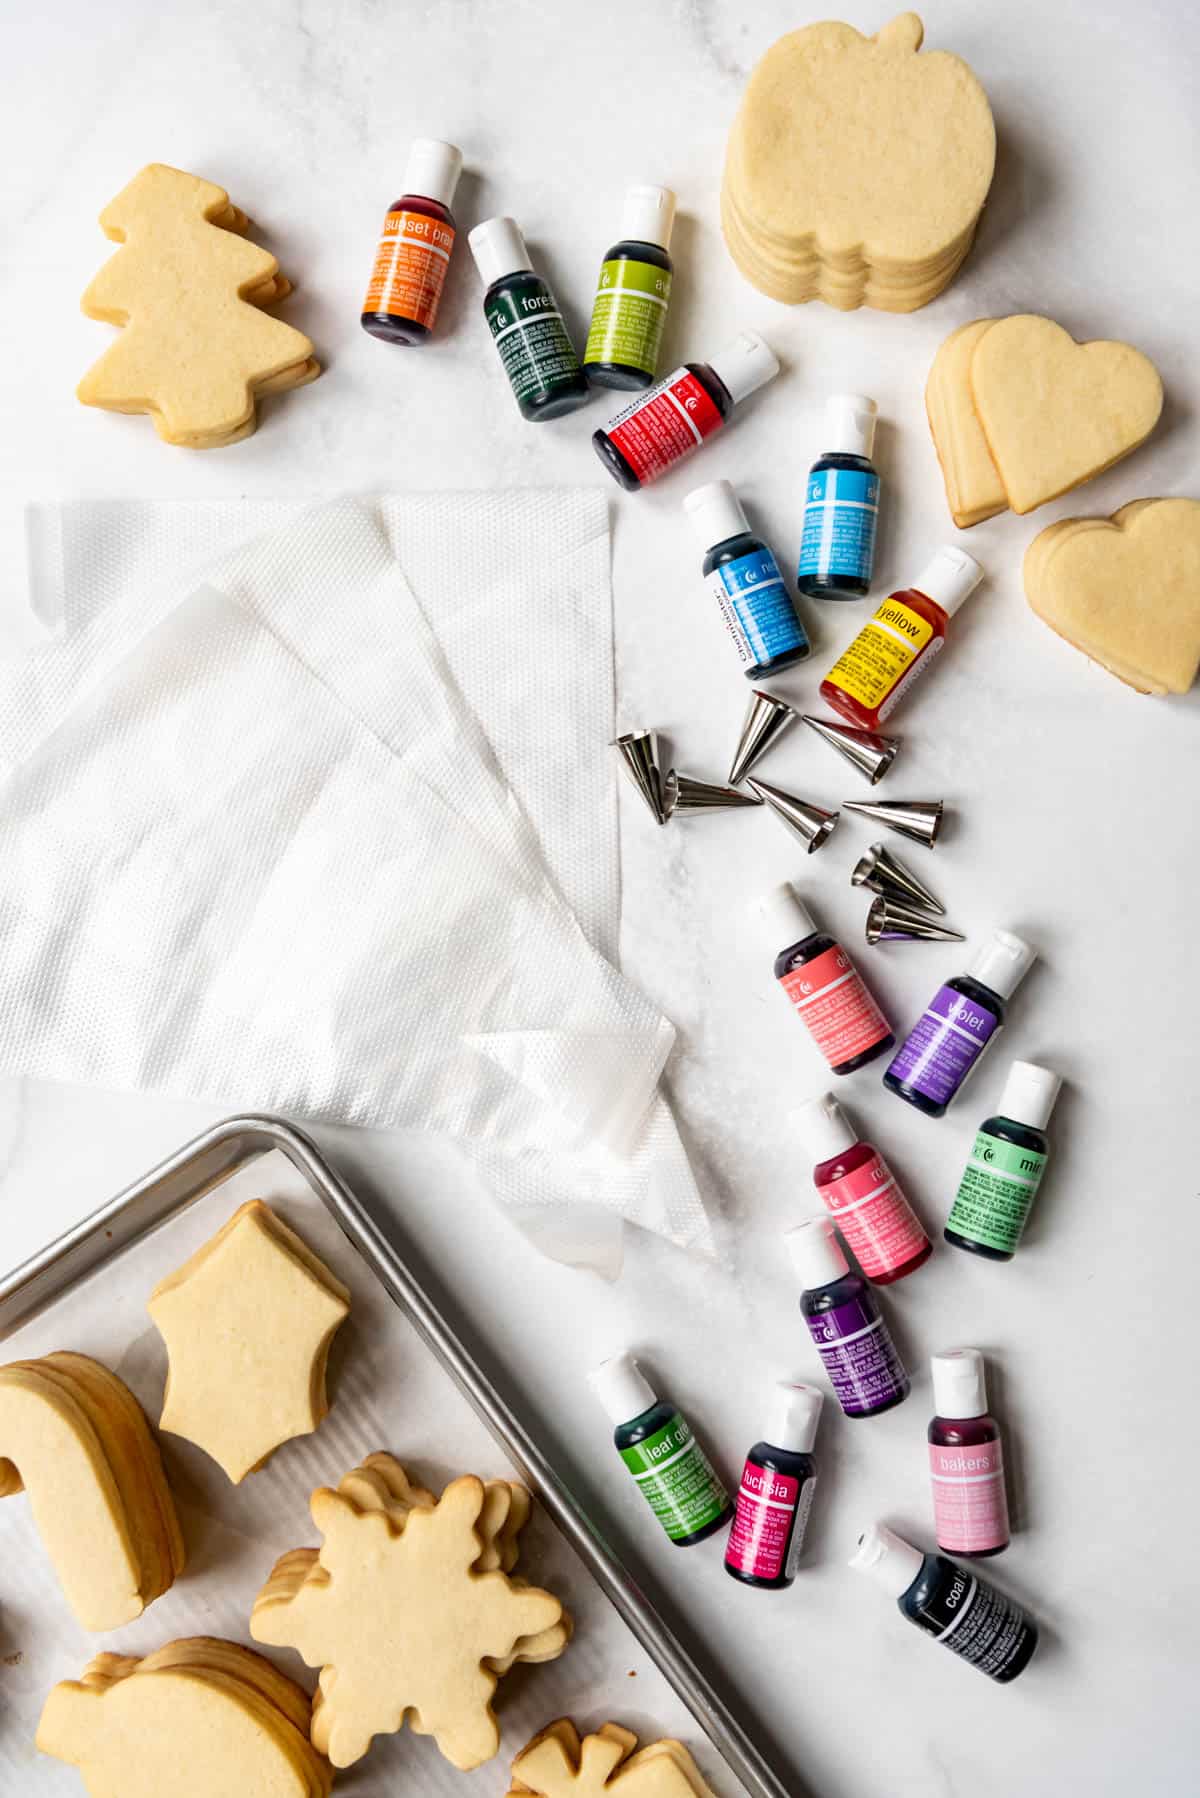
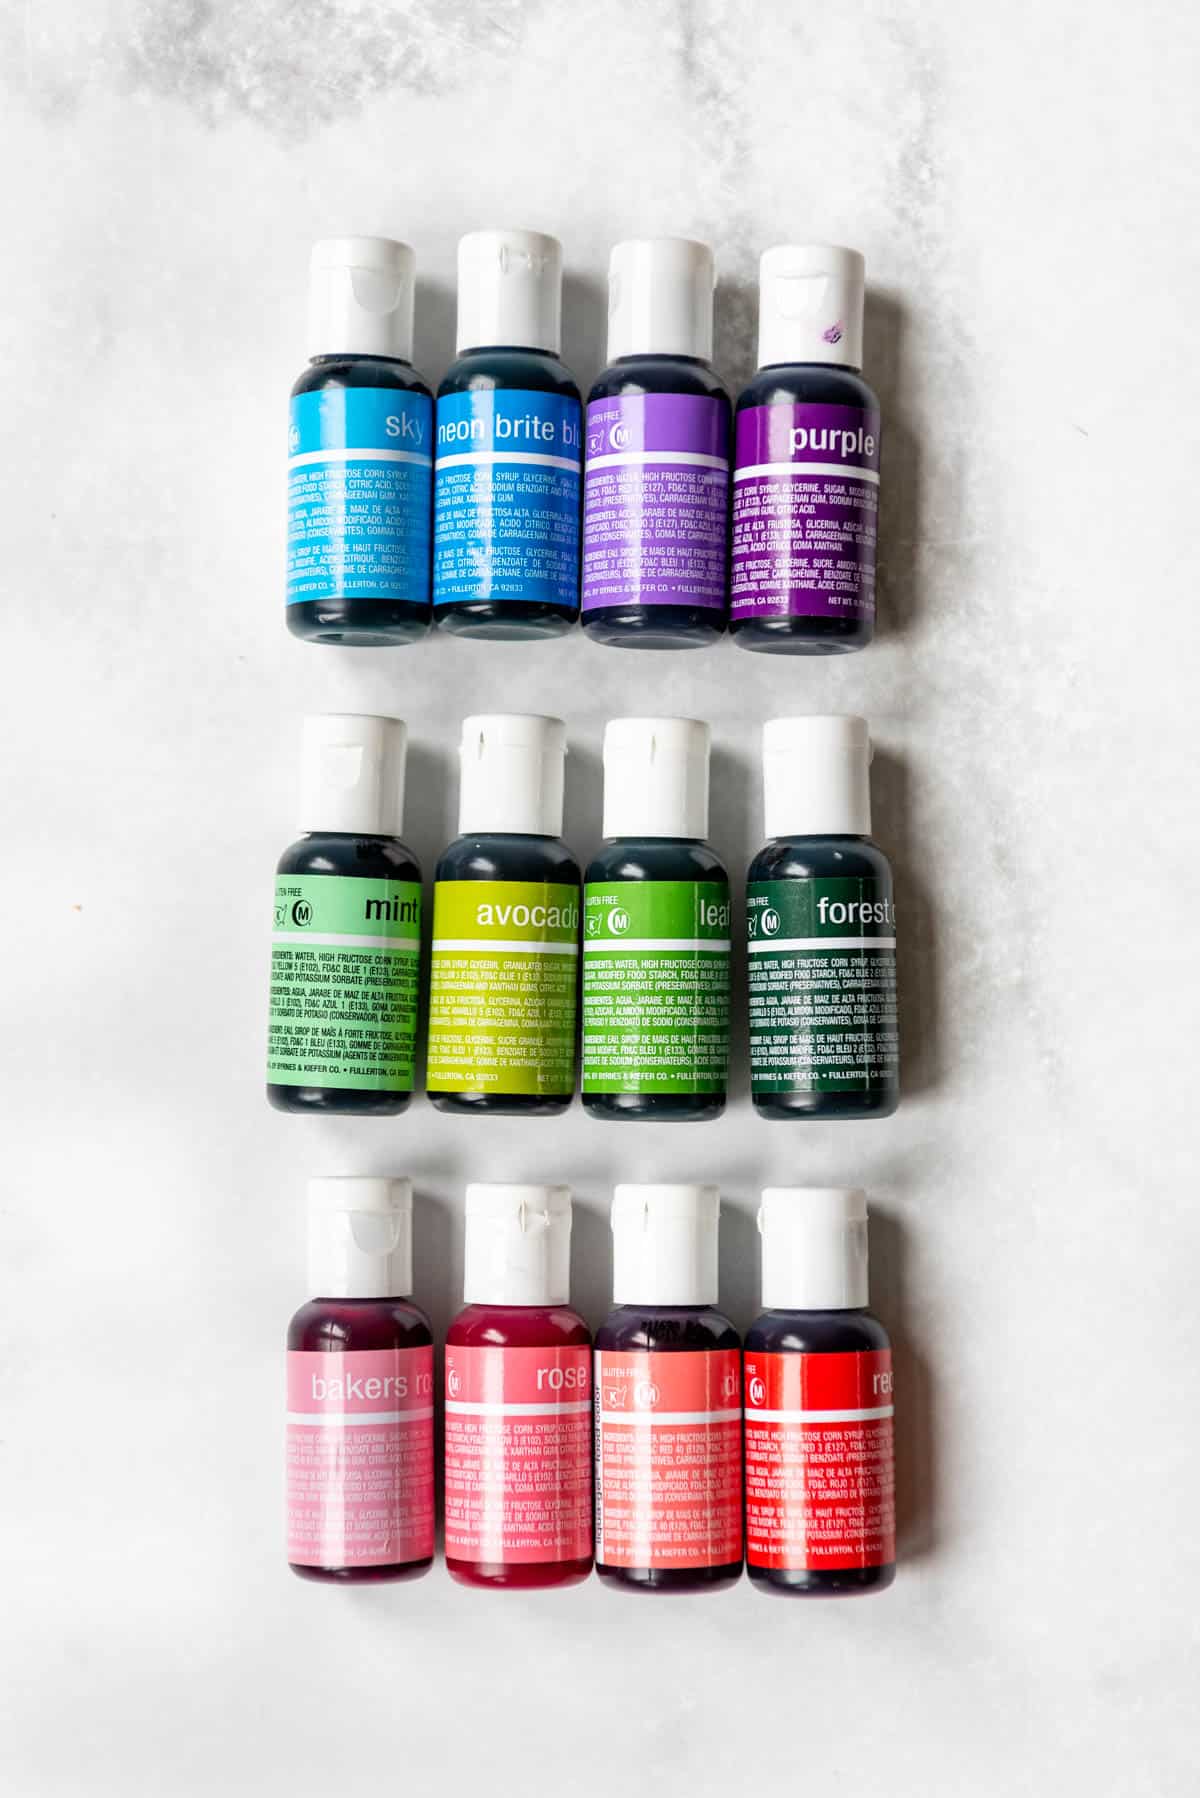
I like to start off with a stiffer, thick consistency icing because it’s easy from there to thin the icing out to a flood consistency just by continuing to add a little water. A thicker royal icing should be spreadable and easy to pipe. It reminds me of the consistency of toothpaste or very soft cream cheese. To color the icing, divide it between separate bowls for each color you want. Mix in gel food coloring (affiliate link) (I prefer AmeriColor or Chefmaster colors) until you get the shade you want. Once colored, you can use the thick icing to pipe borders to decorate your cookies or go ahead and thin out the icing to a flood consistency by adding additional water a little at a time and stirring well after each addition. For flooding, the royal icing should be thinned out enough to melt in on itself in about 10-15 seconds when you run a knife through it. If you go too far and add too much water to your flood icing it will be too thin. But you can save it by adding a spoonful or two of the thicker consistency icing and mixing that in.
Using Thick Royal Icing
When I was just starting out with royal icing, I found it much easier to use thick royal icing to pipe borders around the edges of my cookies, then fill them in with thinner flood icing. The thicker icing border helps create a barrier to hold in the flood consistency icing, which is advantageous if your flood icing is a little thinner than you meant it to be. The thicker consistency royal icing can also be good for piping some details on more intricate designs. The main downsides of this approach is that it takes a little more effort and forethought, and the border of thicker icing is sometimes visible in the finished cookie. It’s also less forgiving if you have a shaky hand, but it’s a great learning approach if this is your first time using royal icing.
Using Flood Consistency Royal Icing
Alternatively, you can thin out all of your icing to flood consistency from the get-go and use it to both outline and fill your cookies by piping the border with flood icing and then immediately “flooding” the middle of the cookie to fill it in. I recommend using a toothpick or scribe tool to fill in gaps between the border and the flooded center or to pop any air bubbles, if needed. The upside of this approach is that your border will completely blend in with the flooded center and be invisible. Also, you avoid the nuisance of having to make two consistencies of every icing color by using flood consistency for all your decorating. The main downside is the risk that your flood consistency icing is too thin and it could run off the edge of the cookie. However, this is my preferred method because once you have figured out the right flood consistency you shouldn’t have any problems with your icing being too thin.
How to Decorate with Royal Icing
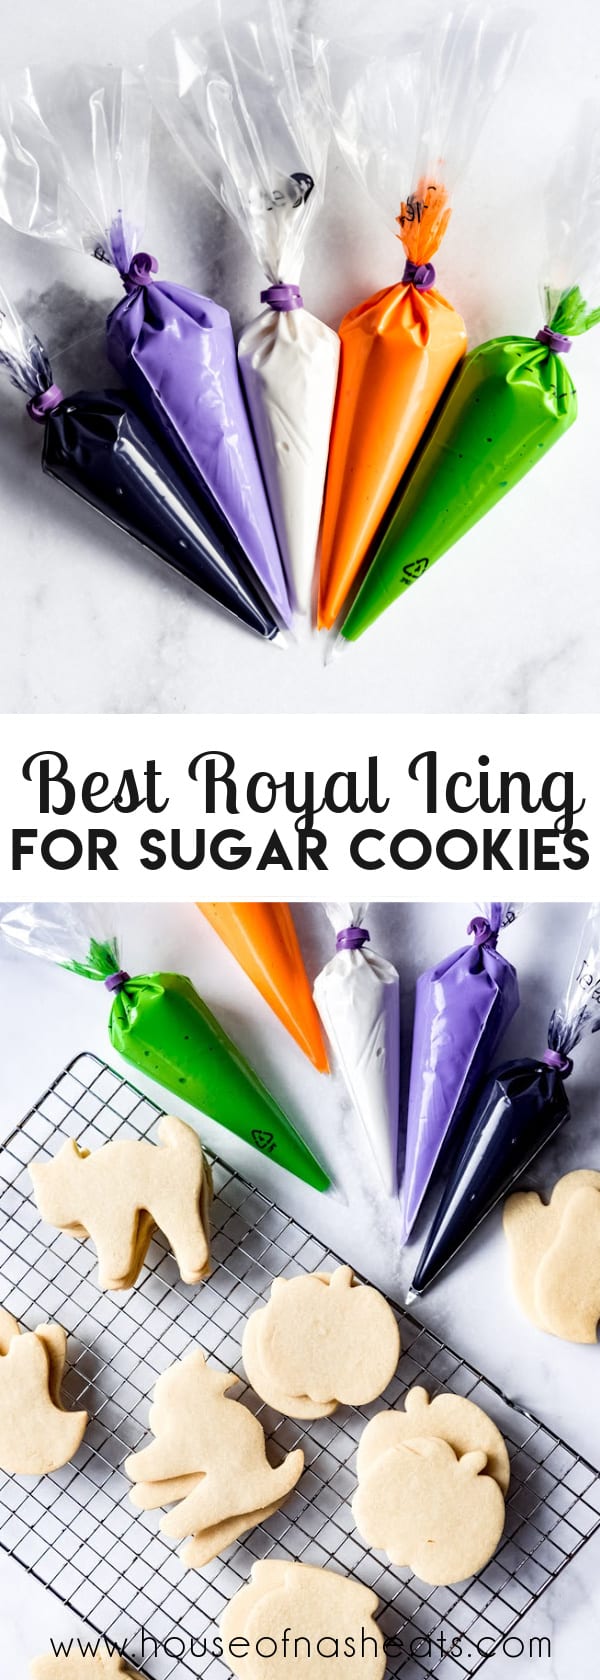
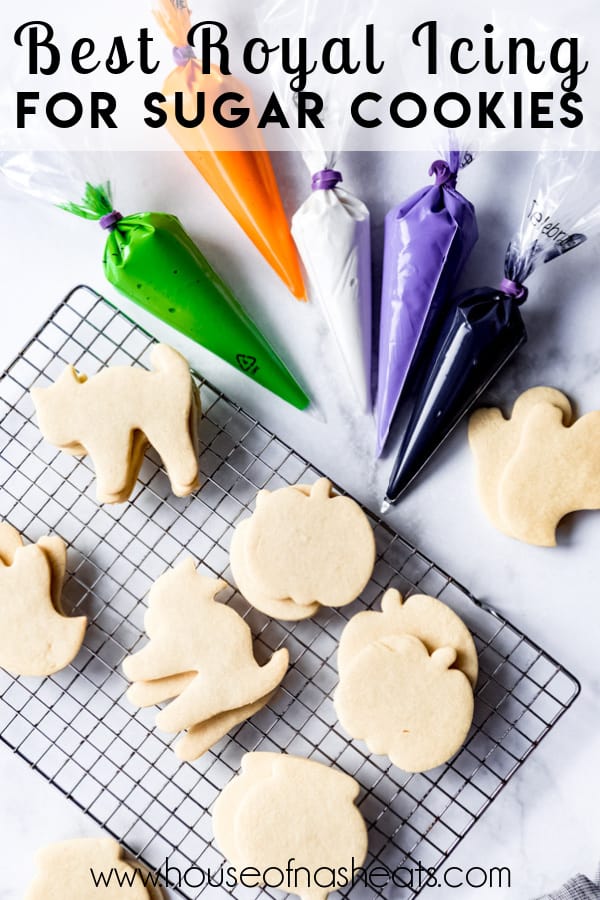
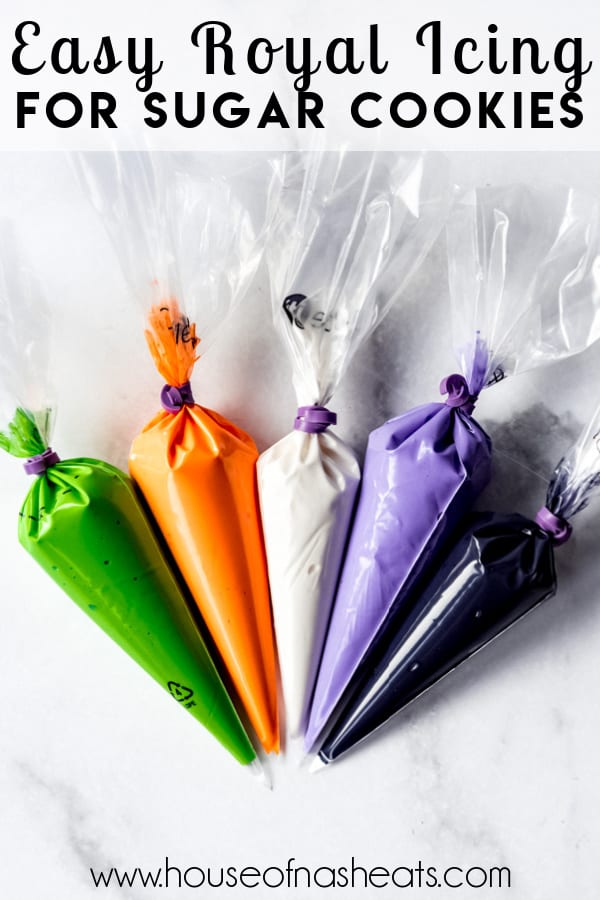
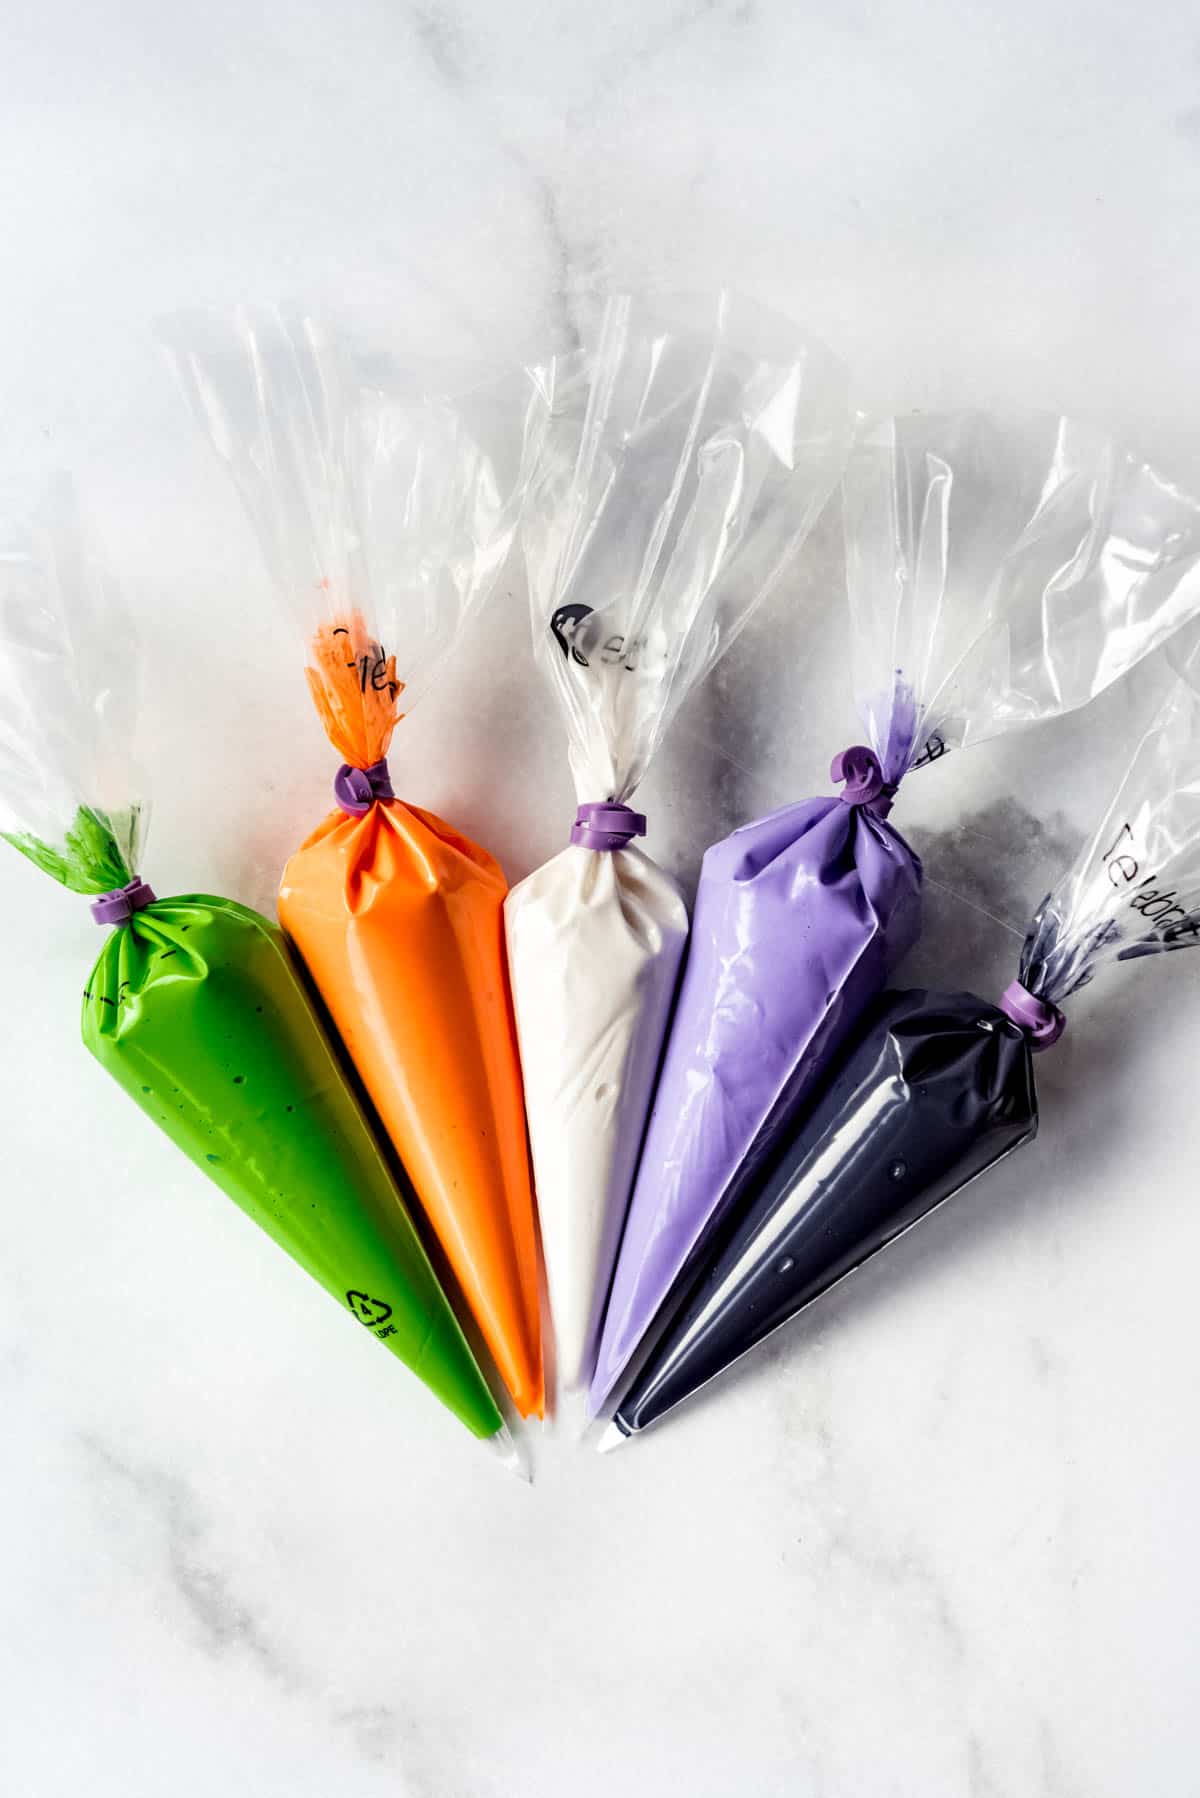
Once your icing is ready to go, transfer it to a piping bag or even a ziploc bag for decorating your sugar cookies. You can use a small piping tip if you have them, or just snip a tiny corner of the bag instead. Just start really small when snipping off the corner of the bag since it’s not like you can undo things if you snip too much and get too heavy of a flow, which will make it difficult to pipe borders around your cookie edges. For borders, I find that it is easier to hold the piping bag slightly above the cookie so that the icing sort of just falls onto the cookie instead of dragging the tip right along the surface. You’ll get cleaner lines this way. It’s sort of like laying down a thin rope of icing along the edge and you can practice on a piece of plastic wrap or plate to get the hang of it before you actually start in on a cookie. Also, if you have a shaky hand like me, it helps to stabilize your arms by resting them on the edge of your work surface.
Wet-on-wet technique
This technique is where you pipe a second color right on to the still-wet first layer of royal icing so that the design melts together. I used this technique to add eyes and mouths for the ghosts in the pictures below. A favorite easy design using the wet-on-wet method is polka dots which you can make by piping dots of a contrasting color onto the still wet flood colors covering your cookie.
Wet-on-dry technique
This approach requires a little more patience because you will pipe part of your design, then let it harden for an hour or two before piping on additional design details. You can see wet on dry technique in action in the image of holly leaves and pumpkins below.
Tips for Success
If you cannot find meringue powder or would rather use raw egg whites, you could just replace both the water and meringue powder called for in the recipe with 3 large egg whites. Use clear vanilla extract if you have it to avoid tinting the icing. This will help it keep a pure white look. If your icing it too thin, don’t just add in more powdered sugar. Instead, add some of the thicker consistency icing to save it. Keep in mind that it is easier to thin out icing by adding a little extra liquid and more difficult to thicken the icing, so go slowly adding more water until you get the consistency you like.
Can I freeze royal icing?
Yes! Royal icing can be frozen for up to 2-3 months. It’s a great way to plan ahead or to save any leftover icing you have after making sugar cookies. Just be sure to seal each color separately in a freezer-safe, airtight container or bag before freezing it. Then when you are ready to use it, just transfer the icing to the fridge to thaw overnight and let it come to room temperature on the counter the next day and use like normal. Sugar cookies decorated with royal icing can also be frozen as long as the icing has had time to set completely first. Just thaw at room temperature before enjoying.
More Dessert Recipes
Double Lemon Glazed Cookies No-Bake Chocolate Eclair Cake Best Red Velvet Cake French Fruit Tart
More Favorites from House of Nash Eats
This post was originally published in April, 2018. The photos and content were updated in November, 2022.
Chocolate Cut Out Sugar Cookies
Mint Chip Sugar Cookies
Oatmeal Rolled Sugar Cookies
Let me know what you thought with a comment and rating below. You can also take a picture and tag me on Instagram @houseofnasheats or share it on the Pinterest pin so I can see.