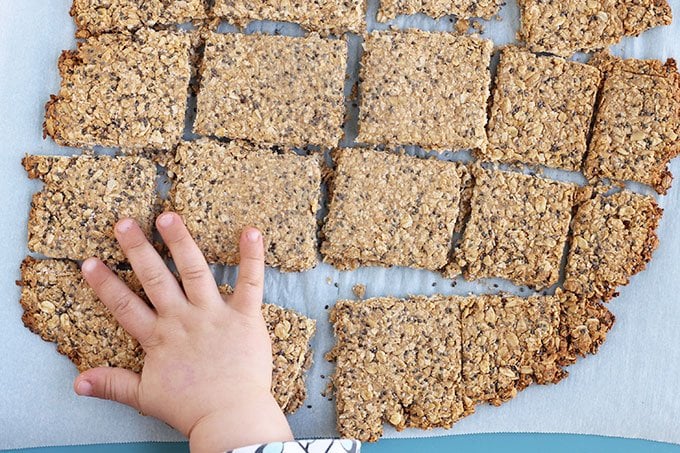
Homemade Granola Bars
These bars are seriously delicious—and versatile. They’re a great way to save money on groceries (since a batch is much less than buying a similar amount of store-bought bars) and you can vary the flavors by adding fruit or veggie puree. Plus, they’re loaded with nutritious ingredients and minimal sweeteners, so they’re a satisfying healthy snack for kids. The texture is a nice balance of crisp edges, but a softer texture. And the flavor is so, so good!
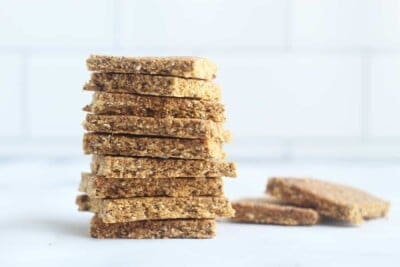
Soft-Baked Granola Bars
I made these granola bars regularly when my middle child was one—she loved nibbling them—and I always shared them with her. There’s a subtle peanut butter flavor in this healthy bar recipe, though you can trade in almond butter or sunflower seed butter if you prefer. The nut or seed butter adds healthy fats, which help this bar satisfy those little bellies longer. TIP: This recipe is super streamlined for busy parents and stores nicely.
Ingredients You Need
Here’s what you’ll need to make this recipe:
Rolled oats Shredded unsweetened coconut Flour Chia seeds Honey Nut or seed butter
TIP: You can use you can use gluten-free flour if needed.
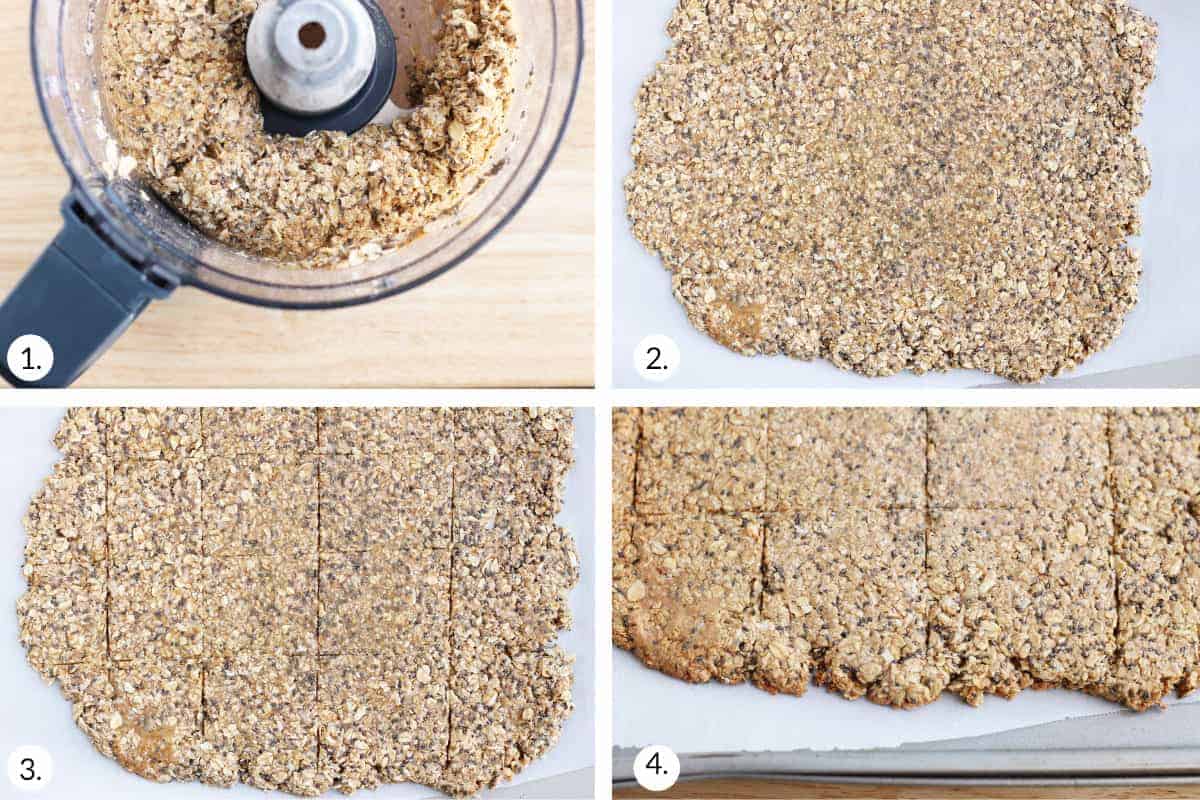
Step-by-Step Instructions
Here’s a look at the easy process involved in making this granola bar recipe. Scroll down to the bottom of this post for the full recipe. TIP: In Step 1, you’ll see the batter start to pull together and you can also check it by squeezing a bit between your fingers—it should be sticky enough to hold together when you squeeze it. Add a little more water or puree if it’s not quite sticky enough.
Can I make these without chia seeds?
Sure! See the variation at the bottom that calls for omitting them and slightly increasing the nut butter. This keeps a good amount of healthy fats to ensure that the bars hold together and that the kids get a nicely balanced snack.
Can I make these gluten-free granola bars?
These bars are naturally egg-free and dairy-free. They’re also easy to make gluten-free by choosing gluten-free oats and a gluten-free flour blend.
How long do these healthy granola bars last?
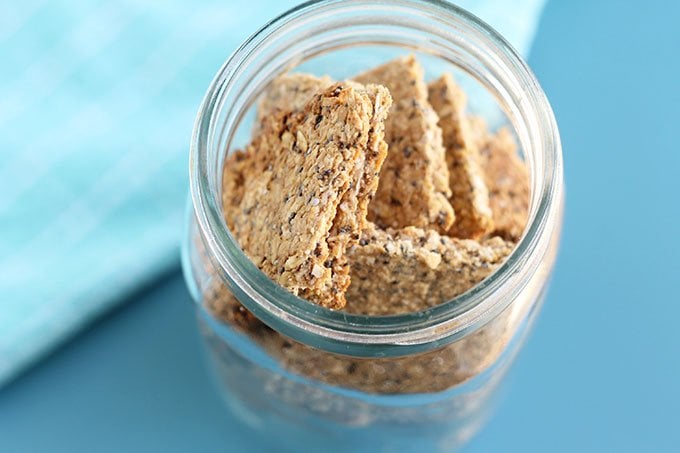
I store our homemade granola bars in the fridge (because I like them cold) in an airtight container and serve them up until we run out.
In the fridge in an airtight container, they’ll stay fresh for about two weeks. At room temperature in an airtight container, they’ll last about 1 week. In the freezer, you can place cooled bars in a sealed zip top freezer bag for up to 3 months. Thaw overnight in the fridge before serving.
Can I freeze granola bars?
Yes, this granola bar recipe freezes really well. Simply let them cool and place into a zip top freezer bag. Freeze for up to 3 months. Thaw in the fridge or at room temperature, or directly in a lunchbox.
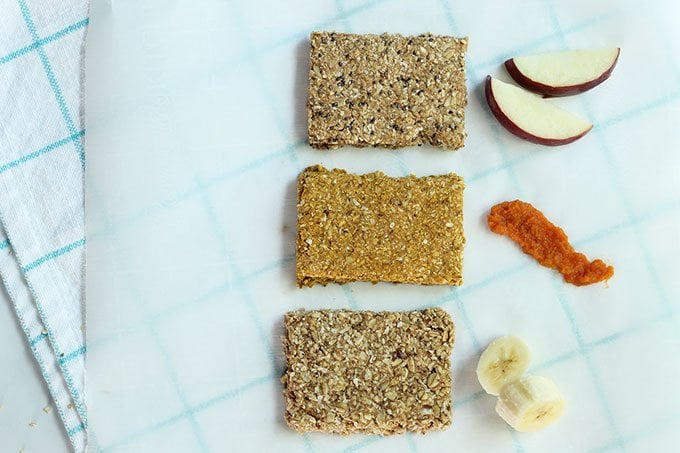
Flavor Variations
I’m so happy that a reader suggested this because it works so well to use a fruit or veggie puree instead of water in the original recipe! I’ve tried making Applesauce Granola Bars, Banana Granola Bars, Butternut Squash, Sweet Potato, and Pumpkin Granola Bars. Look in the Notes at the bottom of the recipe for the info.
Best Tips for Success
For kids under one, you can substitute brown rice syrup for the honey. You can also try using applesauce. You can make them in the basic flavor, or banana, apple, sweet potato, butternut squash, or pumpkin. To make these without coconut, omit and use additional oats. To make these without chia seeds, omit and increase the nut butter to ¼ cup. To make this without a food processor, use quick or instant oats and stir everything together. (Or grind the oats and coconut in a blender, then stir the ingredients together in a bowl) Add chocolate chips to this recipe by pressing a few into the top of the rolled out batter just before baking. Use room temperature honey and nut or seed butter to make the batter come together easily, or warm them briefly. Wet your fingers or use a piece of parchment to press the batter down if it’s sticking to your hands. You may also like No-Bake Granola Bars, Breakfast Bars, my Easy Oatmeal Bars, and my 3-Ingredient Cereal Bars.
I’d love to hear your feedback if you try this recipe so please comment below to share!
This post was first published Jun 2017.