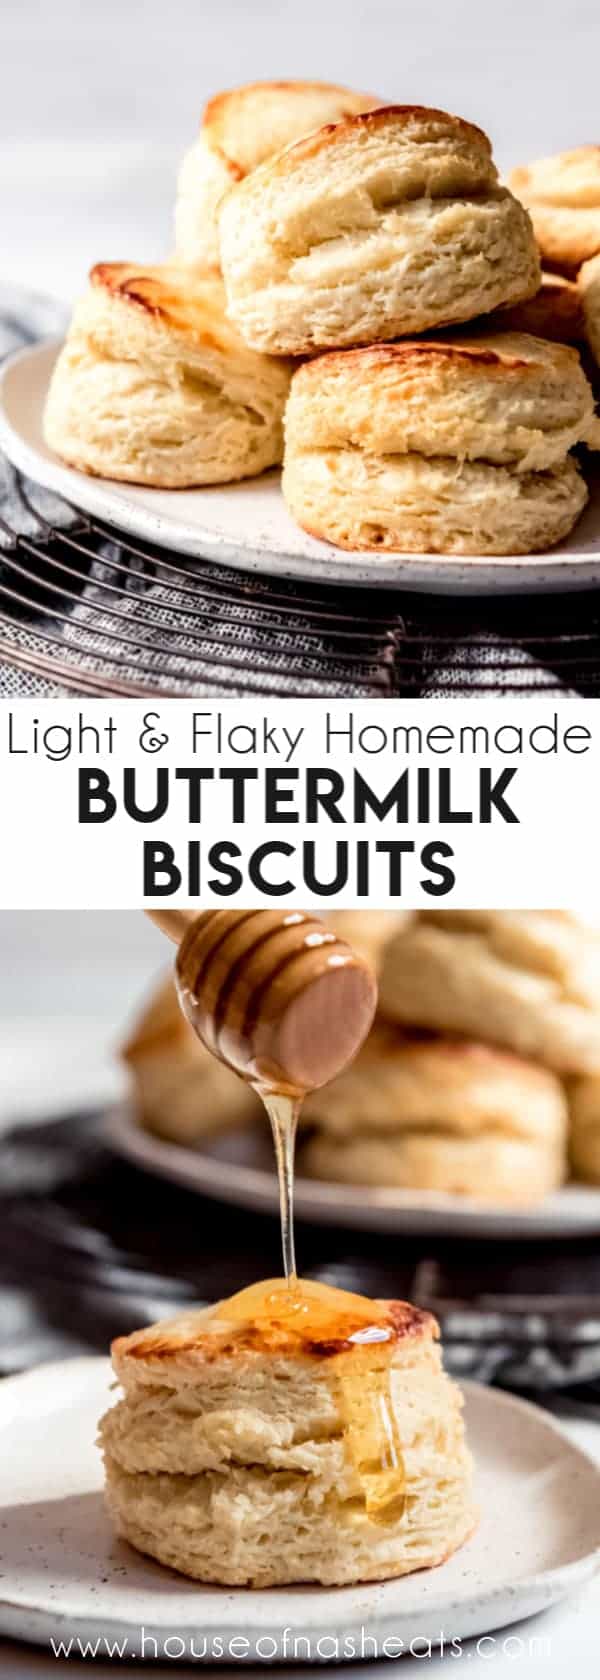
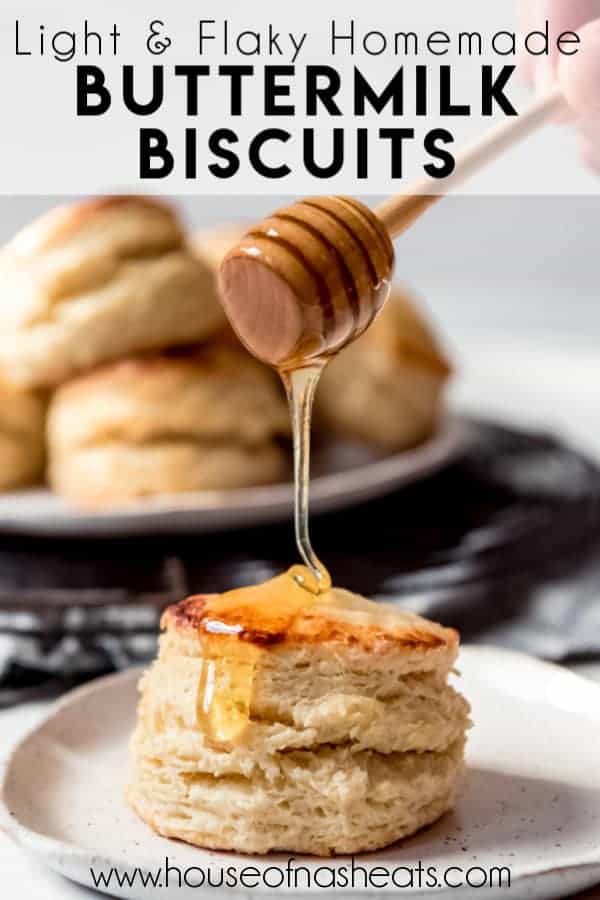
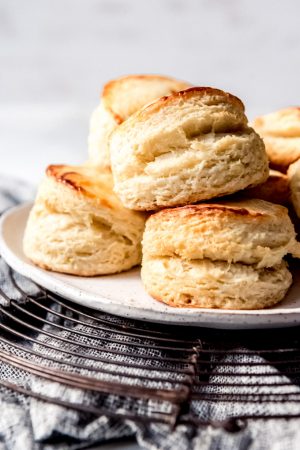
The BEST Buttermilk Biscuits
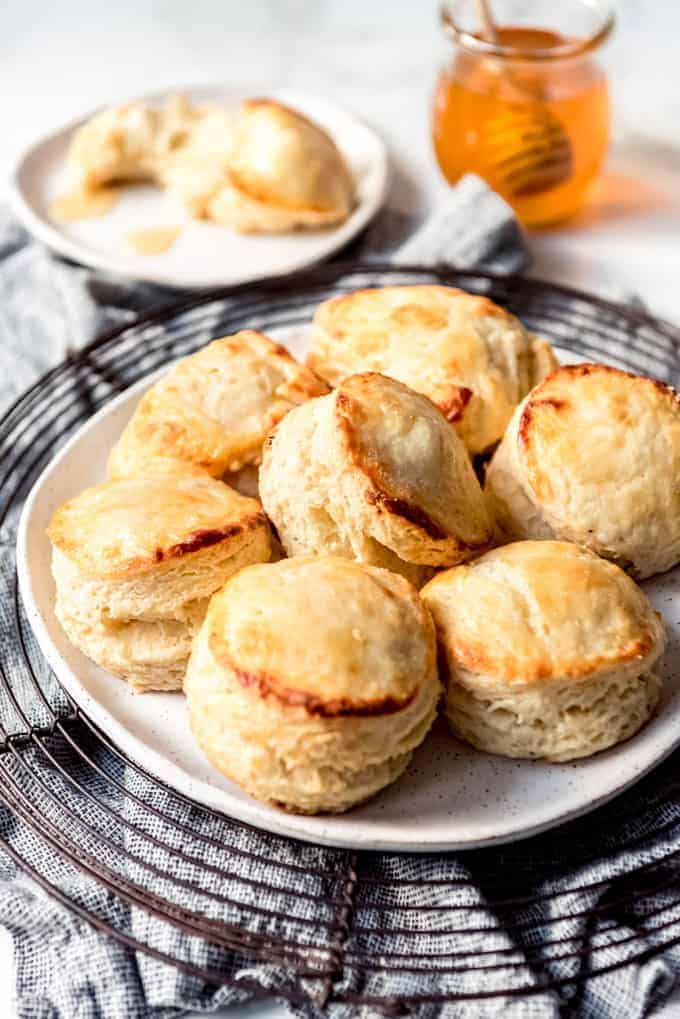
Nothing can compare to a batch of homemade buttermilk biscuits made with a handful of fresh, real ingredients. This buttermilk biscuits recipe makes tall, fluffy biscuits that are far superior to the refrigerated cans of biscuit dough from the store and they are ready in under 30 minutes!
Easy Buttermilk Biscuit Recipe ingredients
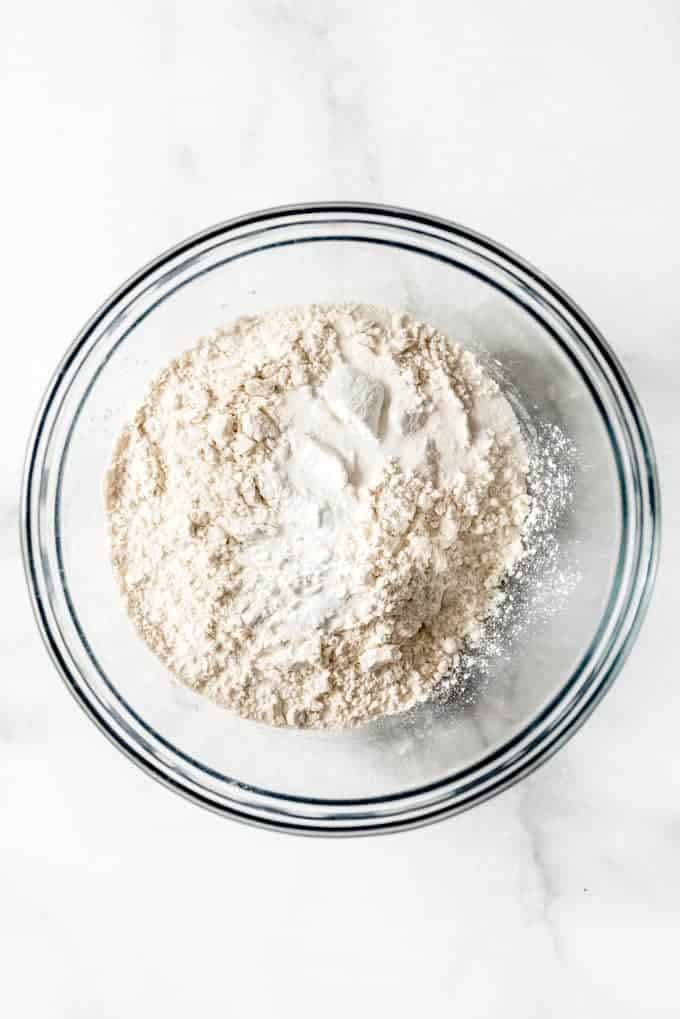
All-purpose flour Baking powder Baking soda Salt Sugar Butter Buttermilk
What is a substitute for buttermilk?
An easy substitute for buttermilk can be made in about five minutes. Just add 1 tablespoon of lemon juice or vinegar to a 1 cup measuring cup, then fill the rest of the way with milk (preferably whole milk). Stir, then let it sit for 5 minutes and use in almost any recipe as a buttermilk replacement! Other substitutes for this particular recipe would be plain milk, which will work almost just as well, although you won’t have quite the same flavor as biscuits that are made with tangy, rich buttermilk. Or you could use one cup of plain yogurt. Greek yogurt thinned out with a little milk would probably work as well, although I haven’t tried that one.
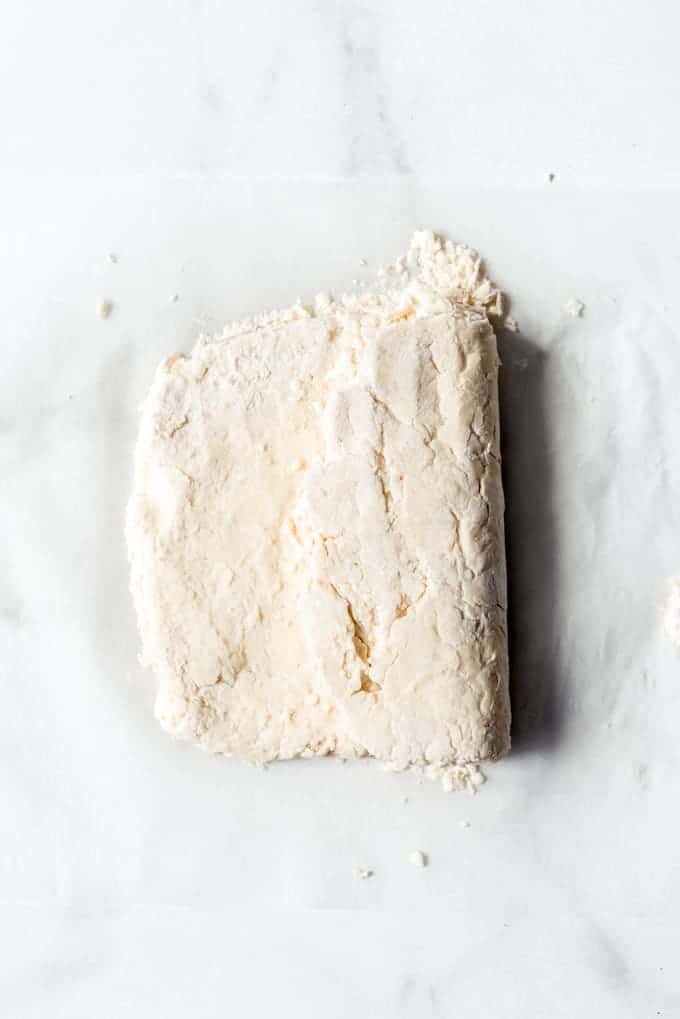
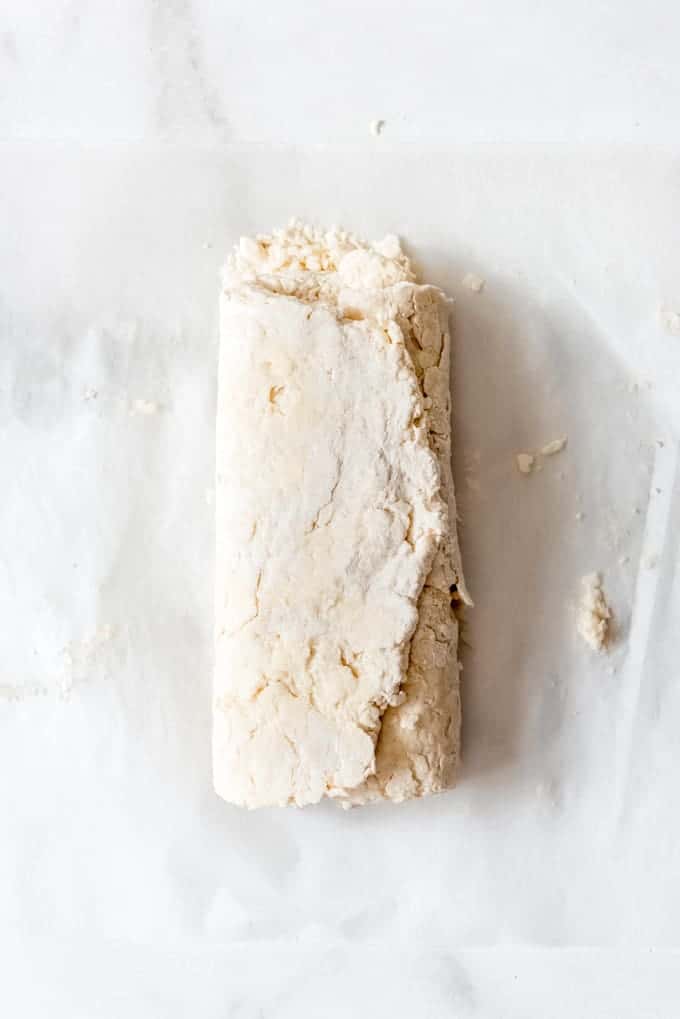
How to make Buttermilk Biscuits from Scratch
Homemade Buttermilk Biscuits tips
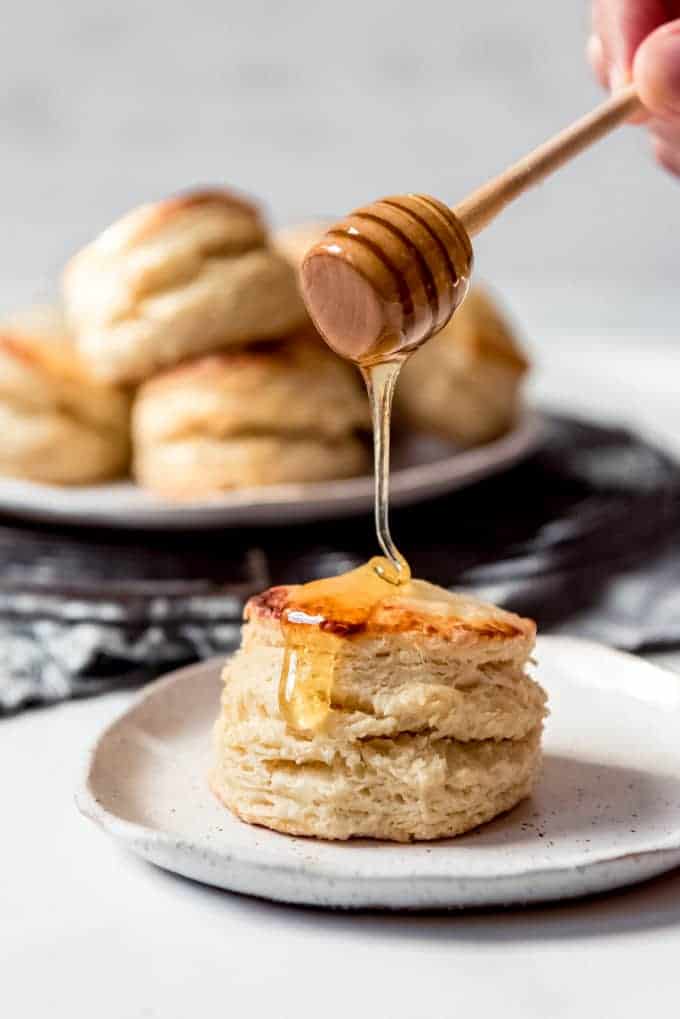
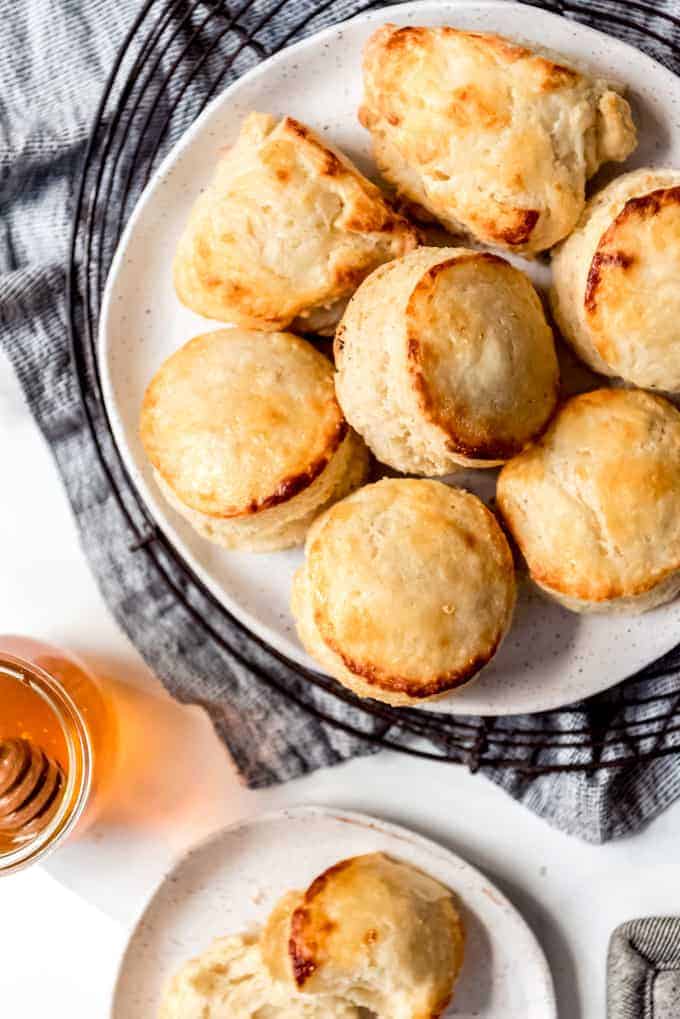
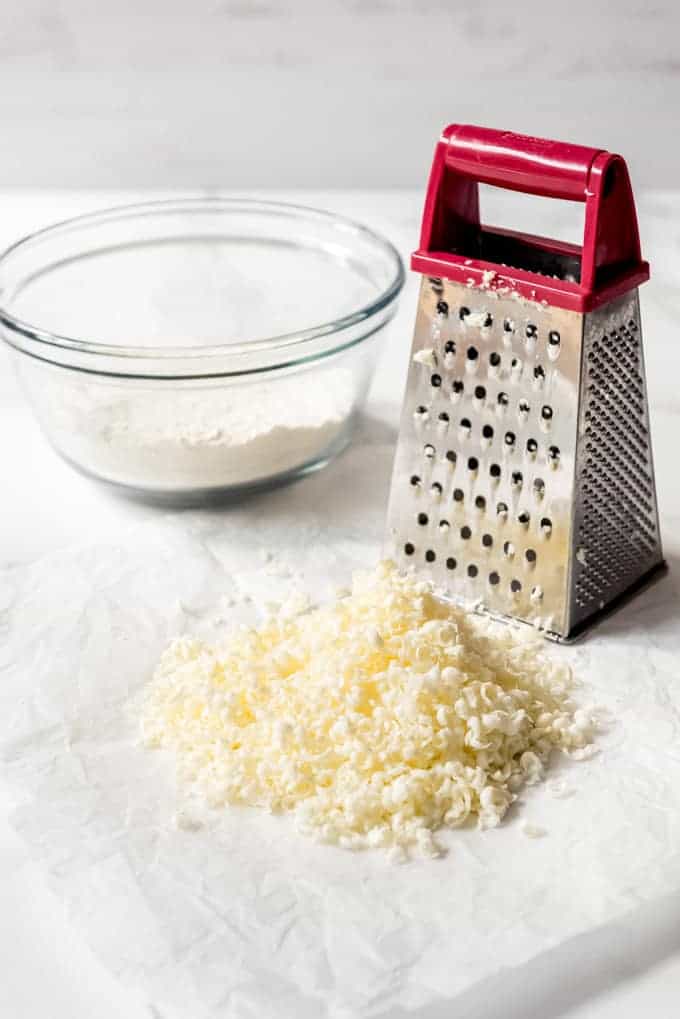
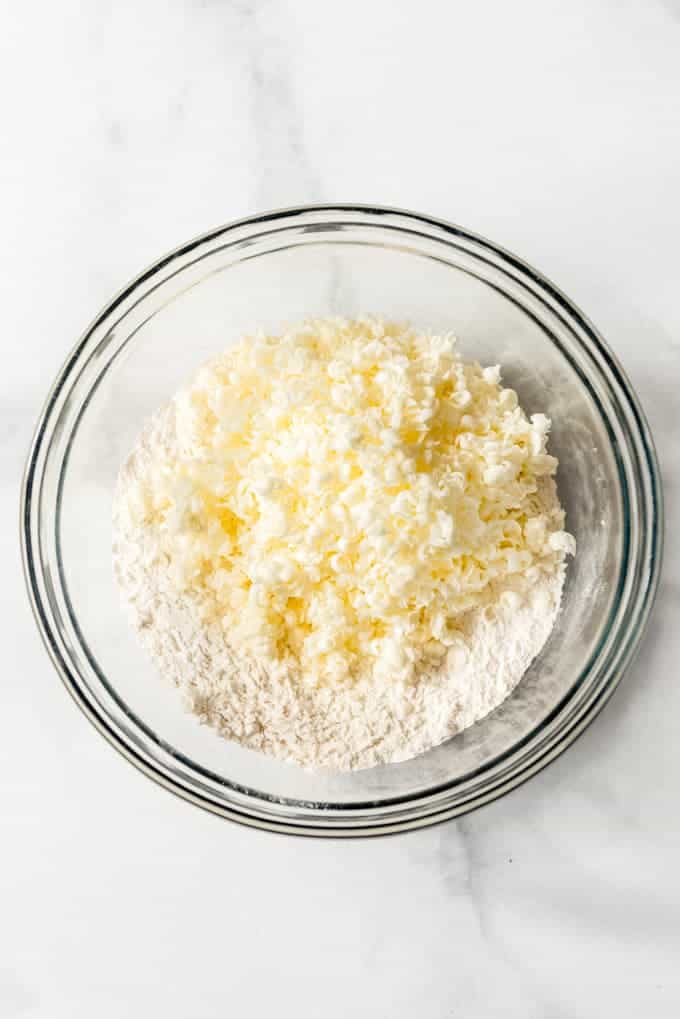
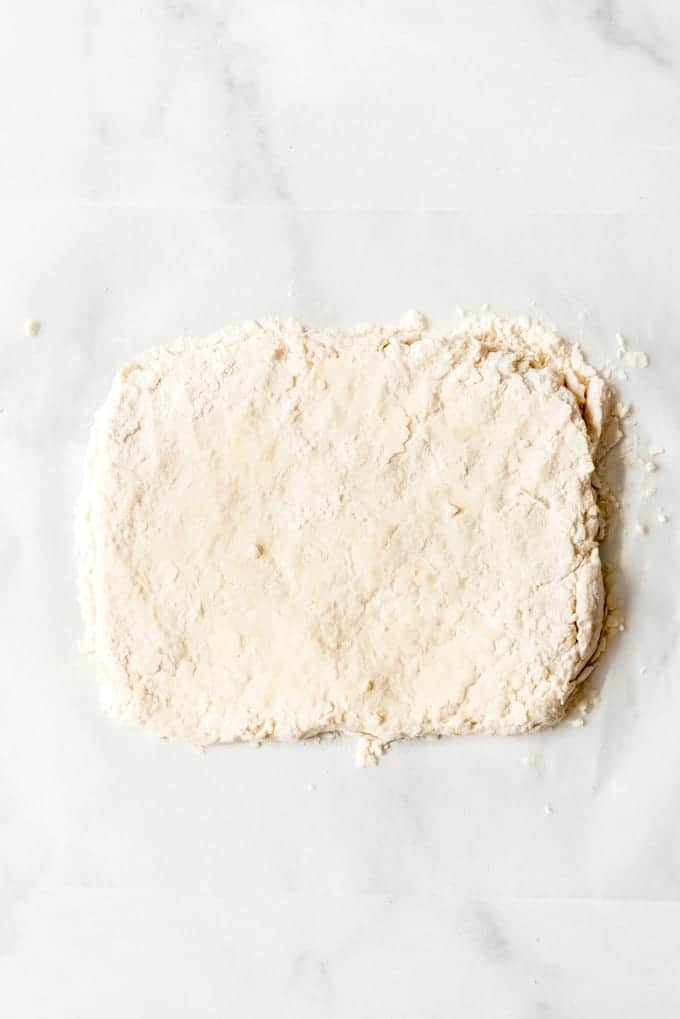
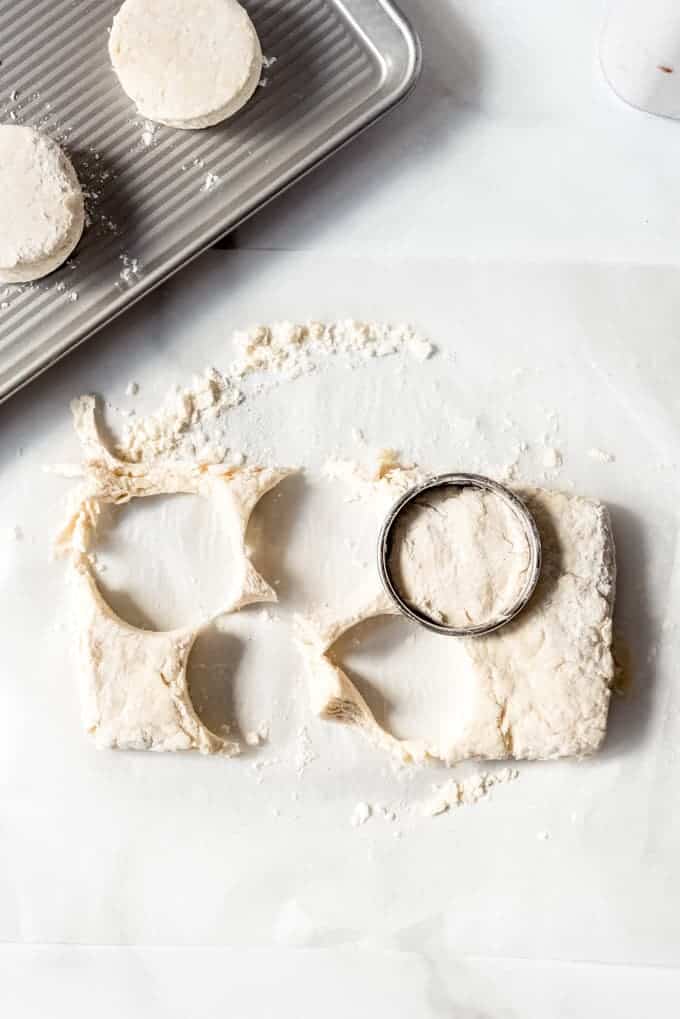
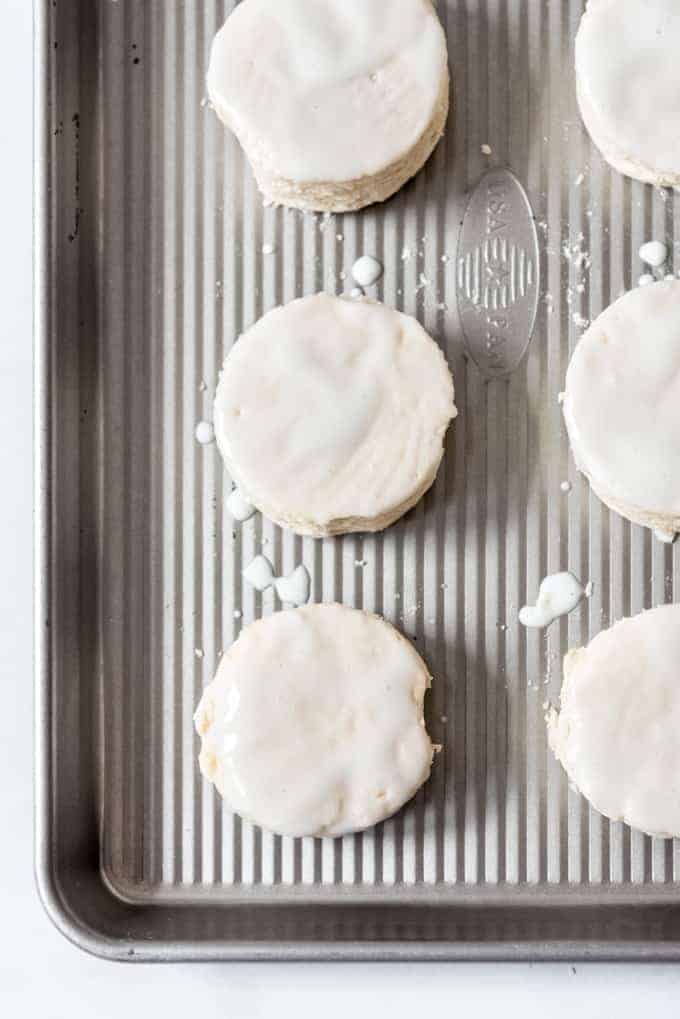
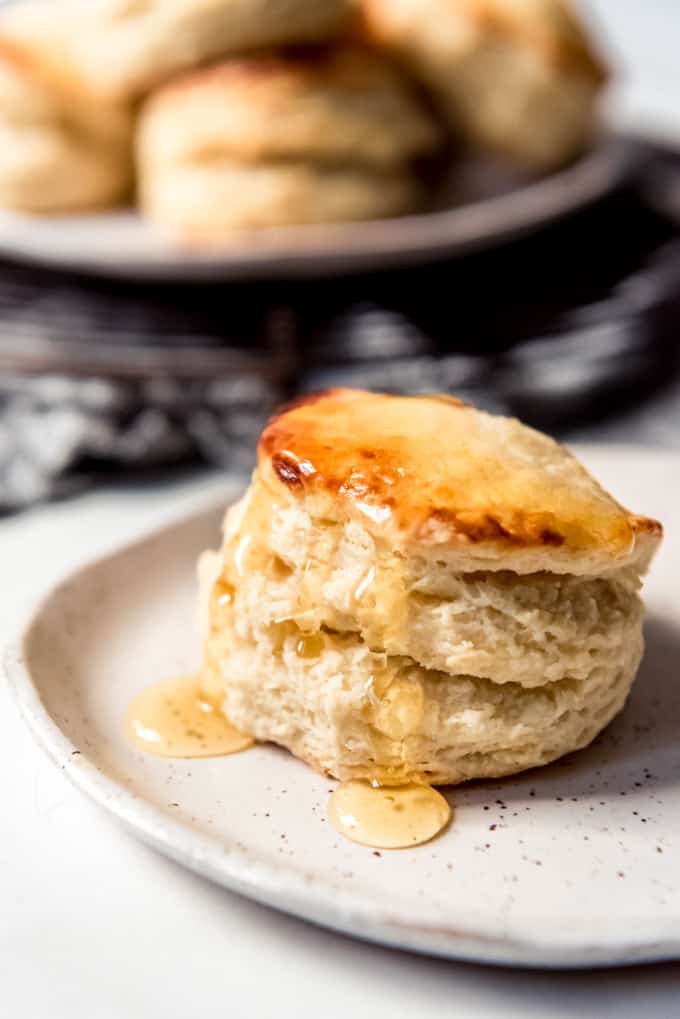
Use cold ingredients. This is not the time to pull out butter and let it soften to room temperature. Everything should be cold, cold, cold when added to the biscuit mixture. You could even stick your flour in the freezer for 30 minutes if you think about it before hand. Don’t overwork the dough. When you are mixing the buttermilk into the dough, it’s okay if it is still pretty crumbly. The biscuit dough will come together as you press it and fold it with your hands. Folding the dough creates flaky layers. This is the real key to getting super all of those wonderful flaky layers that you can see in the photos. As the dough is folded, the cold butter is spread thin. When the biscuits bake, the cold butter melts fast creating pockets and the many layers we love about buttermilk biscuits! Use a sharp biscuit or cookie cutter and don’t twist! I know it’s tempting to want to twist the cutter while cutting out the biscuits, but that has a tendency to seal the edges, making it so they won’t rise as much. It really makes a difference to use a sharp cutter and press straight in and out. Bake them close together or spaced apart. This is personal preference, but I like to space out my biscuits when baking so that all the sides are exposed. But some people enjoy biscuits that are snugged together and then pulled apart for softer sides. It’s up to you! Brush with melted butter & honey right after they come out of the oven. If you aren’t making buttermilk biscuits for biscuits and gravy, you might want to consider melting 2 tablespoons of salted butter with 1 tablespoon of honey, then brushing this over the tops of the biscuits as soon as they come out of the oven for a delicious finish.
How to cut buttermilk biscuits without a biscuit cutter
Even though the biscuits in these photos are round, I want to point out that there IS an easier way. Whether you don’t have a sharp round biscuit cutter or you just want to skip dealing with scraps of dough, square biscuits might be the answer for you. Rather than cutting the biscuits out into circles, next time try using a bench scraper or sharp knife to cut the biscuit dough in half lengthwise, then into 1/8ths to get square biscuits. They bake up every bit as delicious and there is no rerolling of scraps involved! I’m 50/50 for how often I do square biscuits versus round biscuits. It usually just depends on how lazy I’m feeling that morning or what my particular fancy is between circles or squares.
How to store these Easy Buttermilk Biscuits
If you plan to consume the biscuits within a day or two, you can store them at room temperature in an airtight container or a zip-lock bag. Make sure they’re cooled completely before storing. If you want to store them for a longer duration, place the biscuits in an airtight container or a resealable bag and store them in the refrigerator. They should last for about 3-4 days this way. To freeze, arrange the cooled biscuits in a single layer on a baking sheet and place them in the freezer for a few hours until they’re firm. Then, transfer them to a freezer-safe bag or container, separating layers with parchment paper. They can be stored in the freezer for up to 2-3 months. When you’re ready to eat them, thaw at room temperature or reheat in the oven for a few minutes.
Freezing Homemade Buttermilk Biscuits
Freezing after baking: Biscuits freeze well for up to 3-4 months after baking. Store them in a freezer-safe zip tight bag, then thaw overnight and reheat in the microwave or oven when you want to eat them. Freezing without baking first: The biscuit dough can be frozen as well so that you can bake up fresh, hot buttermilk biscuits whenever you like! Prepare the dough through folding and cutting them out. Then freeze individually on a baking sheet lined with parchment paper for 1-2 hours. Once frozen, you can toss the biscuits into a freezer-safe zip tight bag to store and just pull out however many you want to bake up at a time. The biscuits can be frozen like this for 3-4 months. When ready to bake, pull out the biscuits and set them on a baking sheet lined with parchment paper to thaw for 45 minutes or so before baking.
More like this Easy Buttermilk Biscuit Recipe
Liege Waffles German Pancakes Scrambled Macaroni and Eggs Aebleskiver (Danish Pancakes) Sour Cream Coffee cake Raspberry Streusel Muffins Crepes Eggs Benedict Popovers
More States I Have Visited in my American Eats Series
Alabama • Alaska • Arizona • Arkansas • California • Colorado • Connecticut • Delaware • Florida • Georgia • Hawaii • Idaho • Illinois • Indiana • Iowa • Kansas • Kentucky • Louisiana • Maine • Maryland • Massachusetts • Michigan • Minnesota • Mississippi • Missouri • Montana • Nebraska • New Jersey • New York • Oregon • Puerto Rico • South Carolina • South Dakota • Texas • Utah • Wisconsin
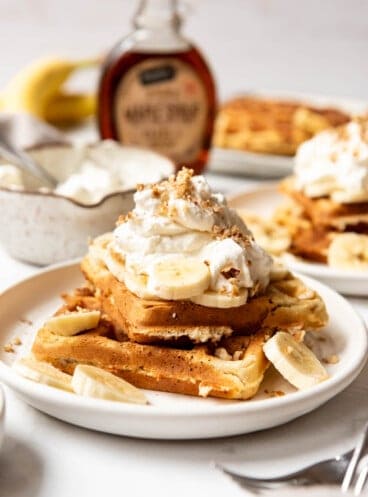
Banana Pecan Waffles
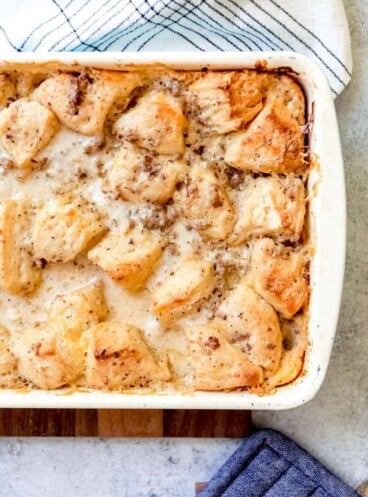
Biscuits and Gravy Casserole
Homemade French Toast
Let me know what you thought with a comment and rating below. You can also take a picture and tag me on Instagram @houseofnasheats or share it on the Pinterest pin so I can see.